
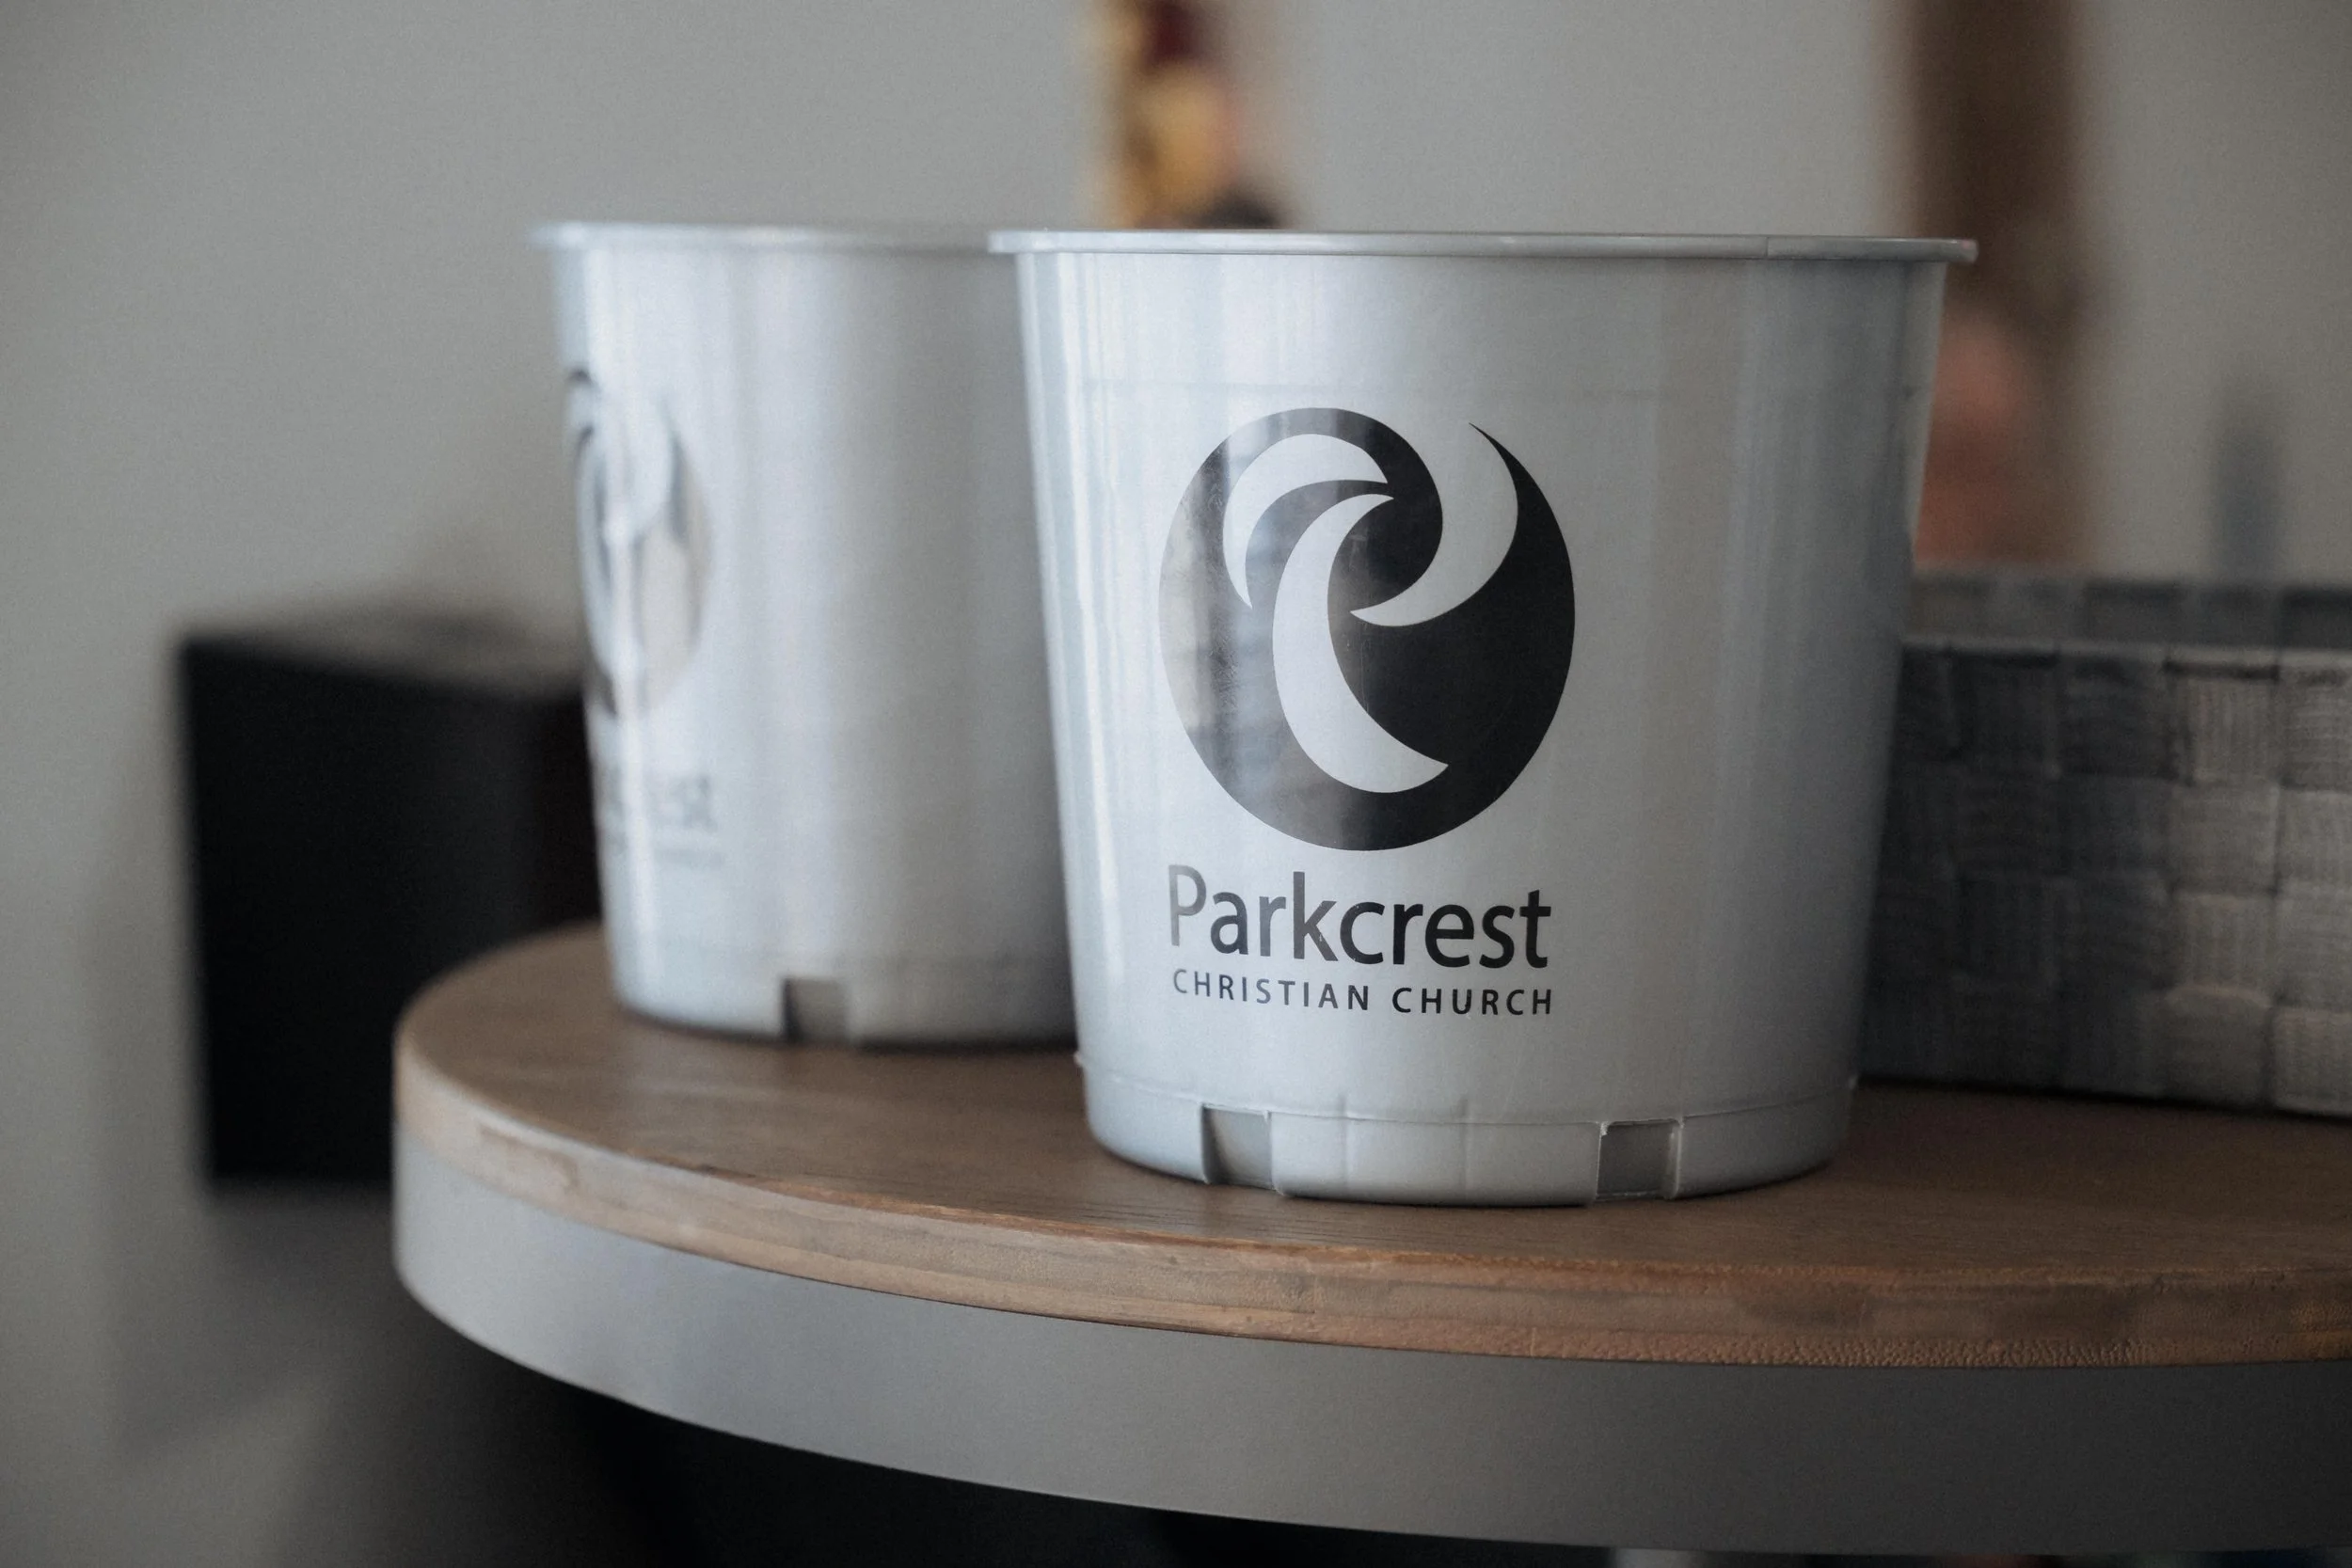
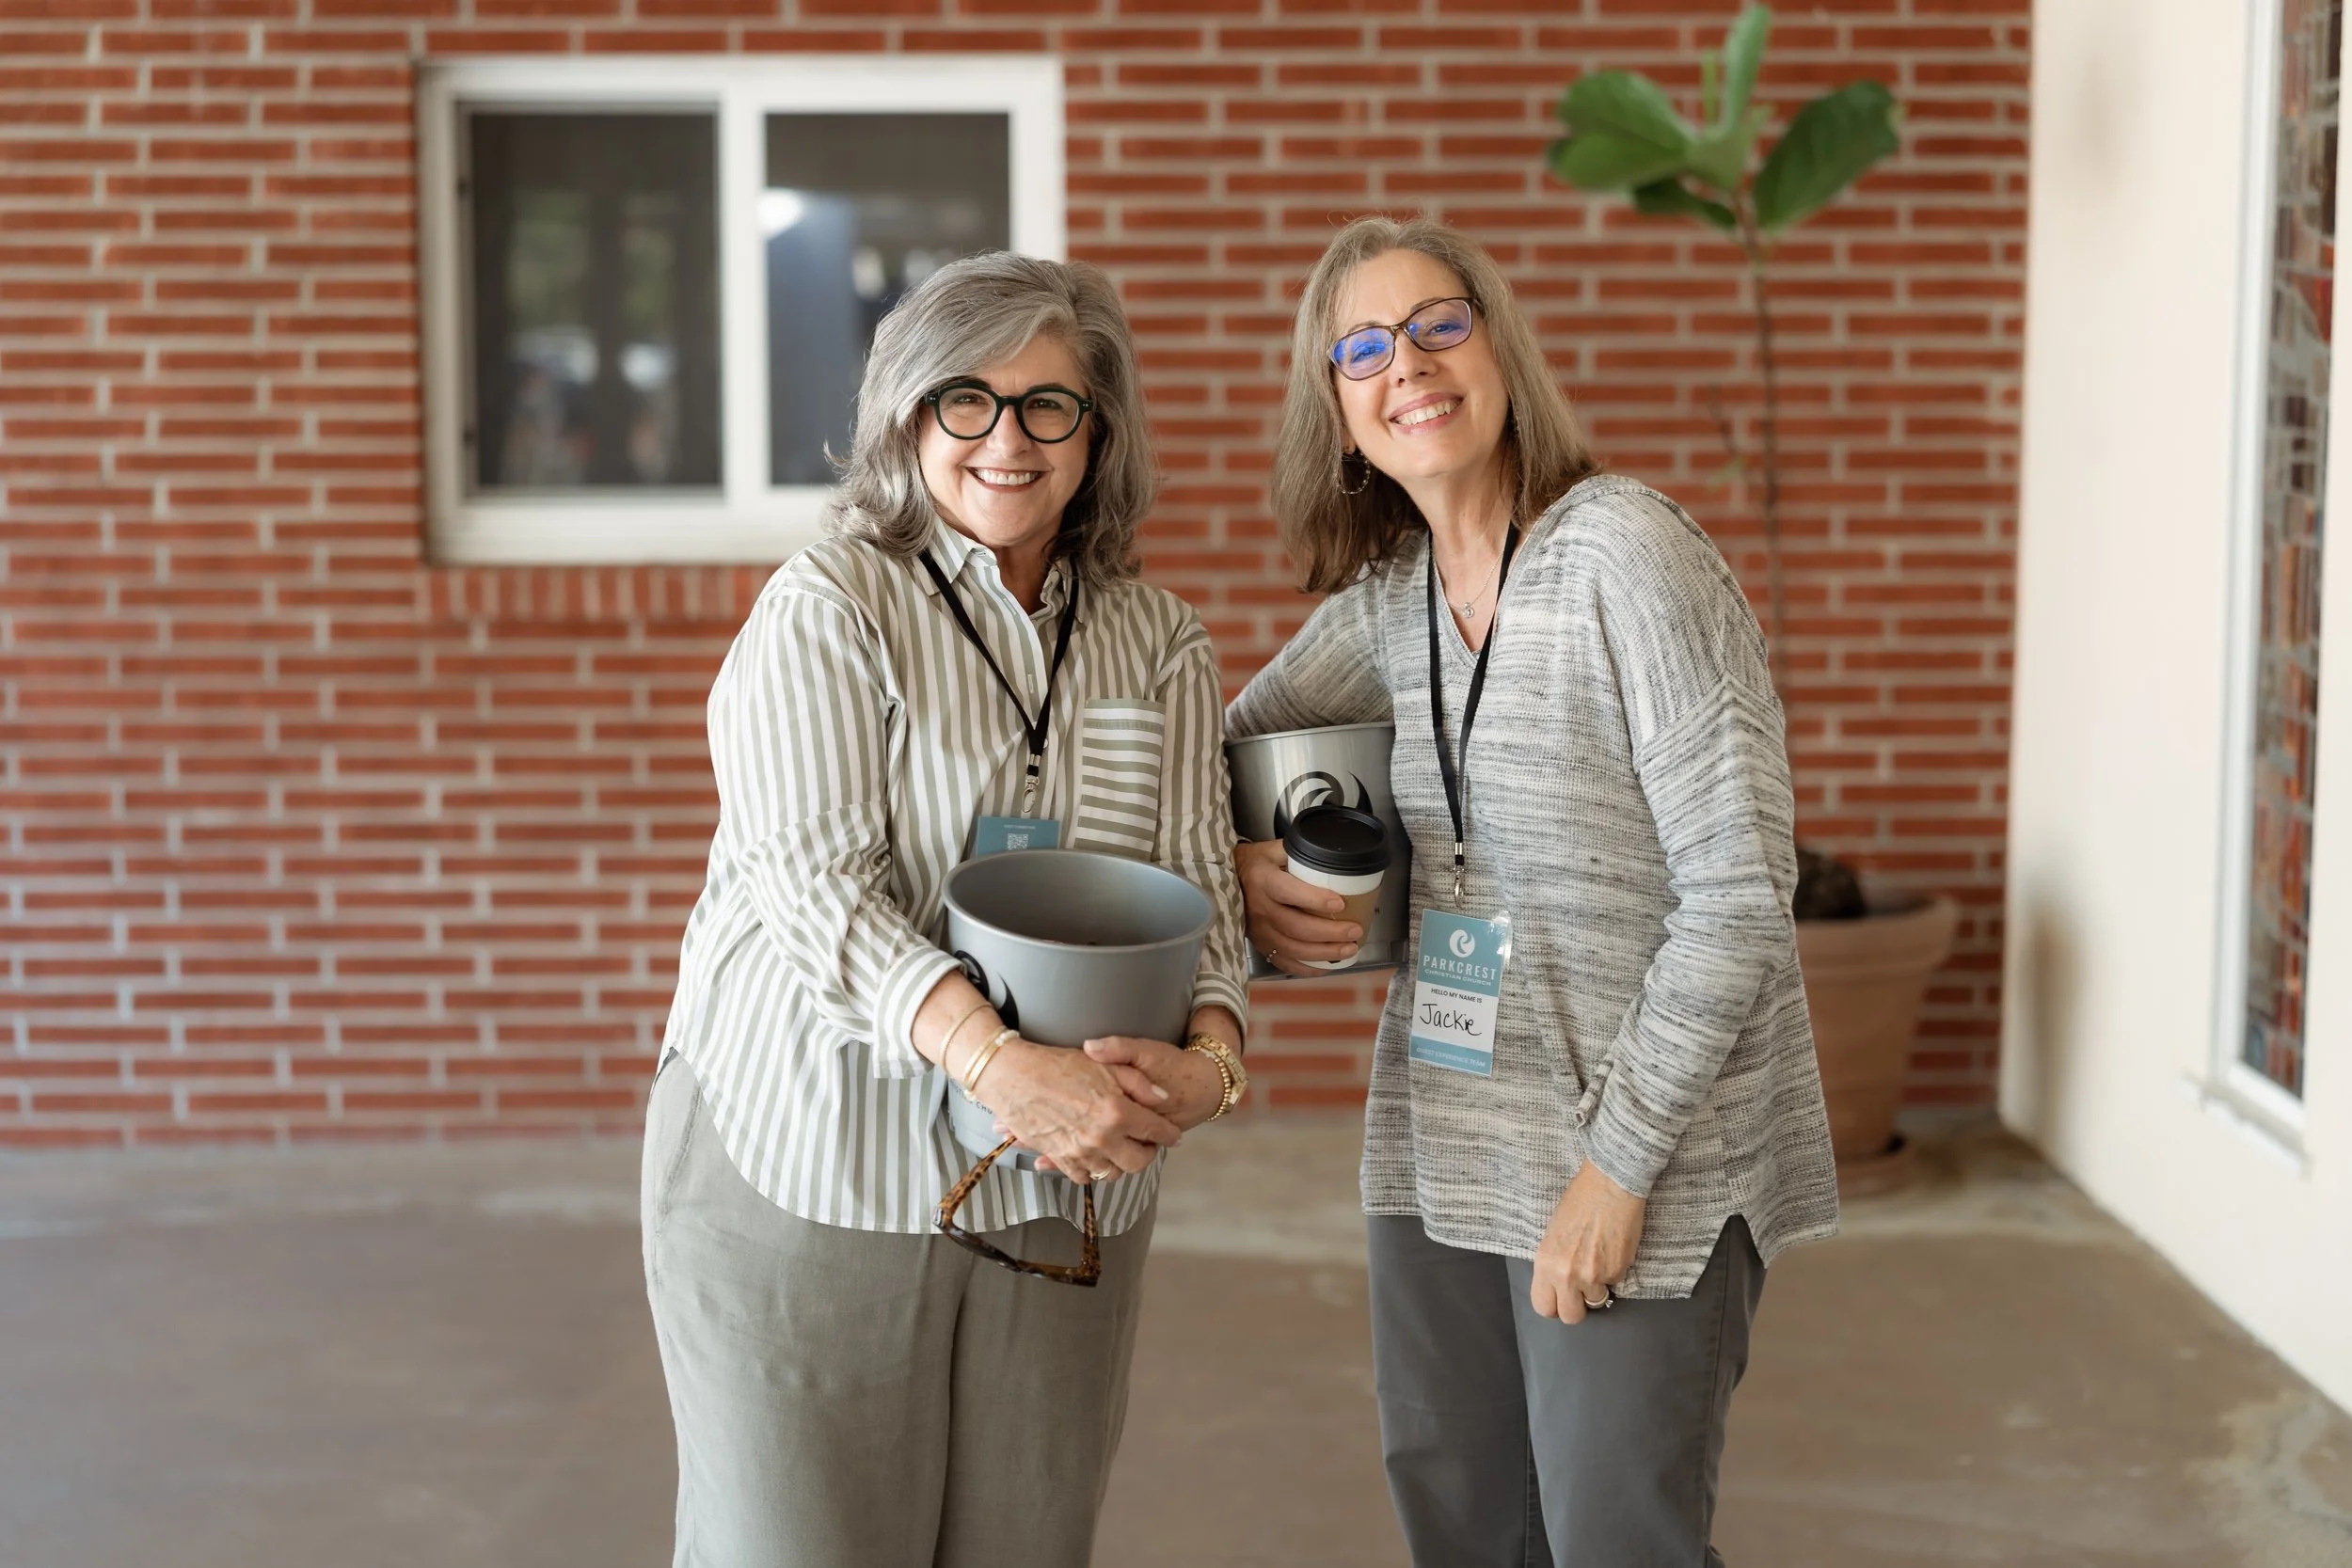
Parkcrest Christian Church
Parkcrest Christian Church
An introduction to photography at Parkcrest Christian Church


Values
-
Grow Parkcrest's social media and online presence
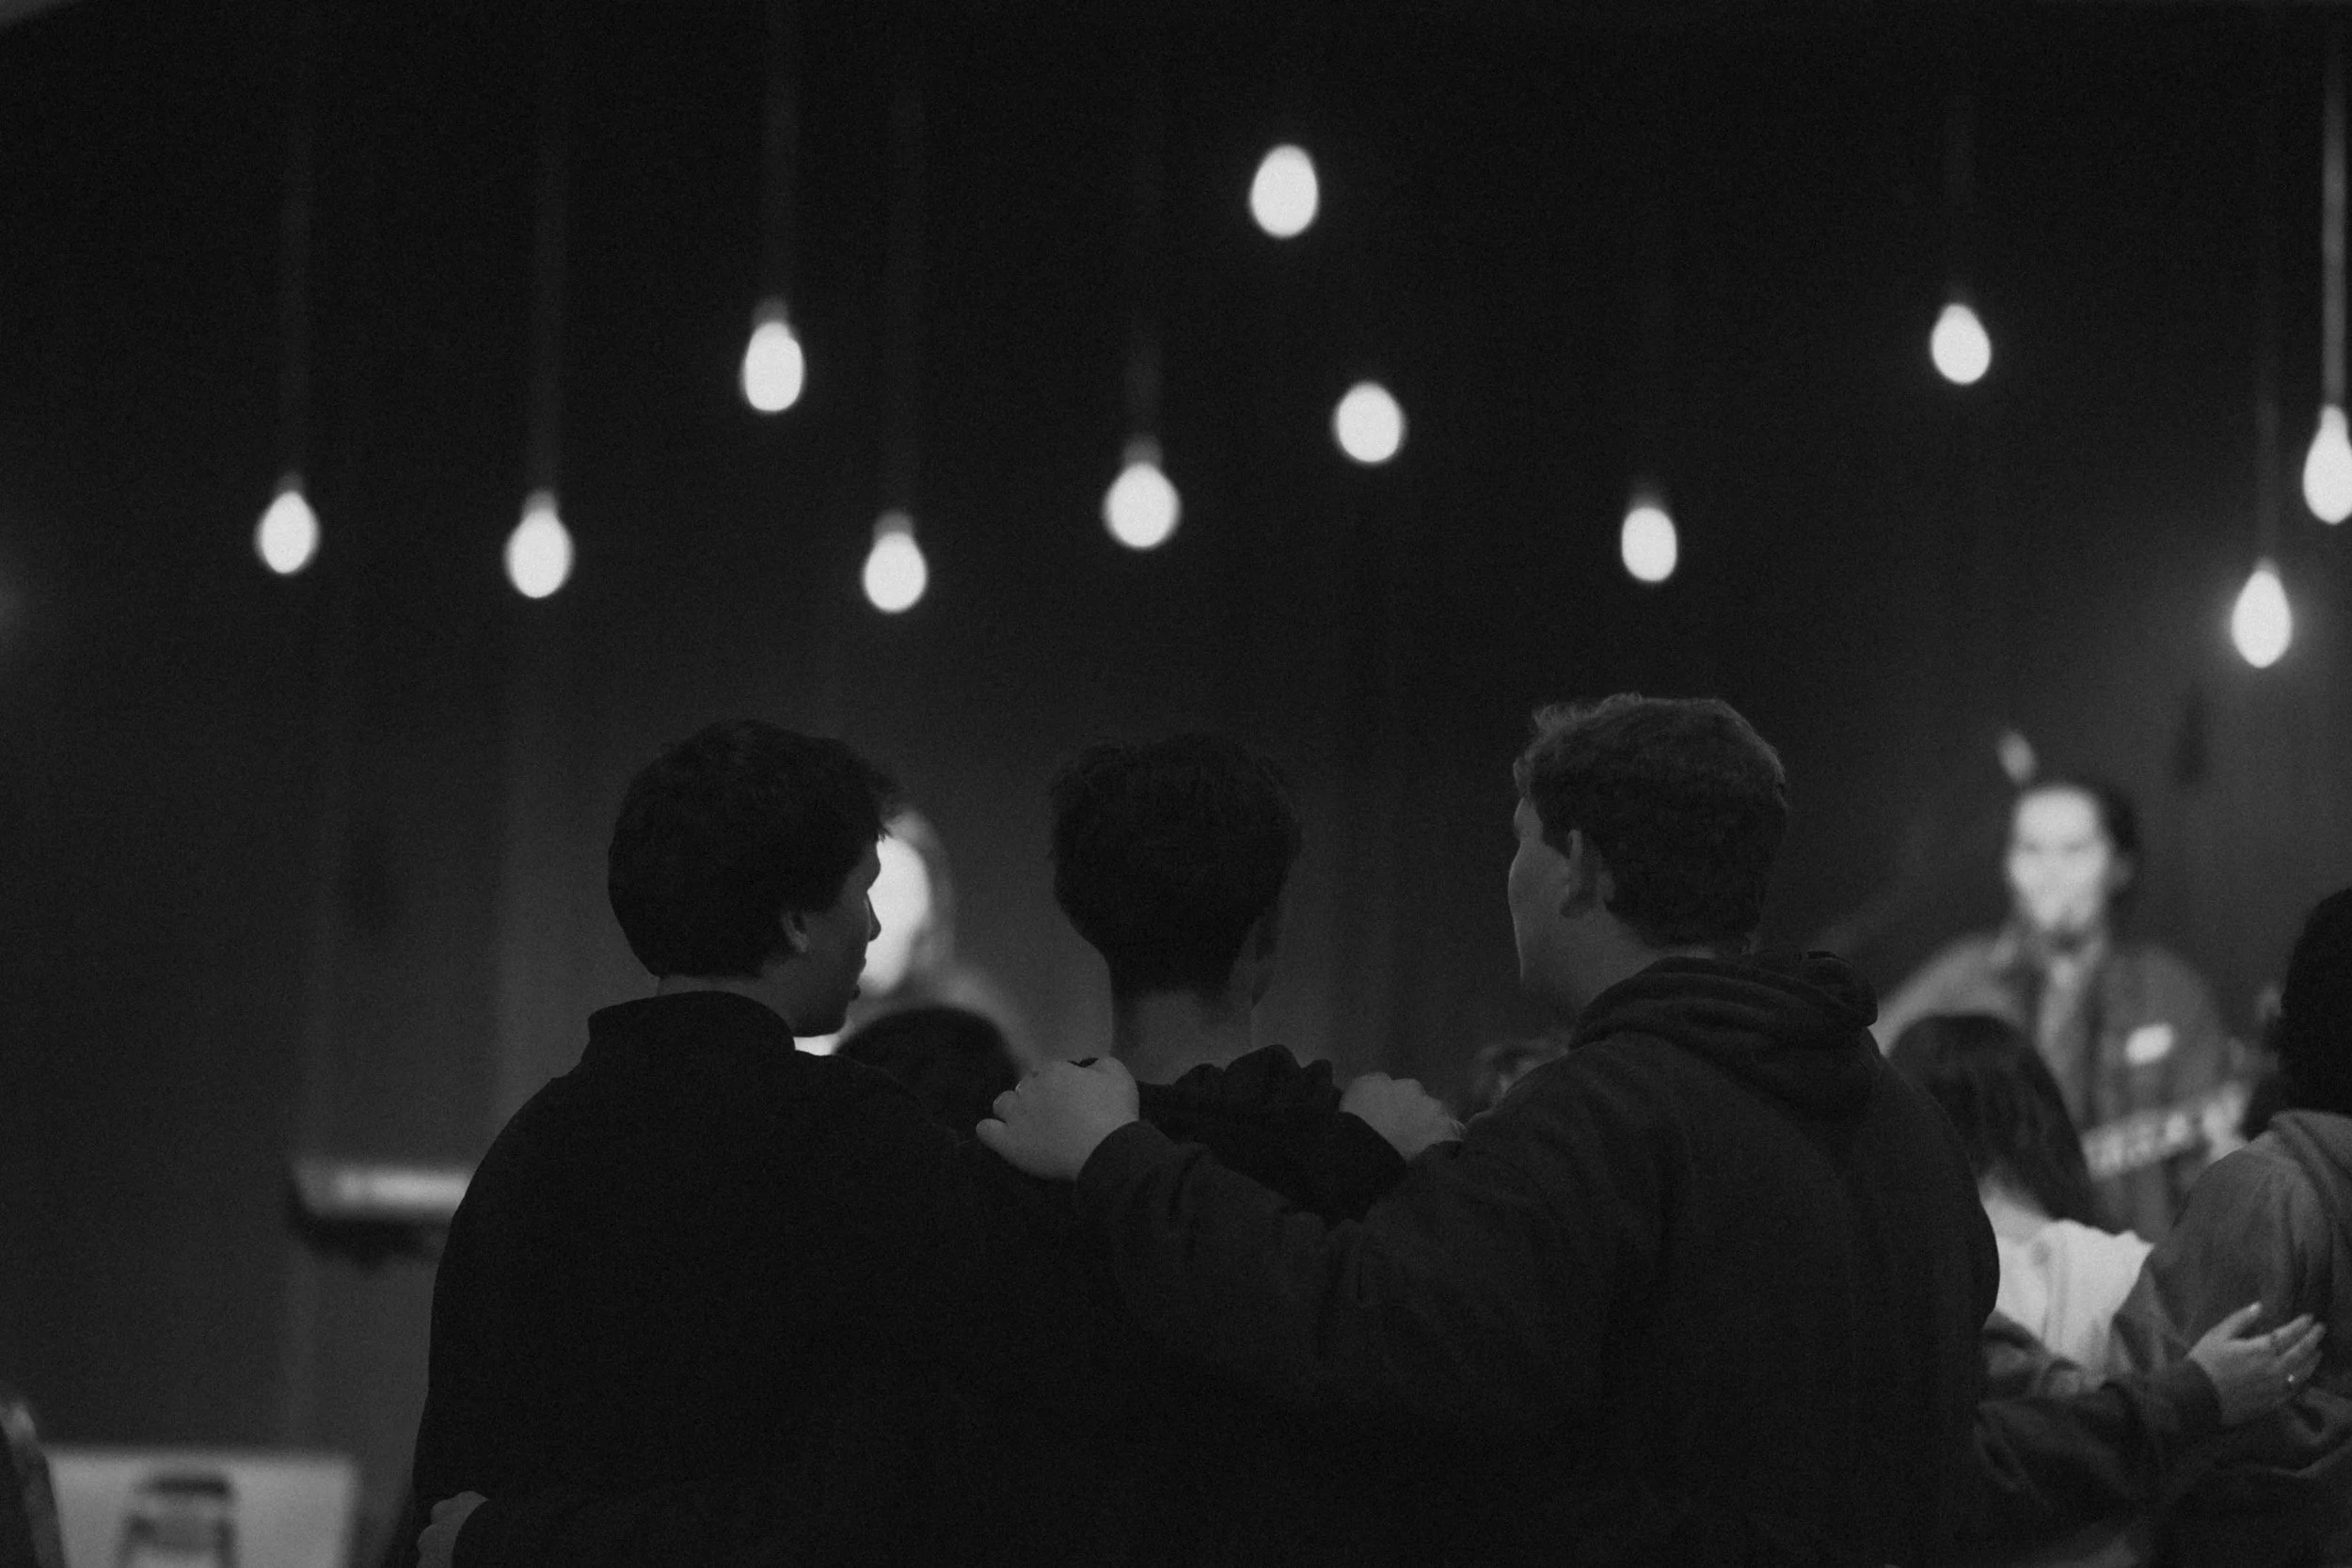
Show church life and community as it actually is, not staged
-
Mix of Horizontal and Vertical
Genuine interactions and candid moments
Diversity and multi-generational representation
The joy Jesus brings
-
Before you take a photo, ask yourself: "How does this support the objectives above? What's the purpose of this photo? How can it be used to further God's glory?"
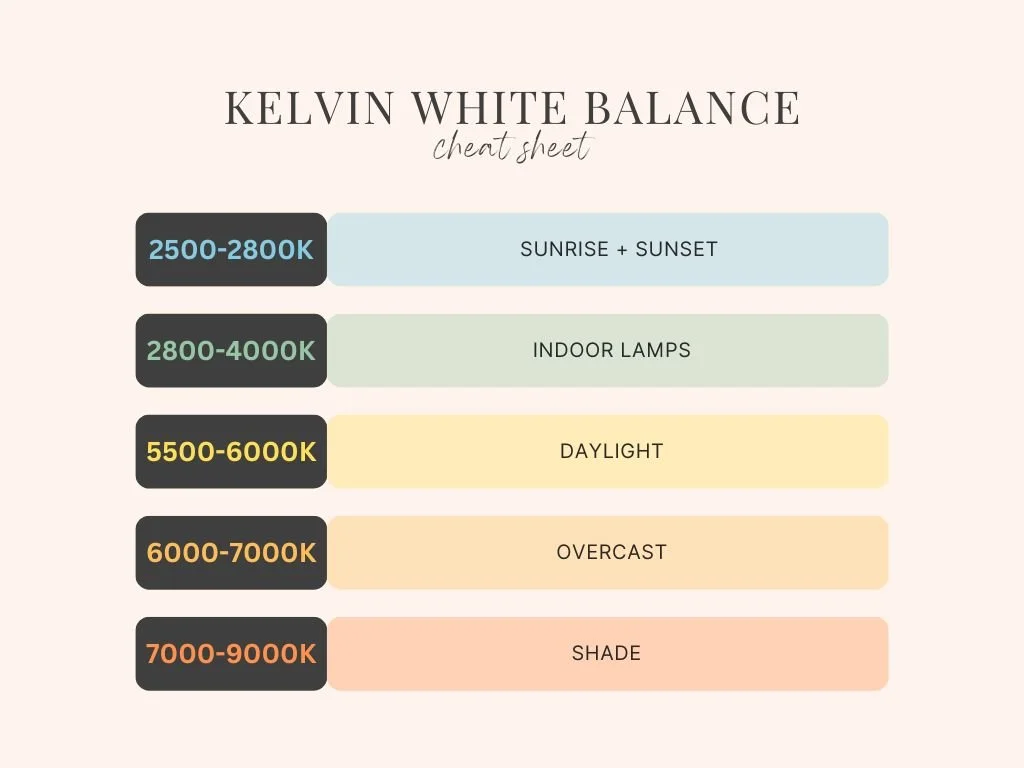
Quick Settings Cheat Sheet:
Sanctuary
(Exposure Value ≈ 7)
1/250, f/2.8, ISO 500-1000, WB 3200K
(Alt: 1/250, f/2.0, ISO 800 or 1/250, f/1.4, ISO 400)
Tip: Use ISO as your main exposure control indoors. Expose for skin tones.
Outside
Aperture Priority: Auto WB or Sunny/Cloudy preset
Manual: 1/250+, f/2.8–f/4, ISO 100
Tip: Use shutter speed as your main exposure control outdoors.
Guide
Photography 101: The Basics
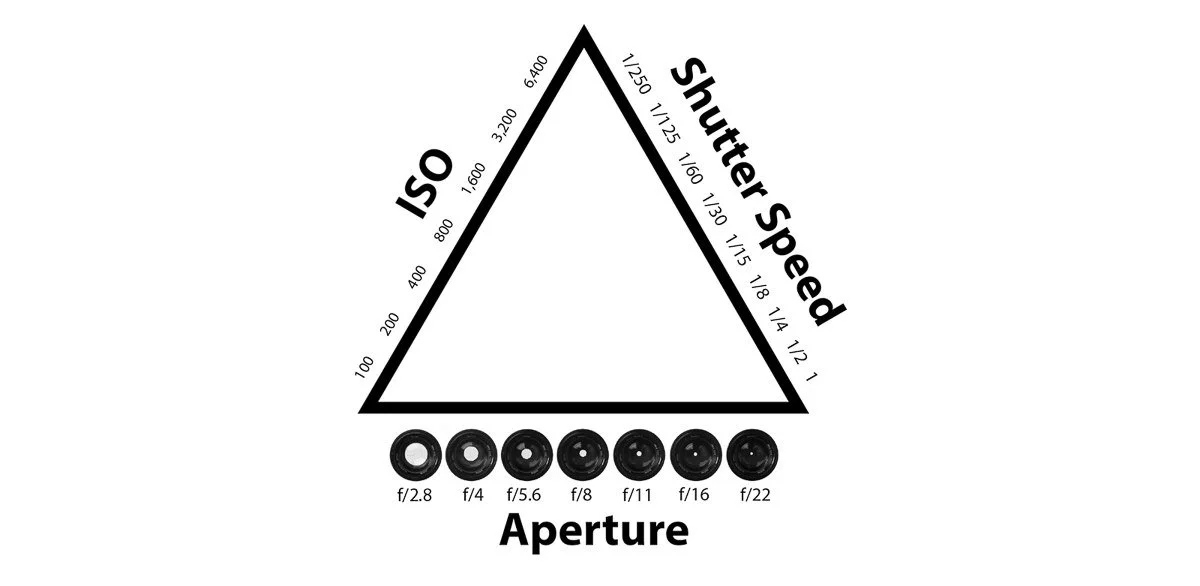
Exposure Triangle:
Exposure comes down to three settings that work together: aperture, shutter speed, and ISO.
Think of your camera like an eyeball. Aperture is how wide your pupil opens. Shutter speed is how fast you blink. ISO is how sensitive your eyes are to light.
These three are linked. Change one and the others need to adjust to keep the same exposure. Learn how they affect each other and you can dial in any shot.
White Balance:
White balance tells your camera what "white" looks like under different light. Your eyes color-correct automatically. Your camera doesn't.
Different light sources (sunlight, fluorescent, tungsten) have different color temperatures. Cameras have presets for these, but we use custom white balance (Kelvin temperature) set to what looks right to your eye. Auto white balance works okay in natural light outdoors, but it's unreliable indoors or with mixed lighting.
Since we shoot RAW, we can adjust white balance in editing. But getting it right in camera saves time and keeps your images consistent across the shoot.
Color Accurate Vs. Color Correct:
Our goal in camera is color accuracy, meaning the scene looks how it looked to your eye in the moment. Color grading (warming things up, pushing magenta for skin tones) happens in post. More on that later.
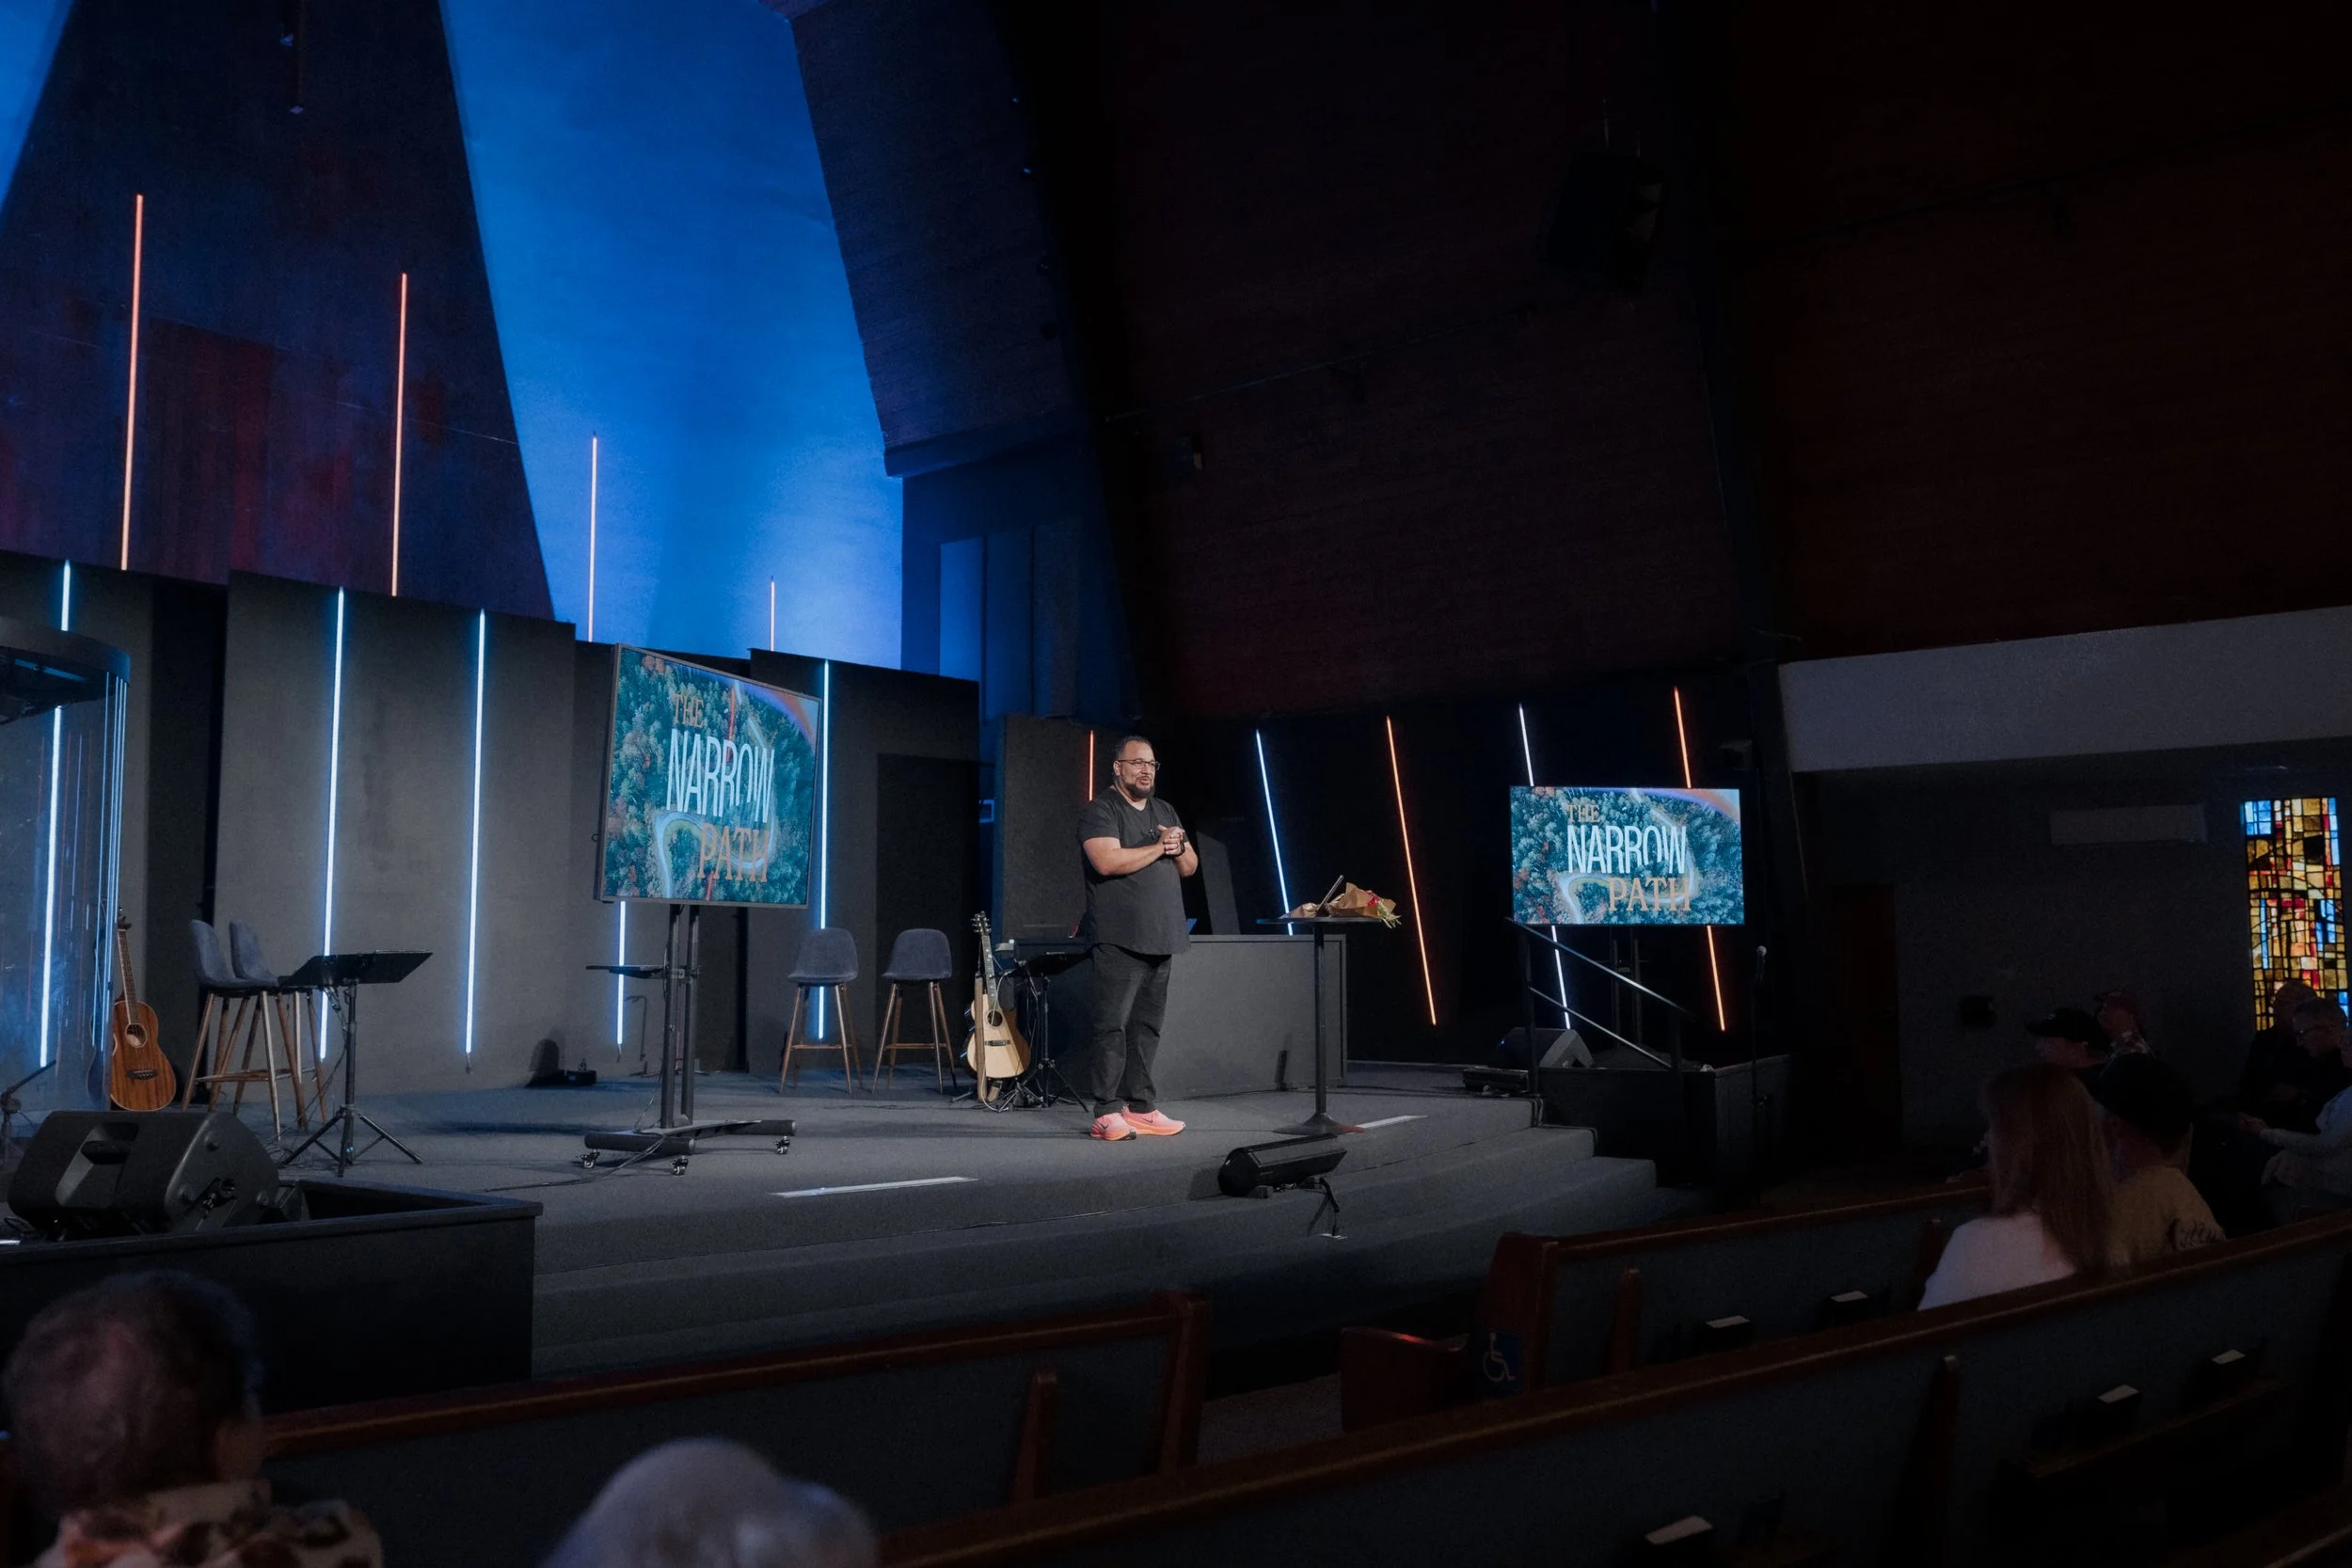
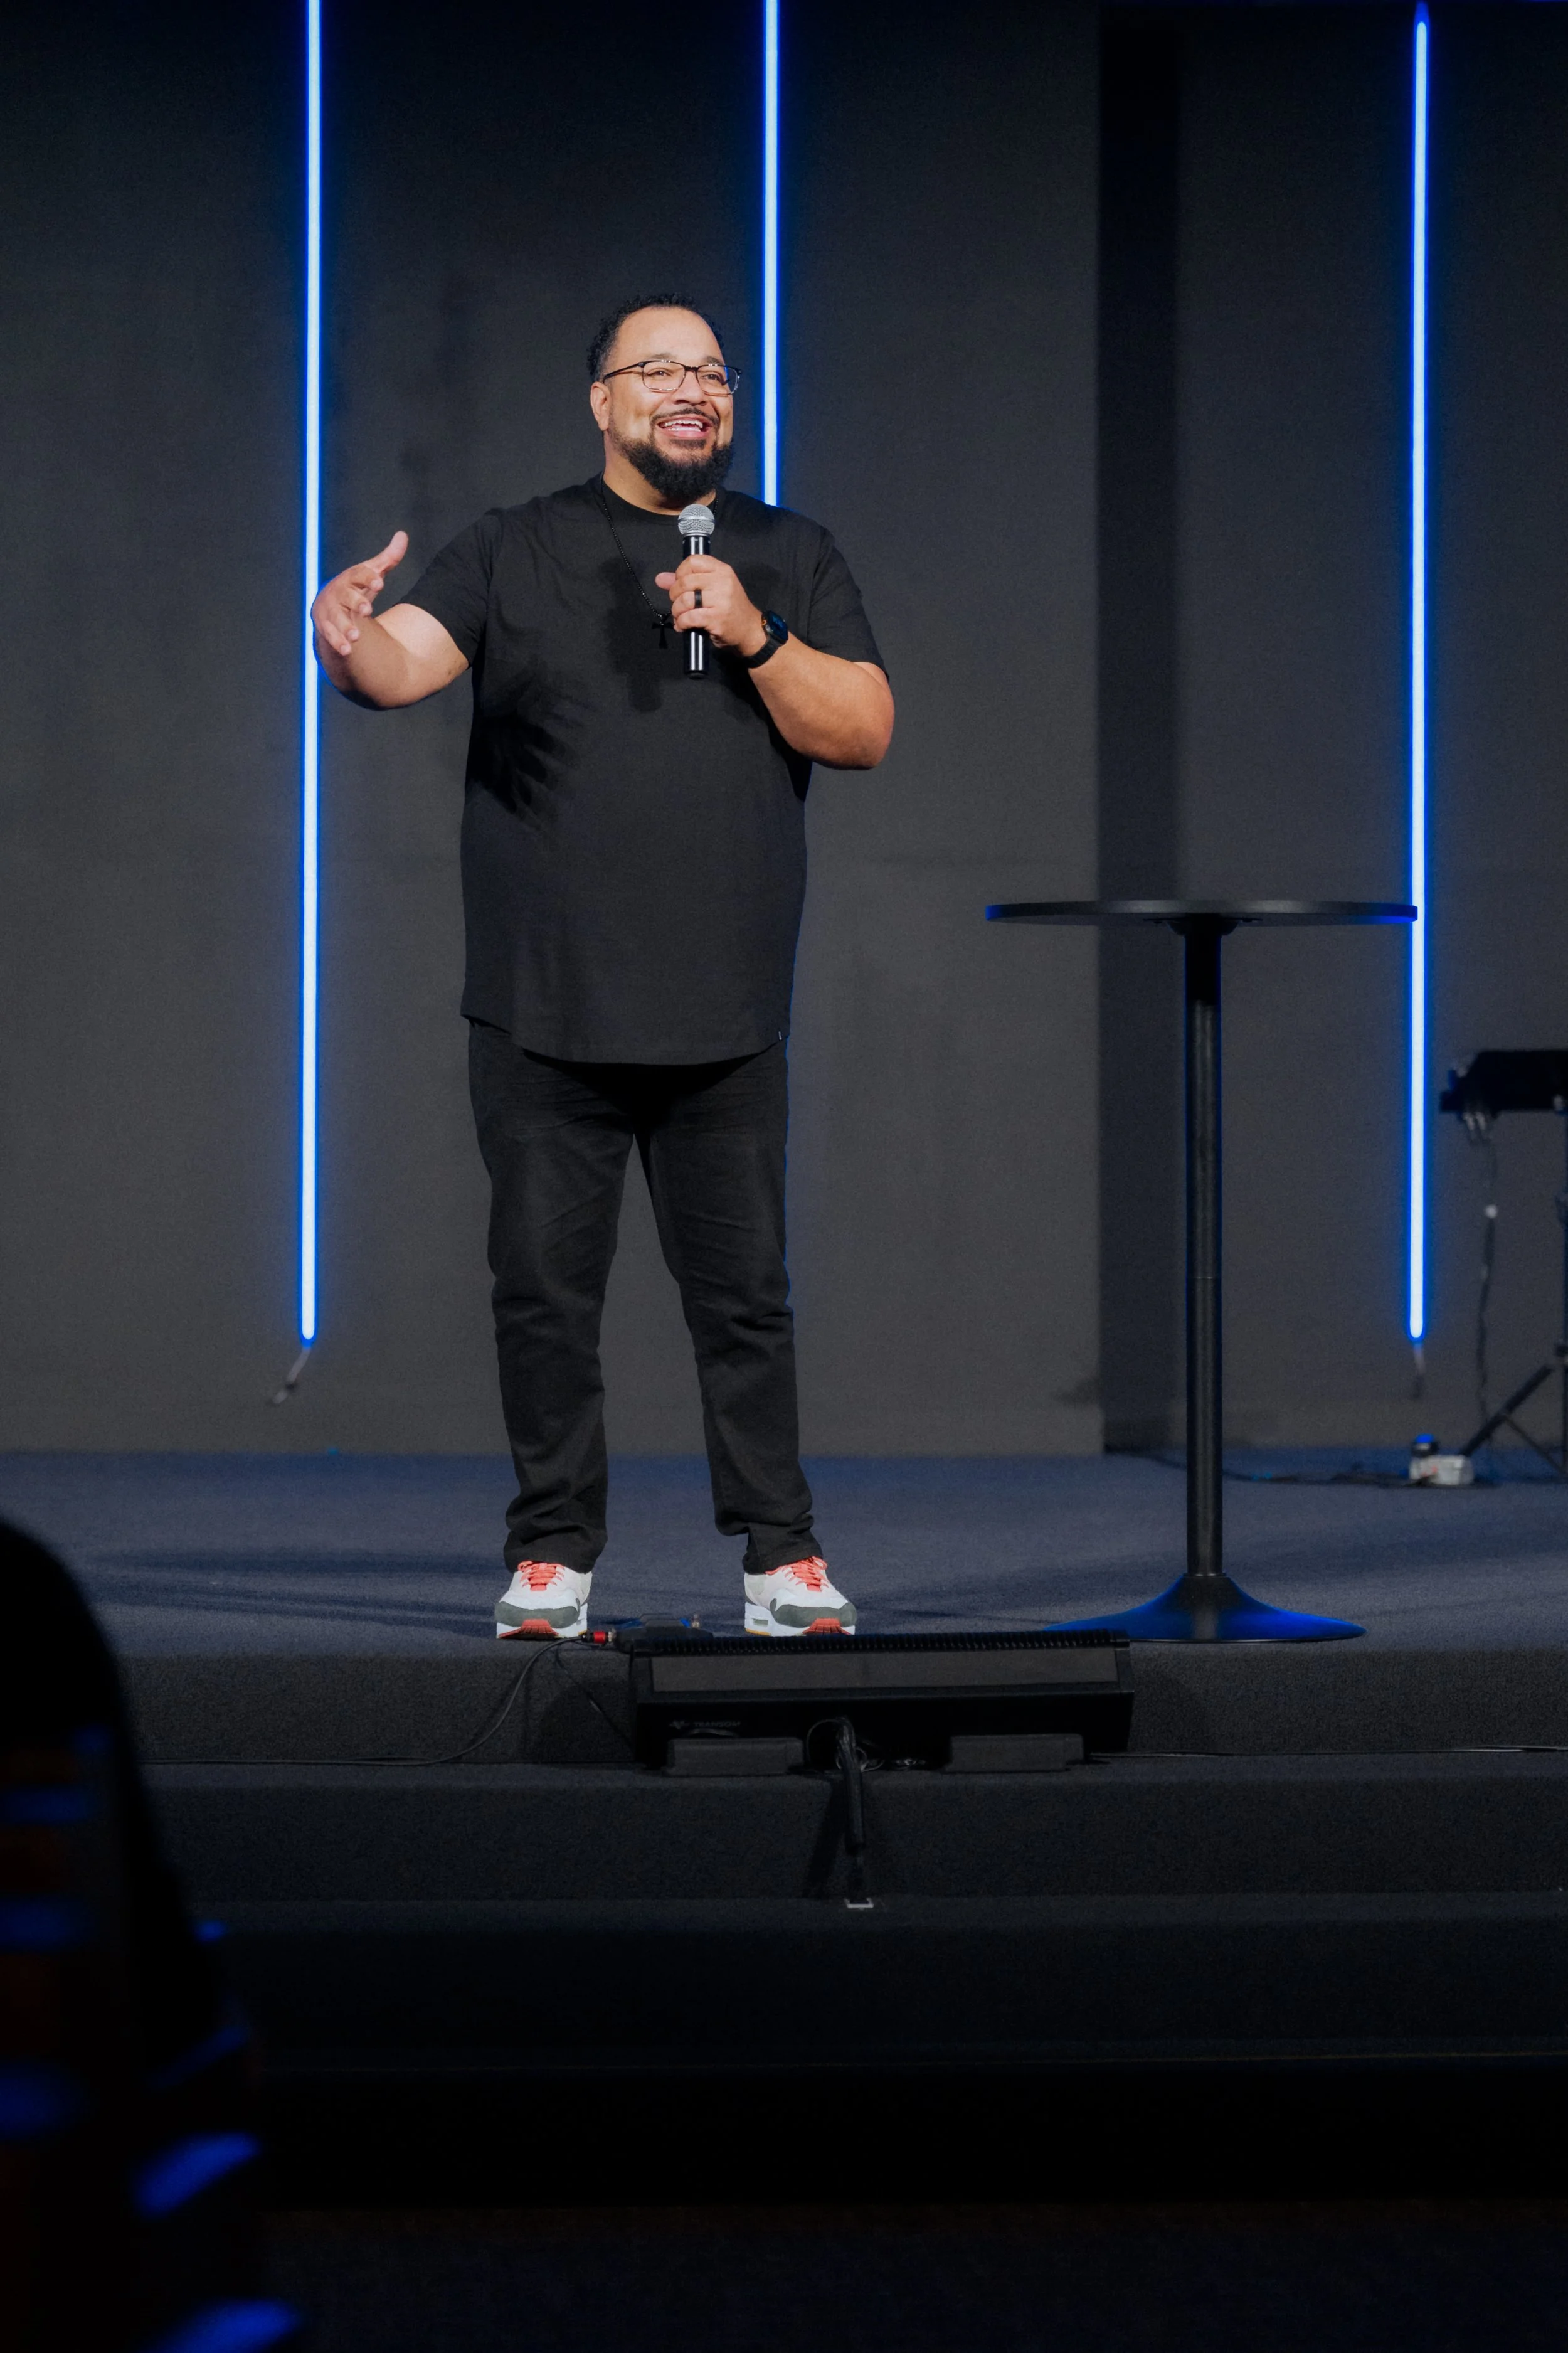
Composition
Always think in three layers: a wide shot to establish the scene, a medium shot to show the subject, and a tight shot to add detail and emotion. Try and get a mix of all three for every scene every time you shoot.
Main Composition Types:
Ultra-Wide/Wide: Shows the entire scene
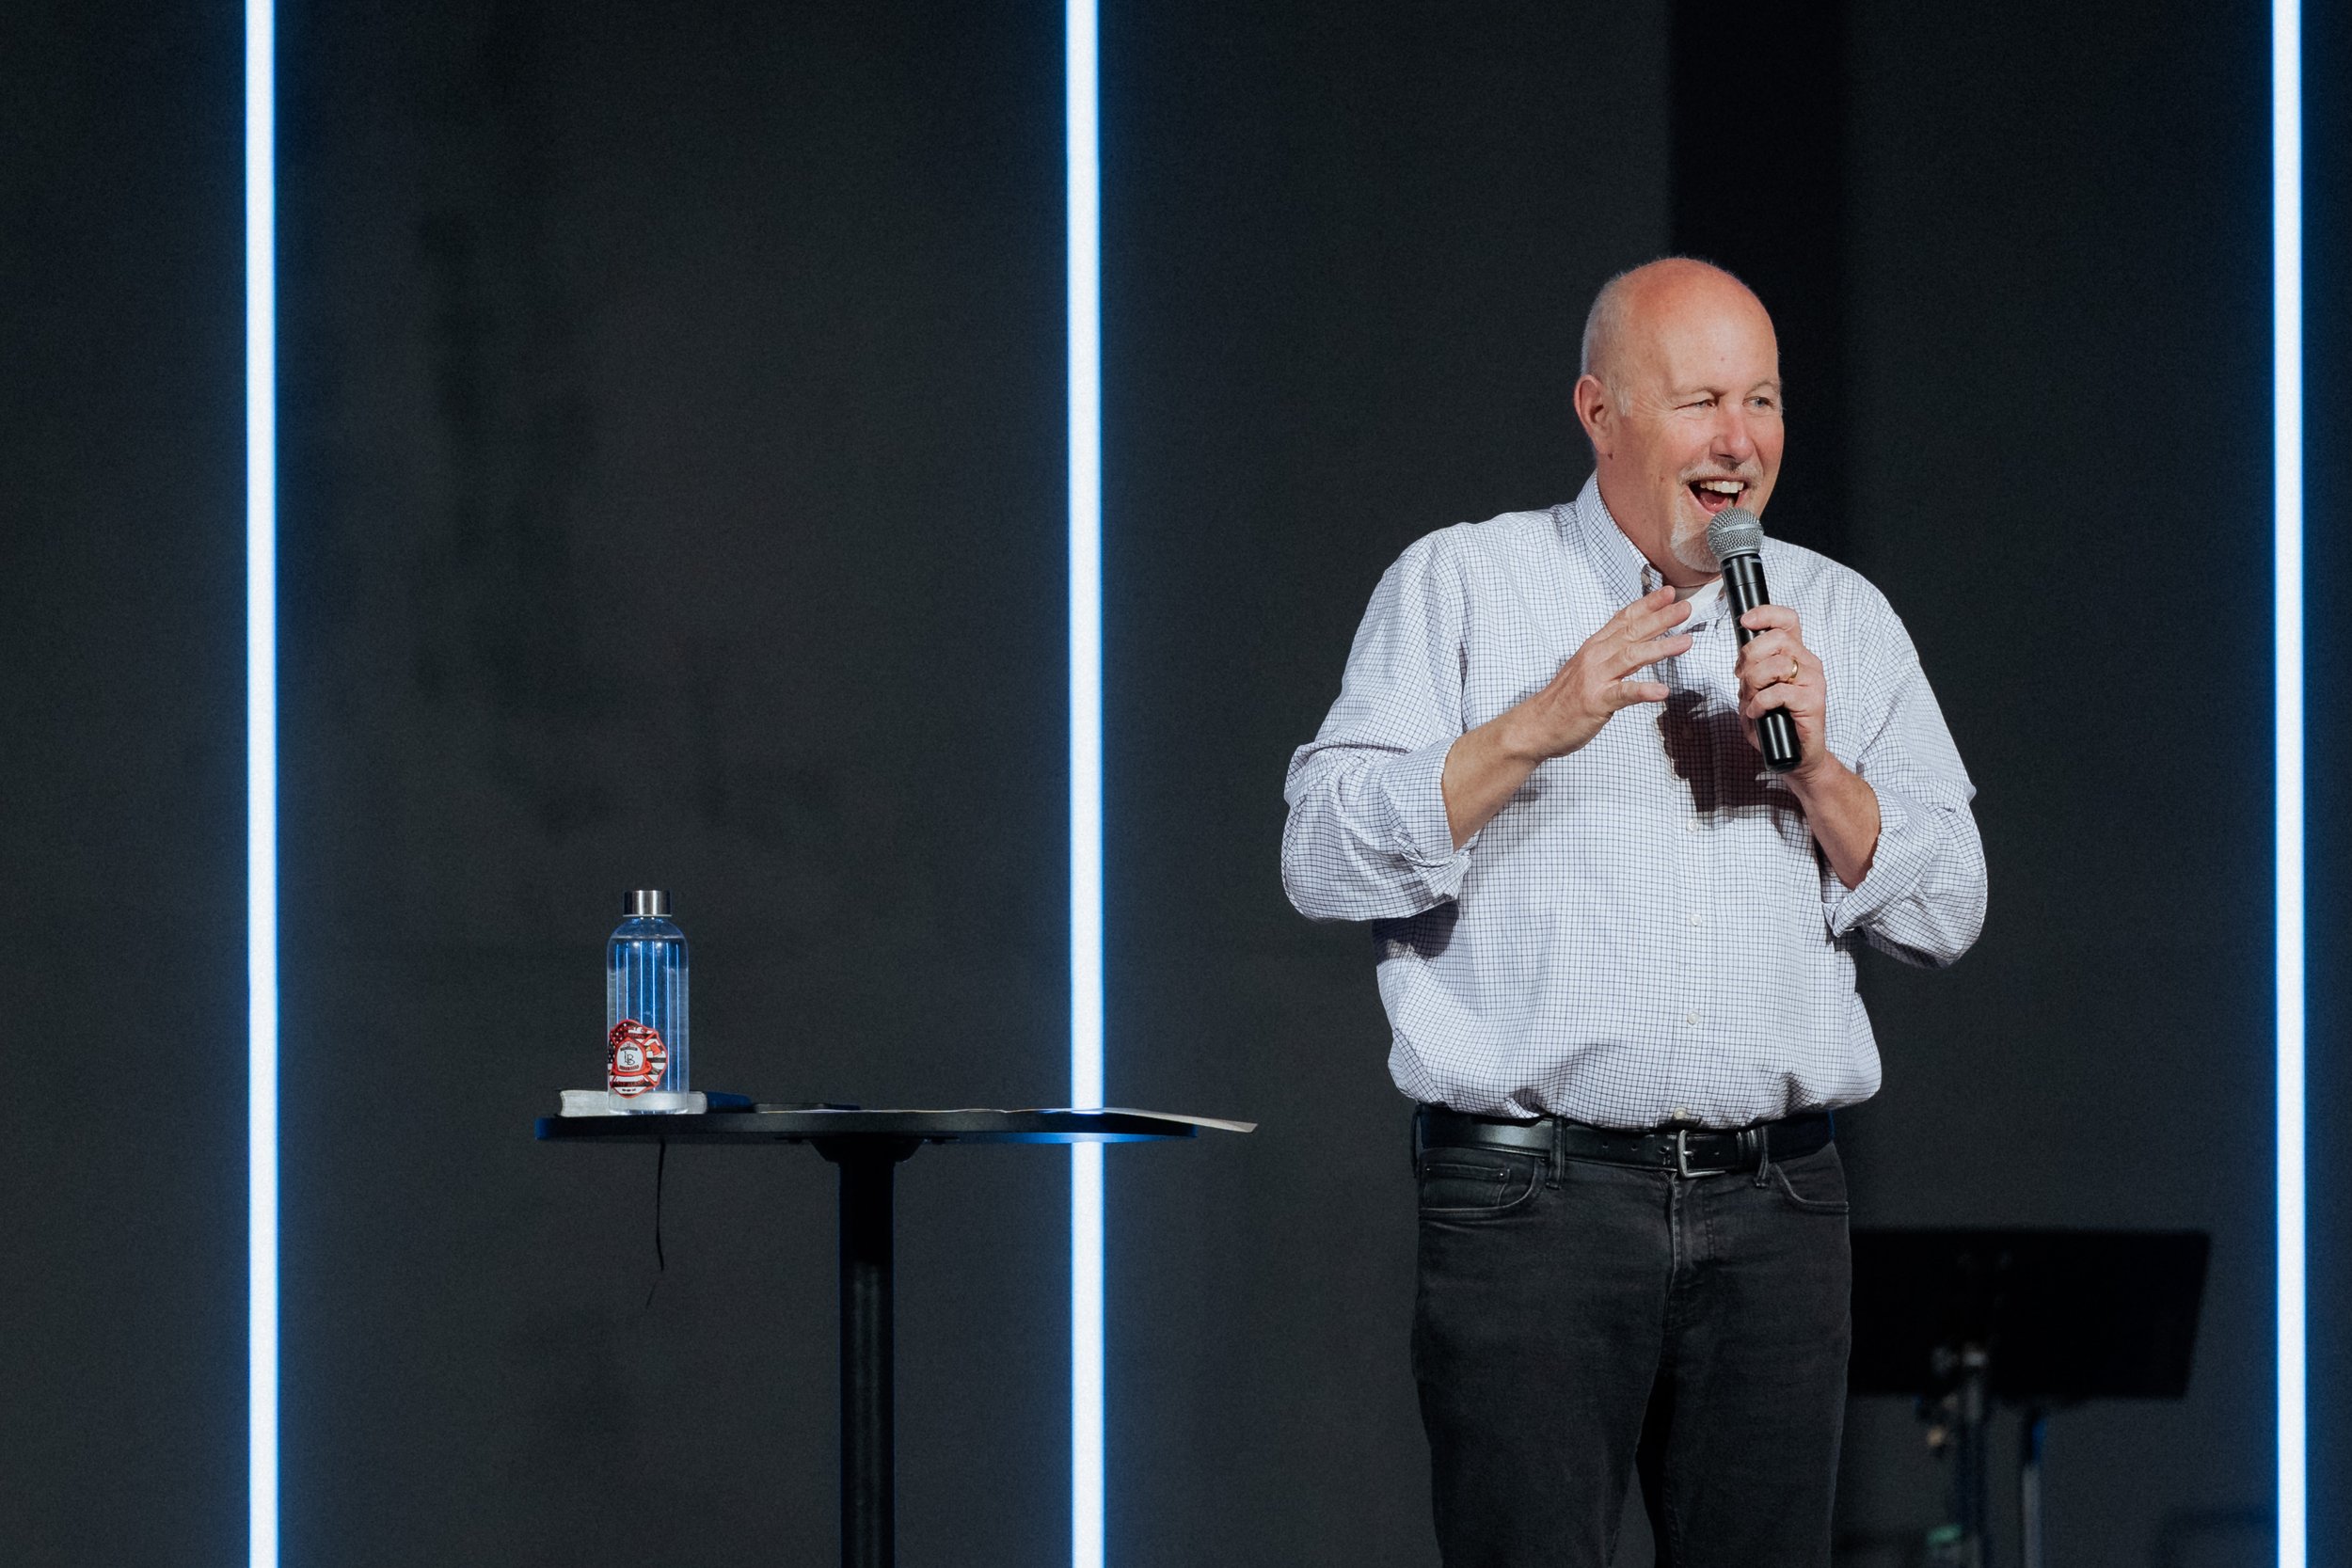
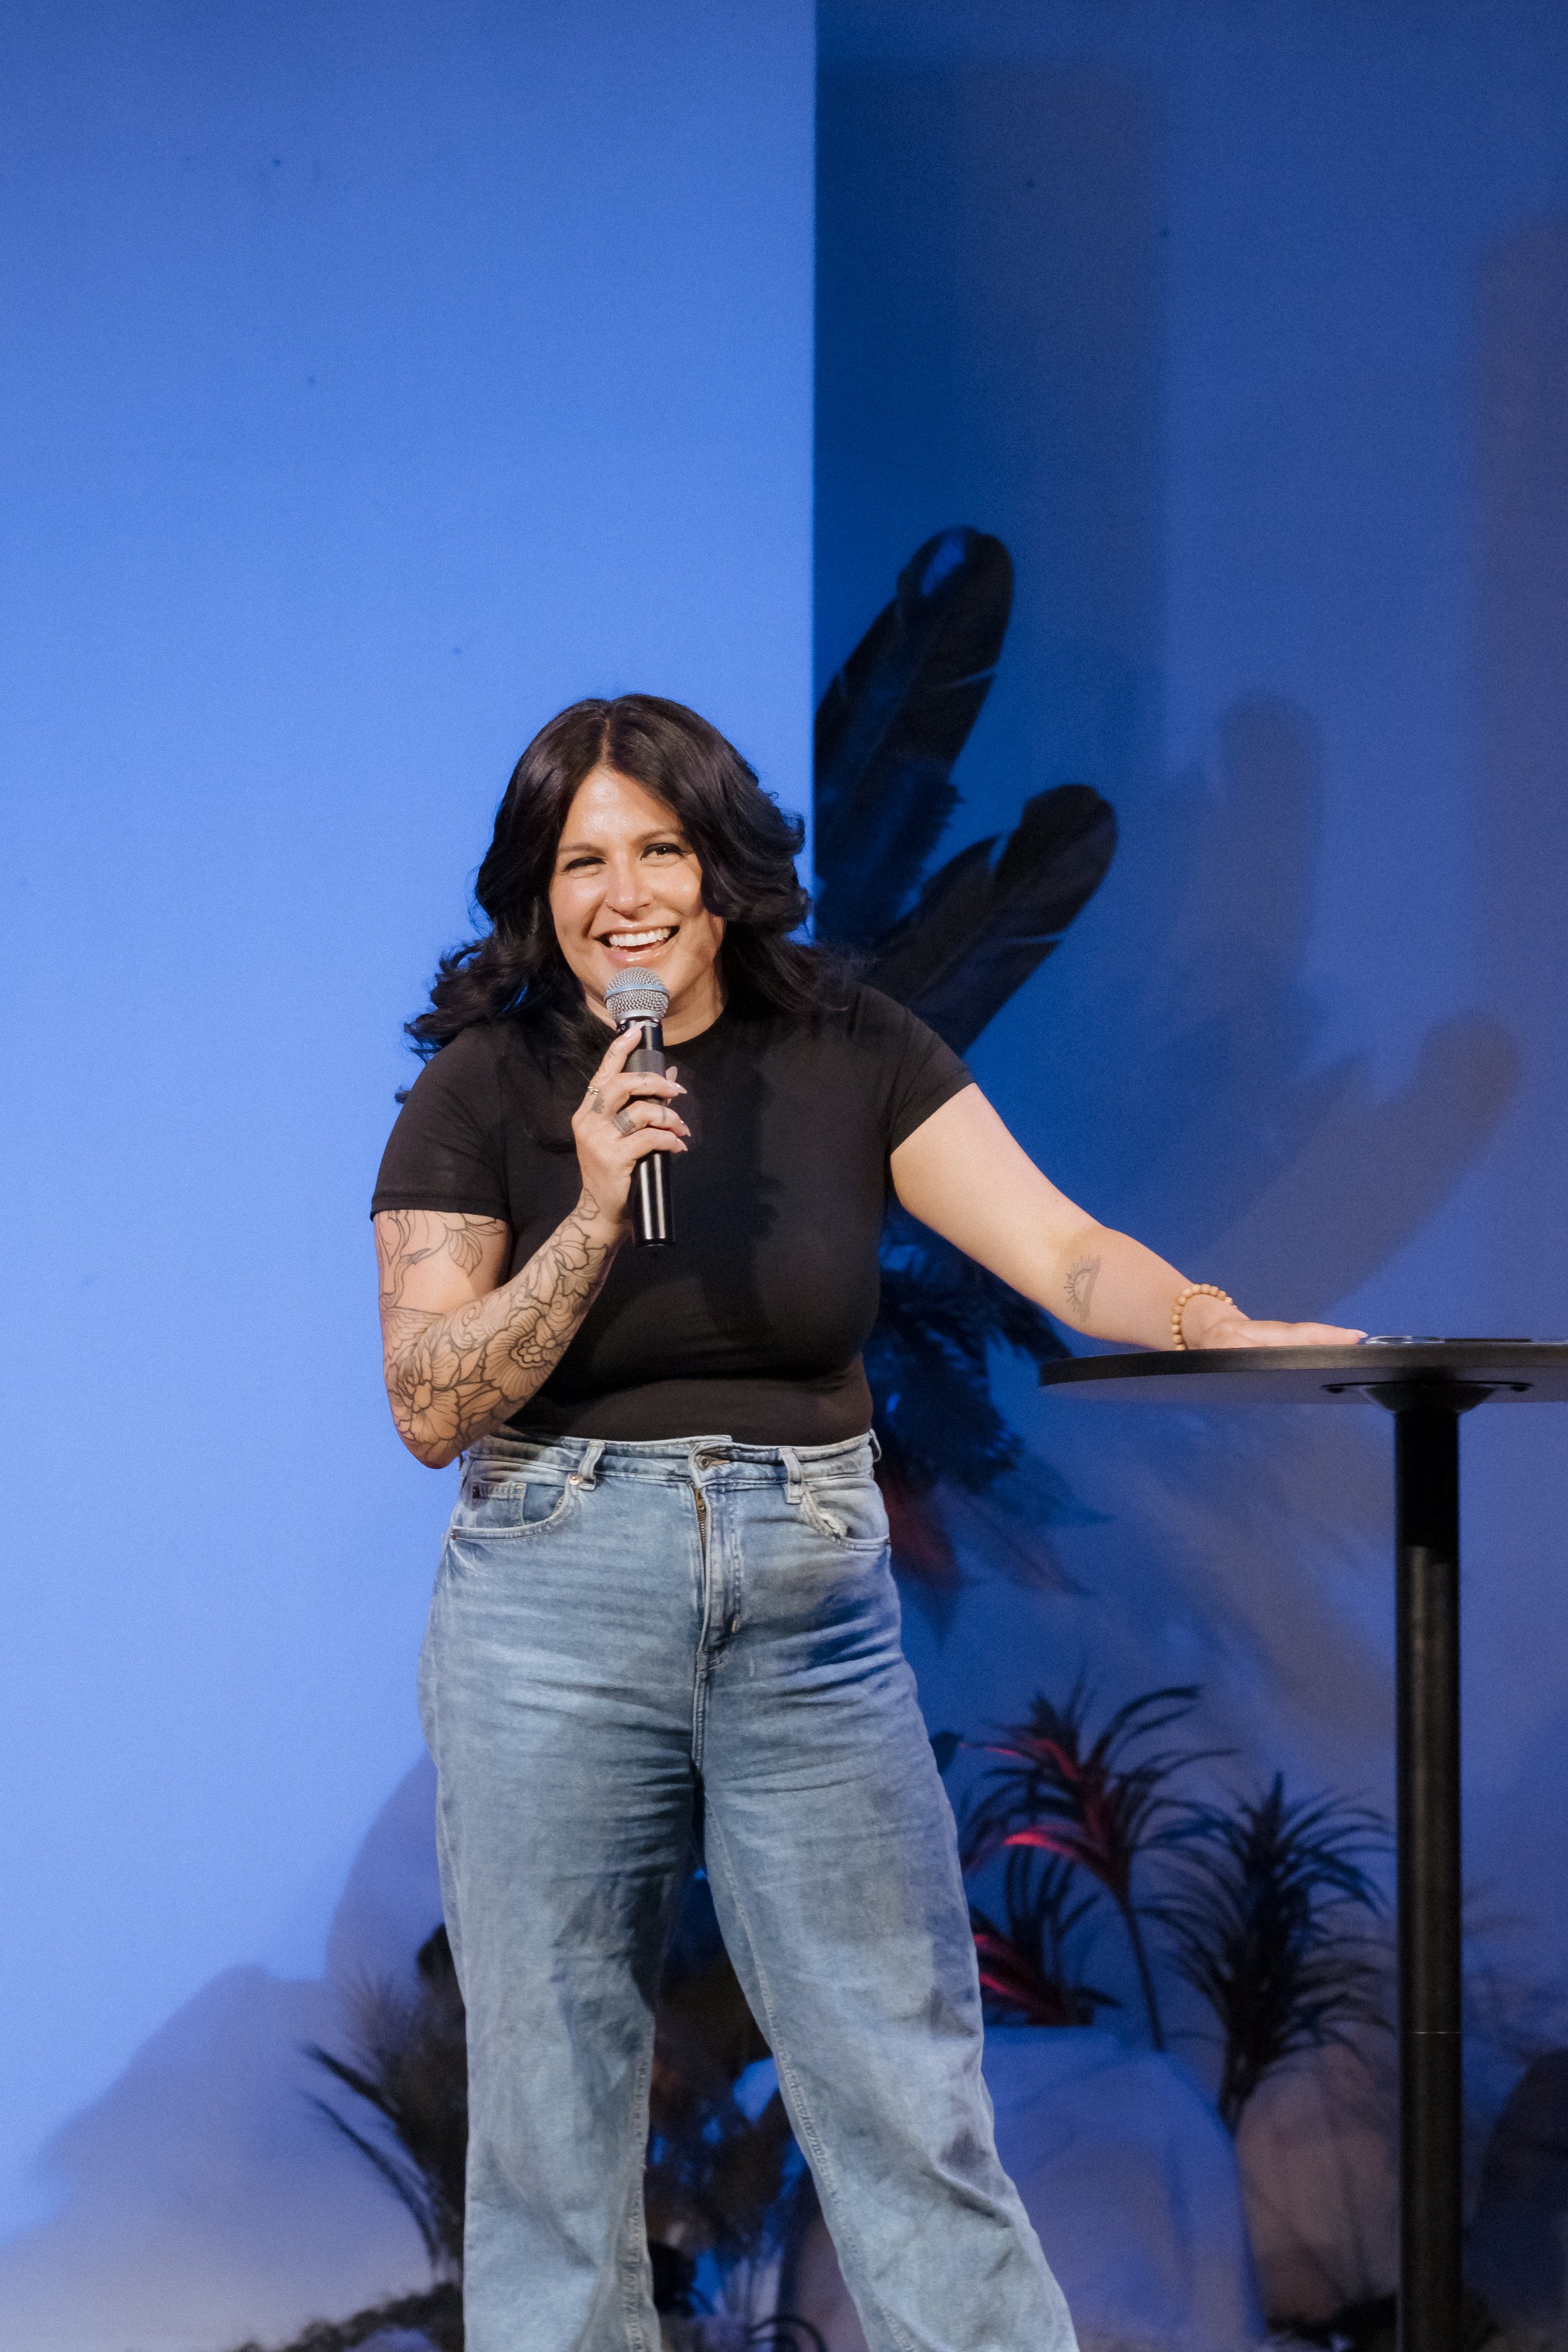
Full: Speaker head to toe
Cowboy: Speaker mid-thigh and up
Medium: Speaker waist and up
Close: Speaker chest and up
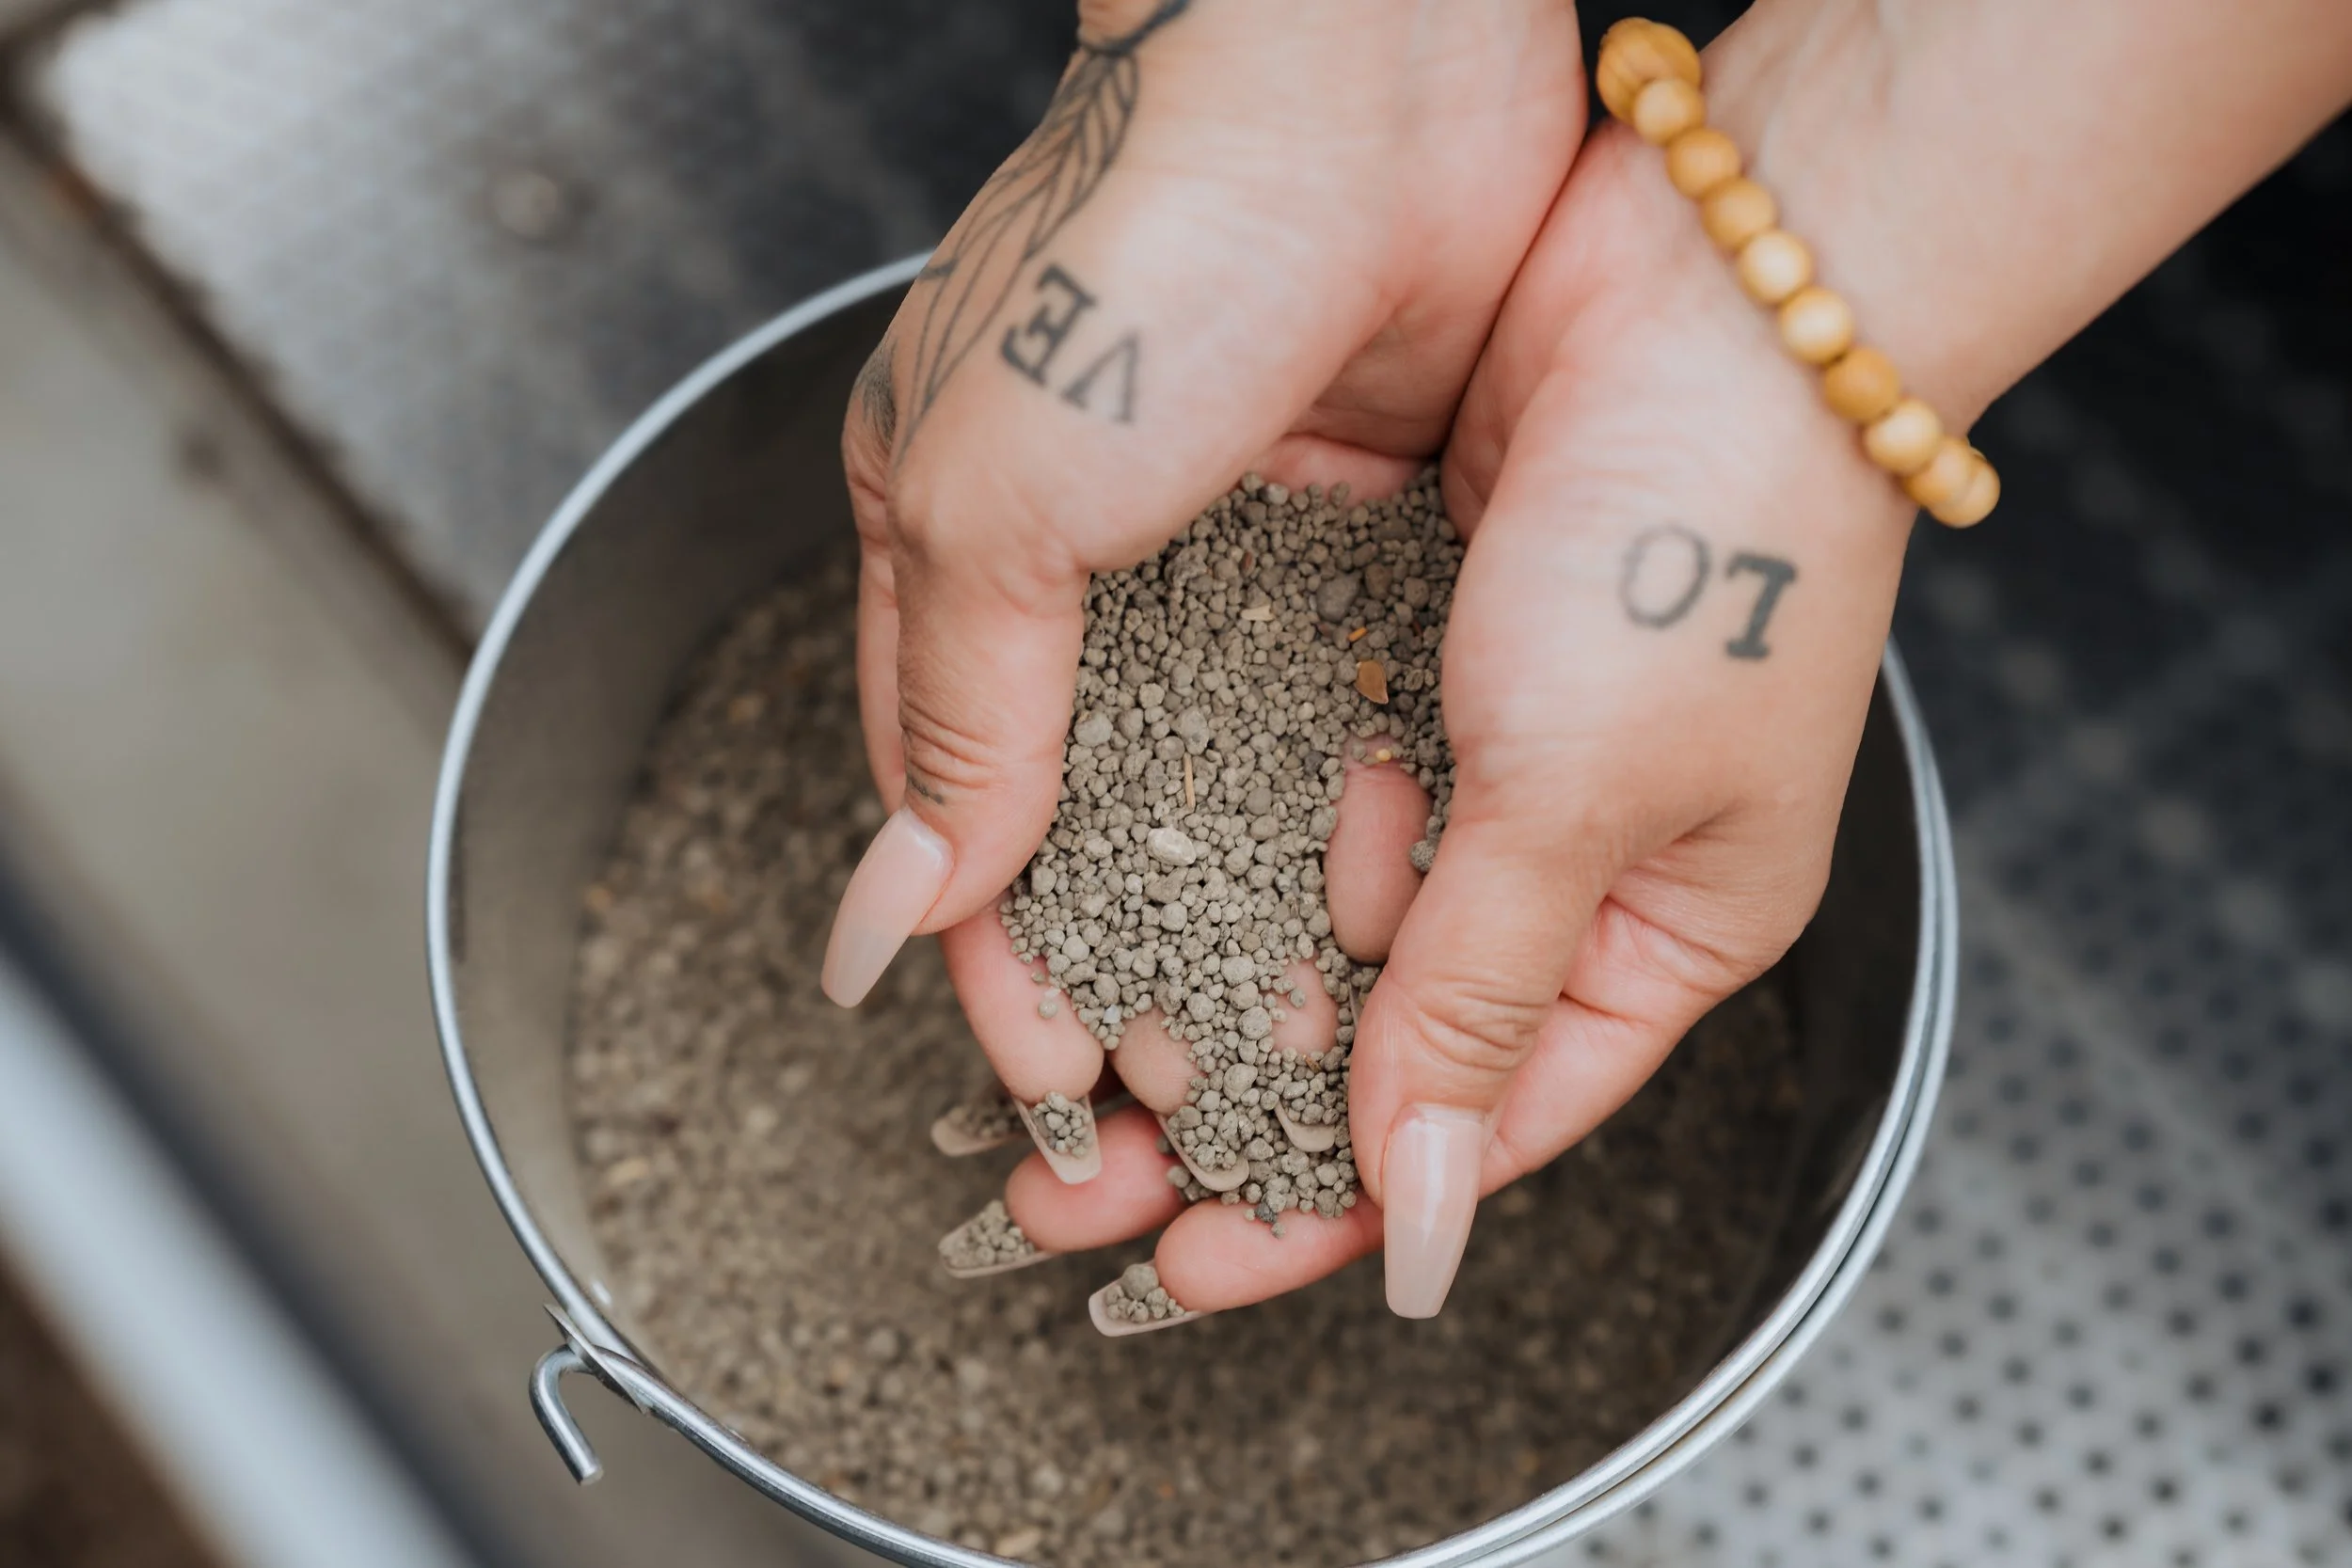
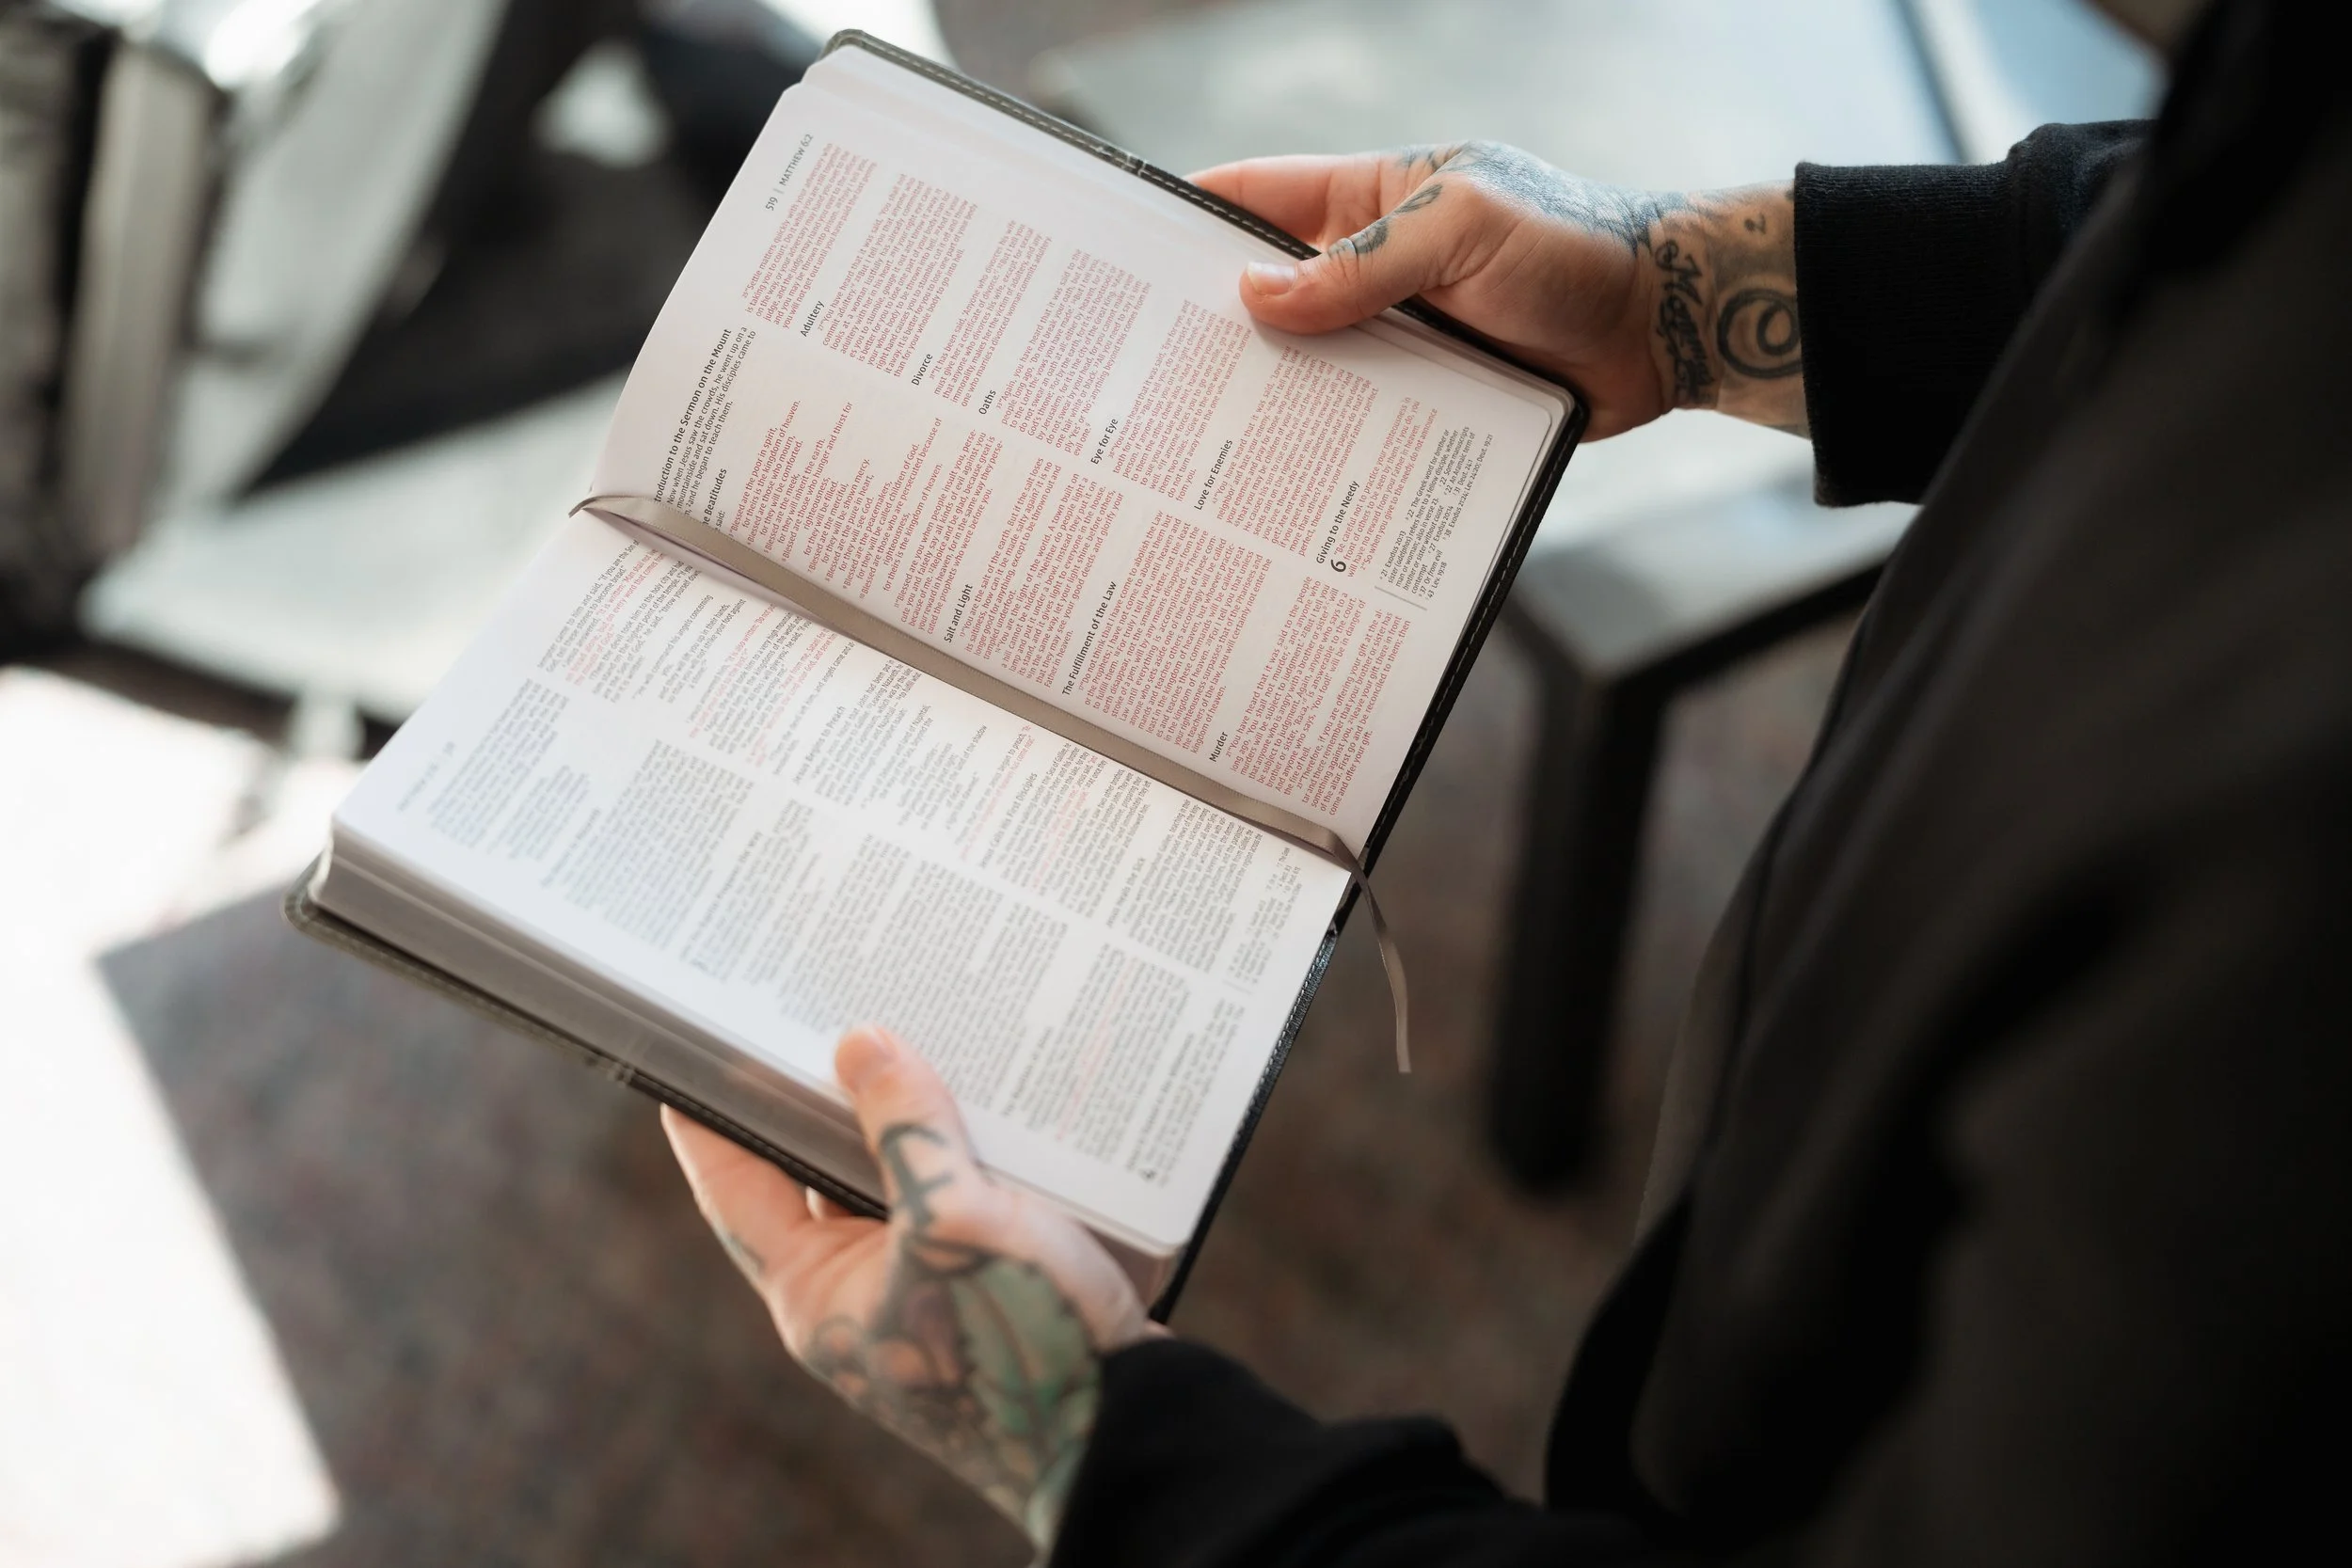
Tight: One single subject (hands, Bible, guitar, instrument, prop)
Shoot Through: Uses foreground elements close to you while focusing on the subject in the distance. See below for examples.
Note: For now, prioritize medium-close and tighter compositions.
Compositional Types
Divide your frame into a 3x3 grid. Place your subject at one of the four intersections, not dead center. This creates a more natural, balanced image and gives the viewer's eye somewhere to move.
For a single speaker on stage, place them at the top-left or top-right intersection on the side opposite the congregation. This gives the speaker "looking room" into the audience and leaves space for the graphics team to add text.
For more composition techniques, look up symmetrical composition, leading lines, framing, and the golden ratio.
Rule of Thirds Grid
The rule of thirds suggests that the main subject of an image should be placed on or near one of these points of interest rather than in the center of the frame. This creates a more visually interesting and balanced composition, allowing the viewer's eye to move around the image naturally. Additionally, the rule of thirds can be used to balance the composition of an image. For example, if there is a strong element on one side of the image, placing a complementary element on the opposite side can create balance and harmony.
Generally speaking, when capturing a single subject on stage, I like placing the focal point at the grid's top left or right intersection. This gives the image a focal point while giving "looking room" and "headroom" to the speaker. It also provides the graphics team room to add text. To do this, I crop the speaker to the opposite side of the congregation to show them looking out into the congregation.
For more composition example types, looks up: symmetrical, leading lines, framing, and the golden ratio/golden spiral.

Ultra Wide: Show entire scene
Wide: Establishes Scene
Full: Head to toe
Medium/Cowboy: Shows speaker waist up or mid thigh up

Close-Up/Tight: Highlights 1 subject

Detail Photos: Highlights 1 detail
Shoot Through: Uses foreground elements to create POV perspective
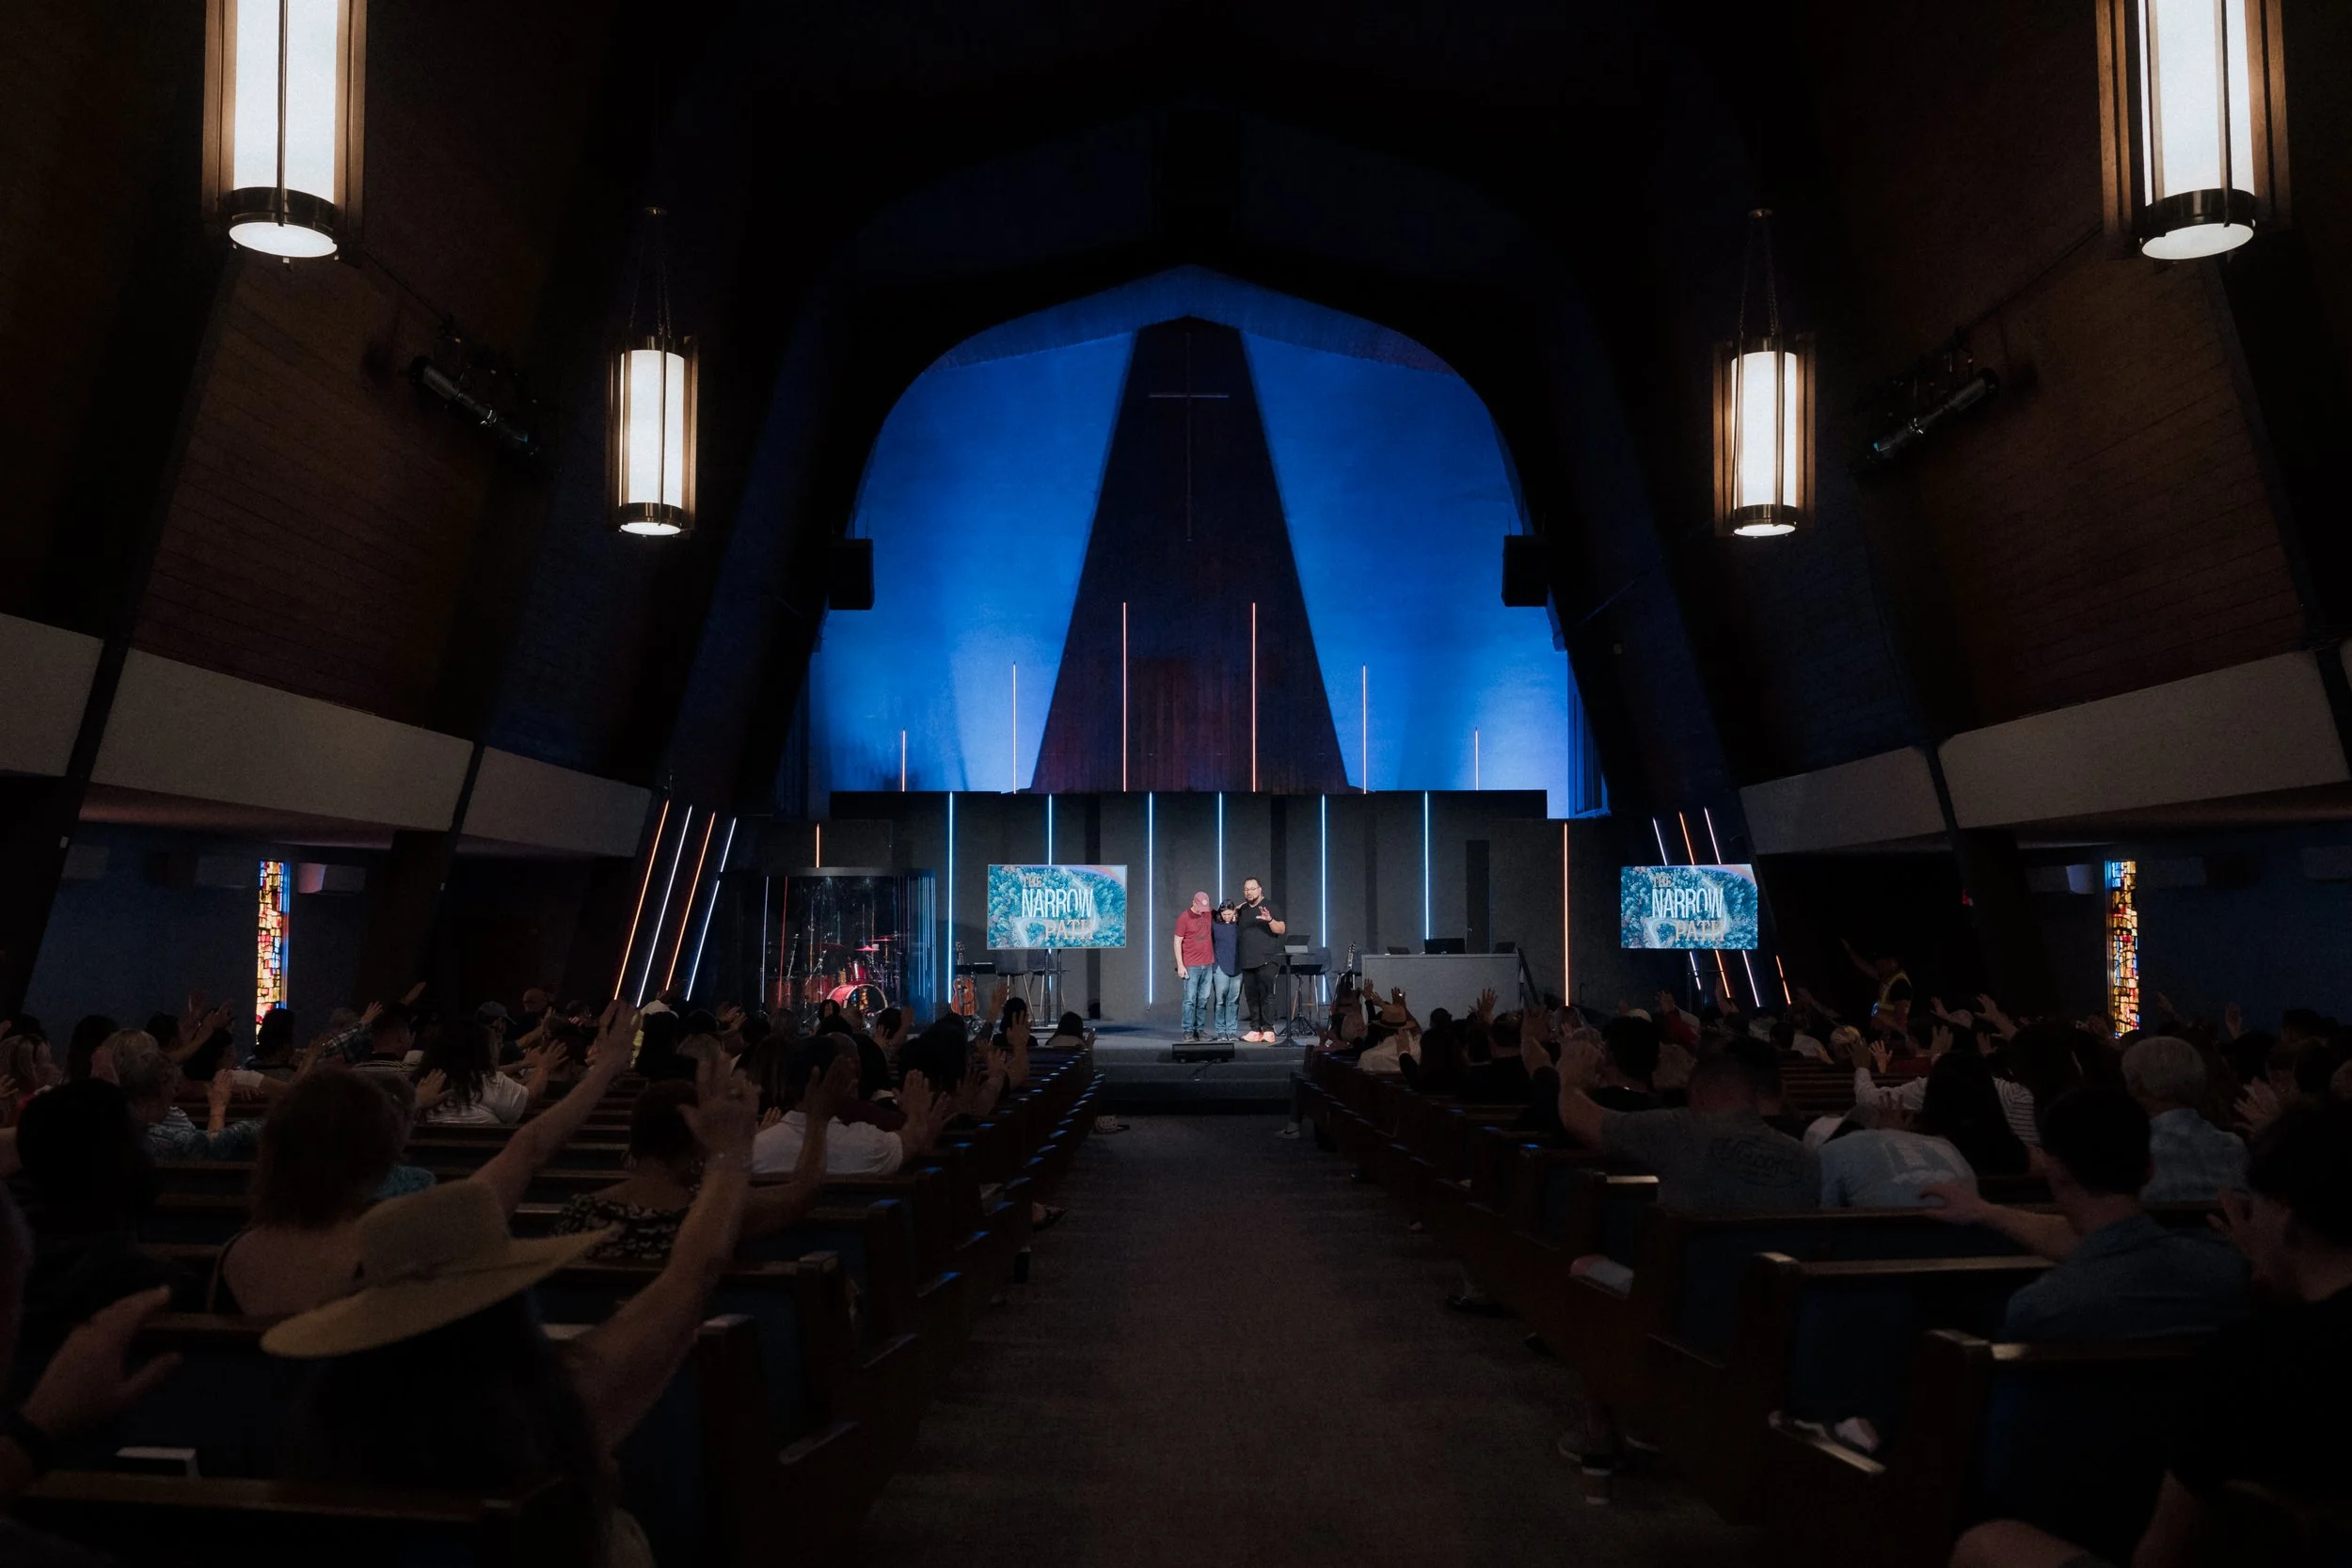
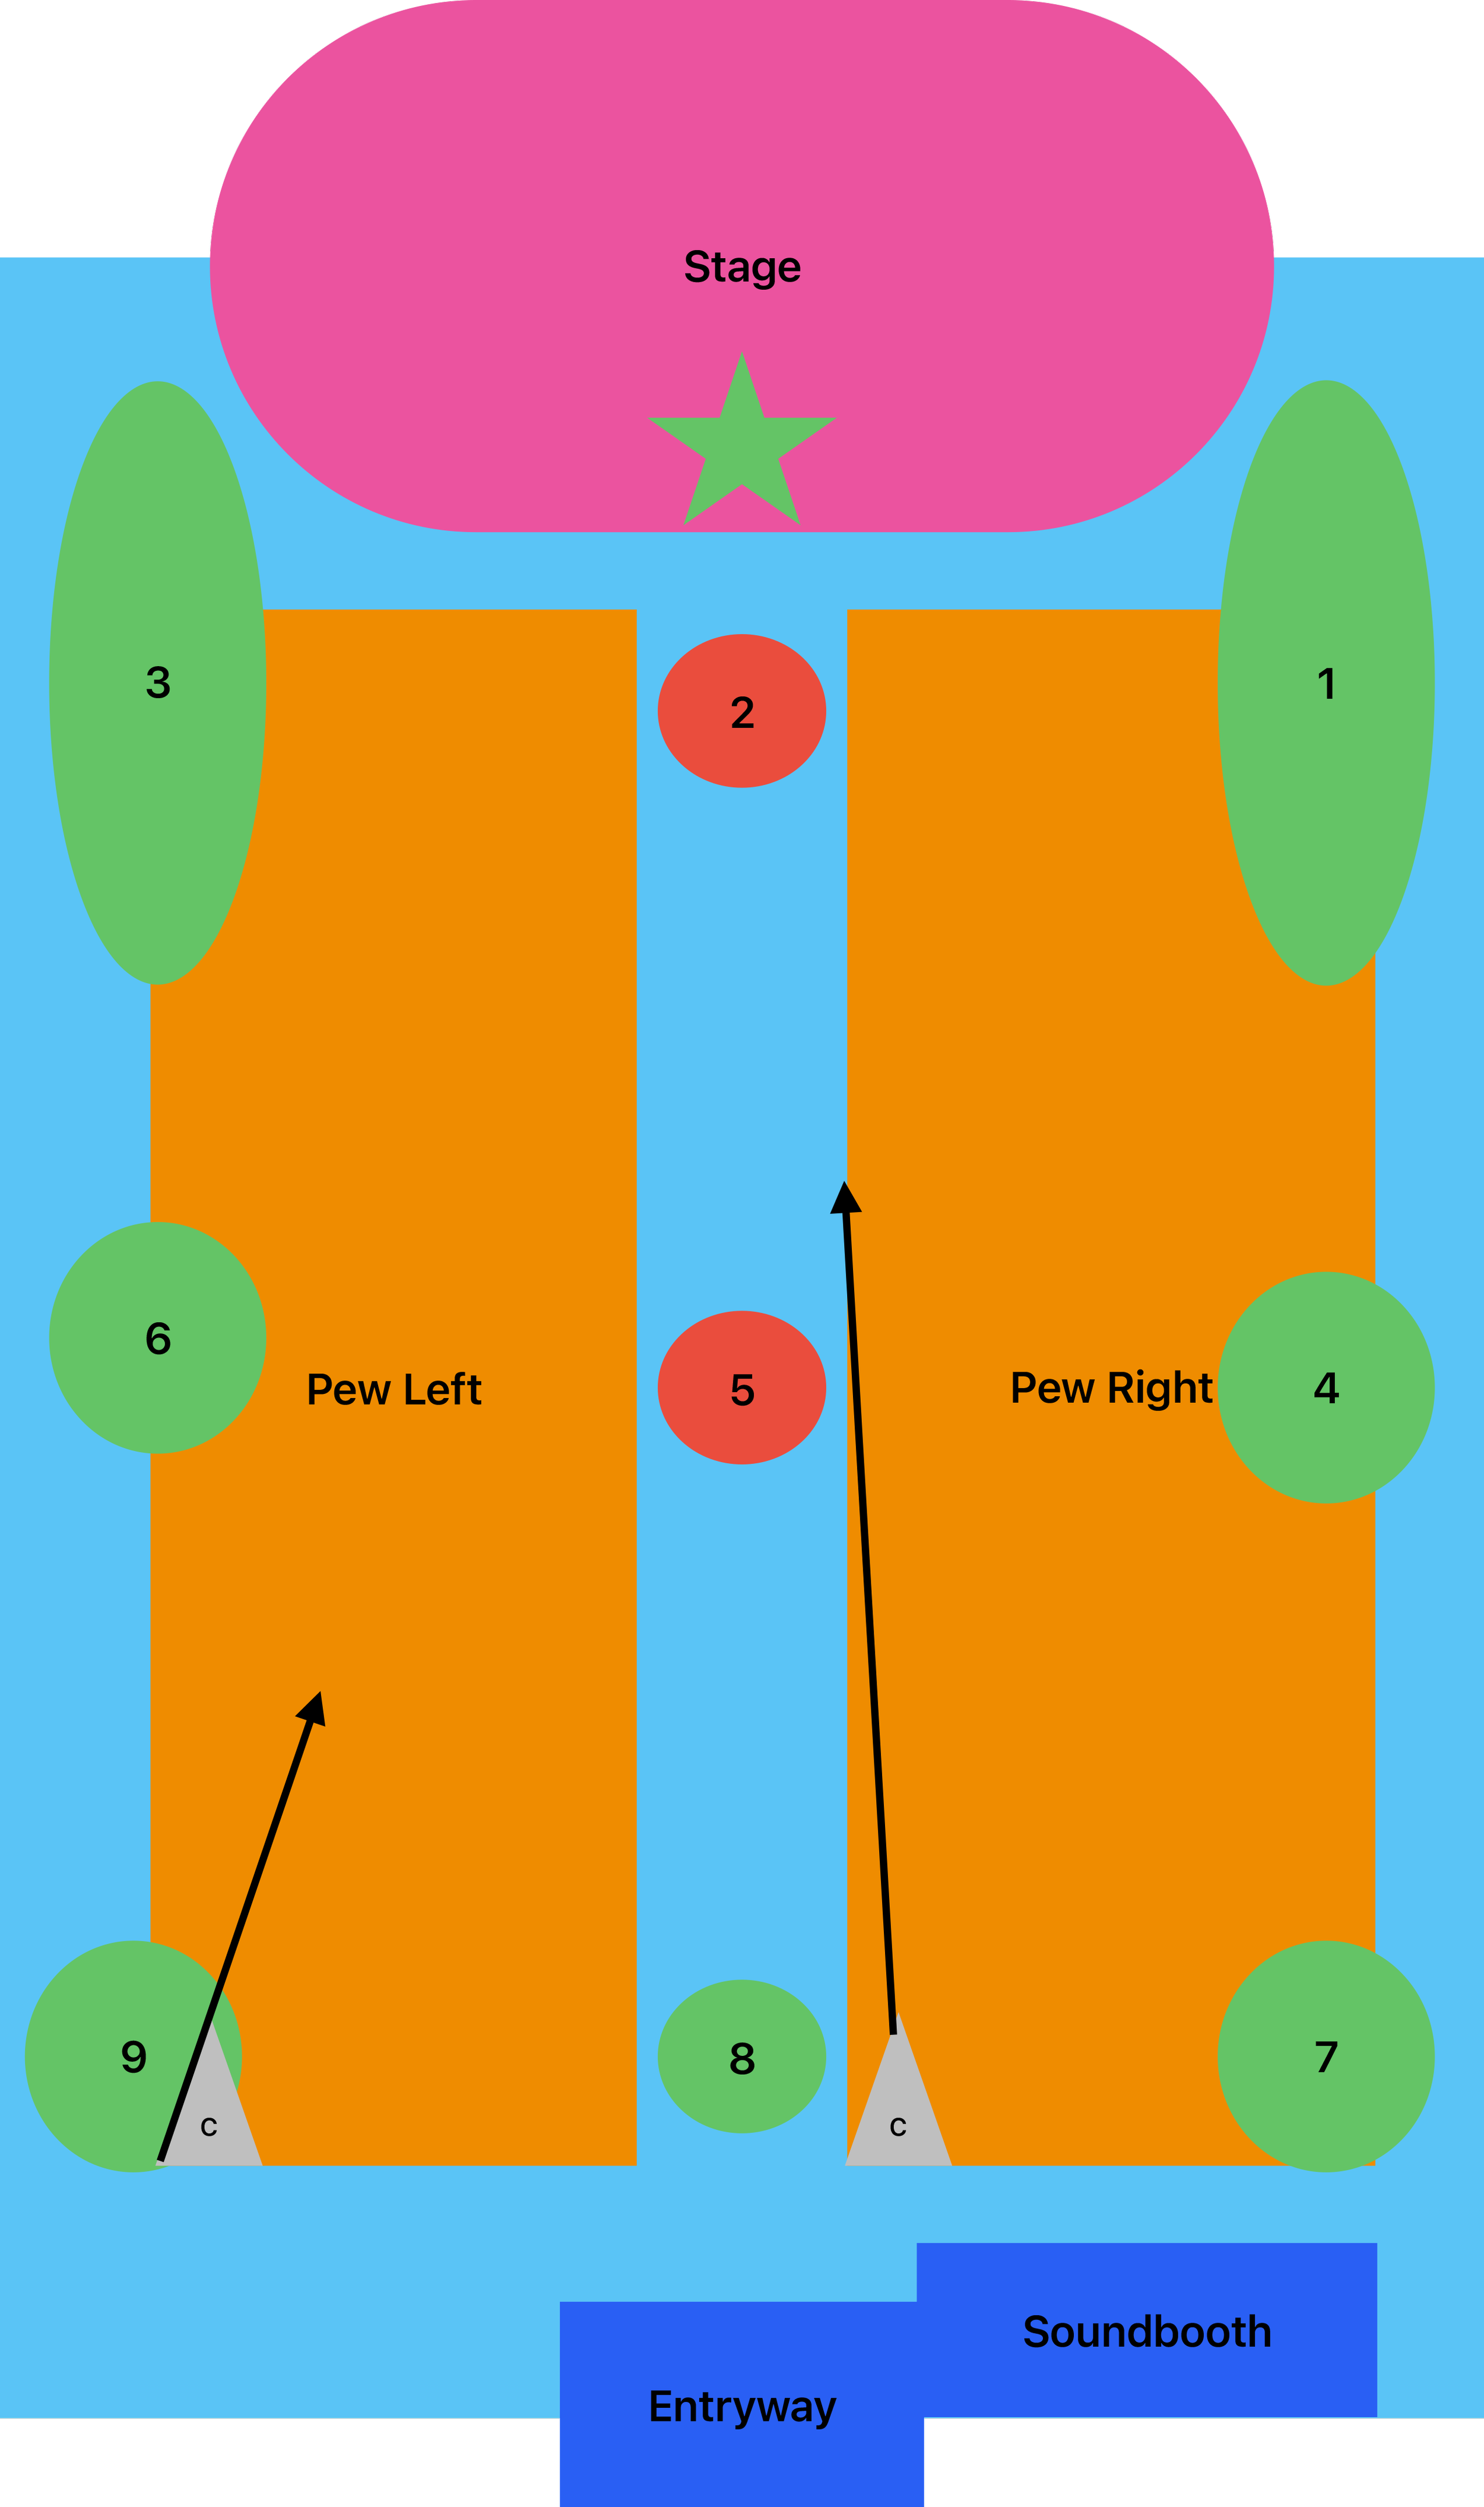
Sanctuary Photo Zones
Here's a general layout of Parkcrest's main sanctuary as of 2025. Green zones are almost always safe. The ones I use most are 1, 3, 4, 6, and 5.
Be careful with Zones 2 and 5. These spots can be distracting during the service and may block the livestream cameras. Anthony does like shots from Zone 5, so grab a few, but don't linger.
Be discreet. Wear dark colors. Stay aware of your surroundings and never be a distraction.
These are guidelines, not rules. Get creative and find your own angles.
Timeline
General Sunday Timeline
Check in upstairs. Grab your camera, name tag, and extra battery. Format your card and clean your lens before heading down.
9:00 AM Service
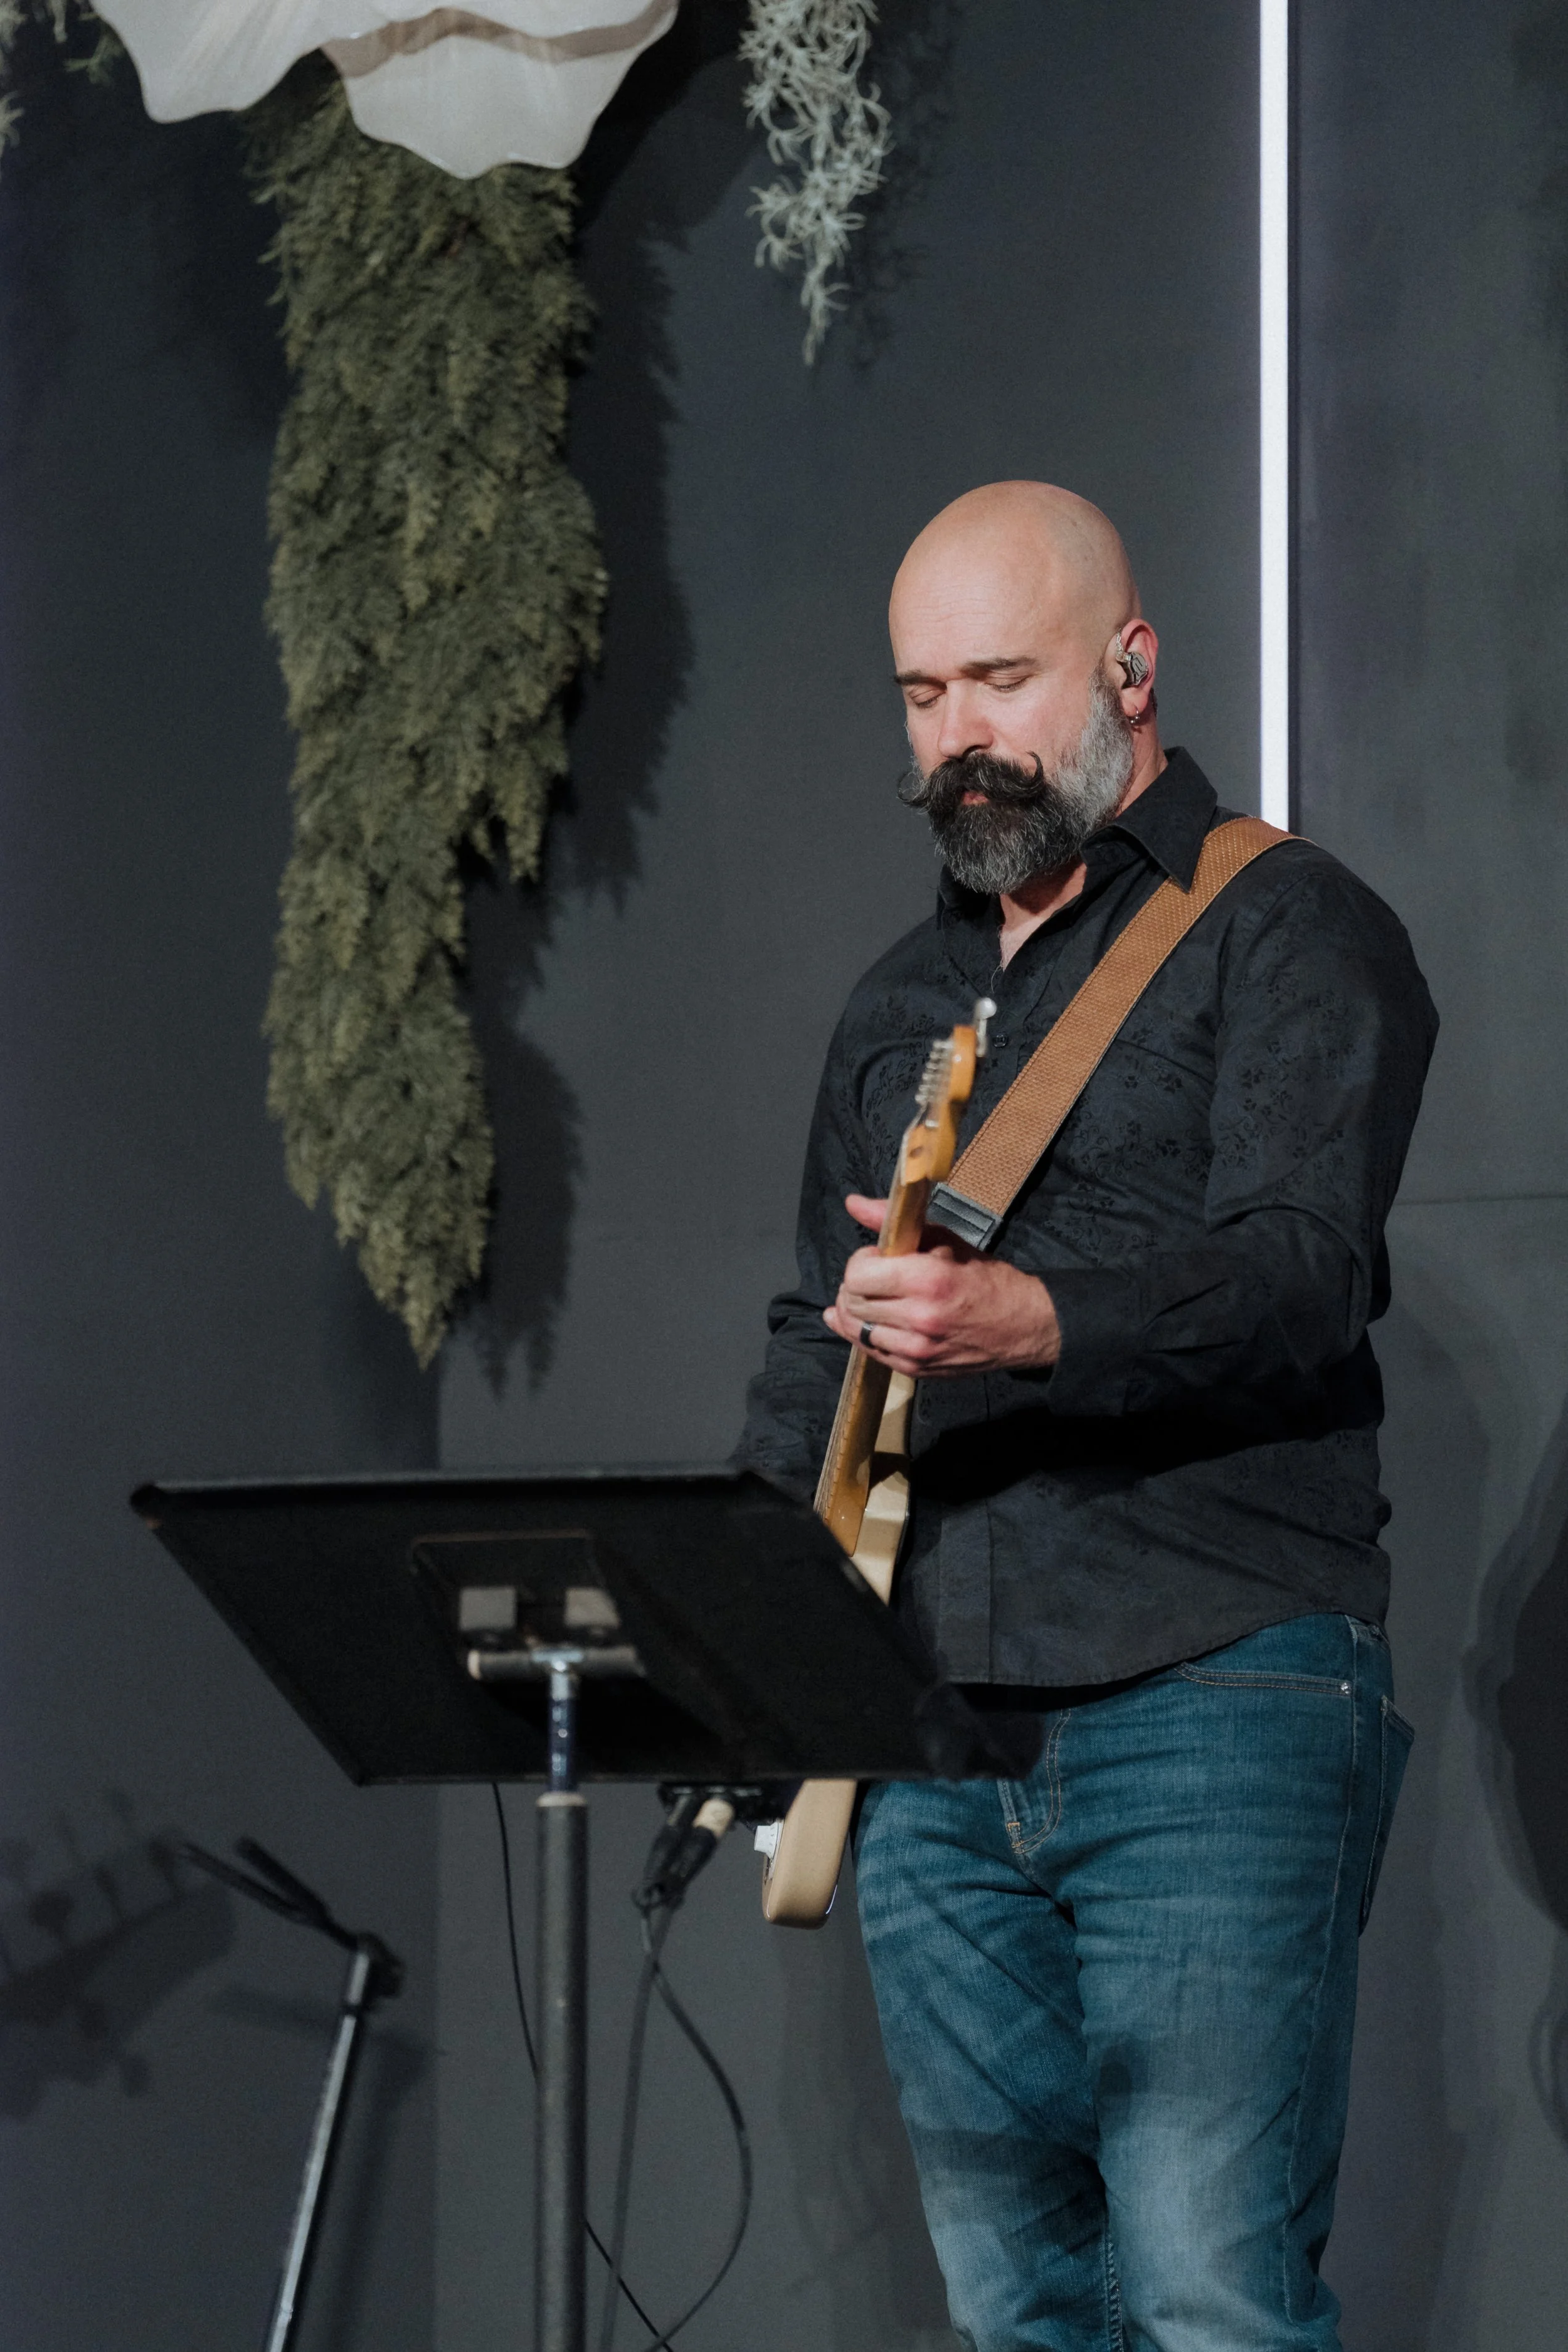
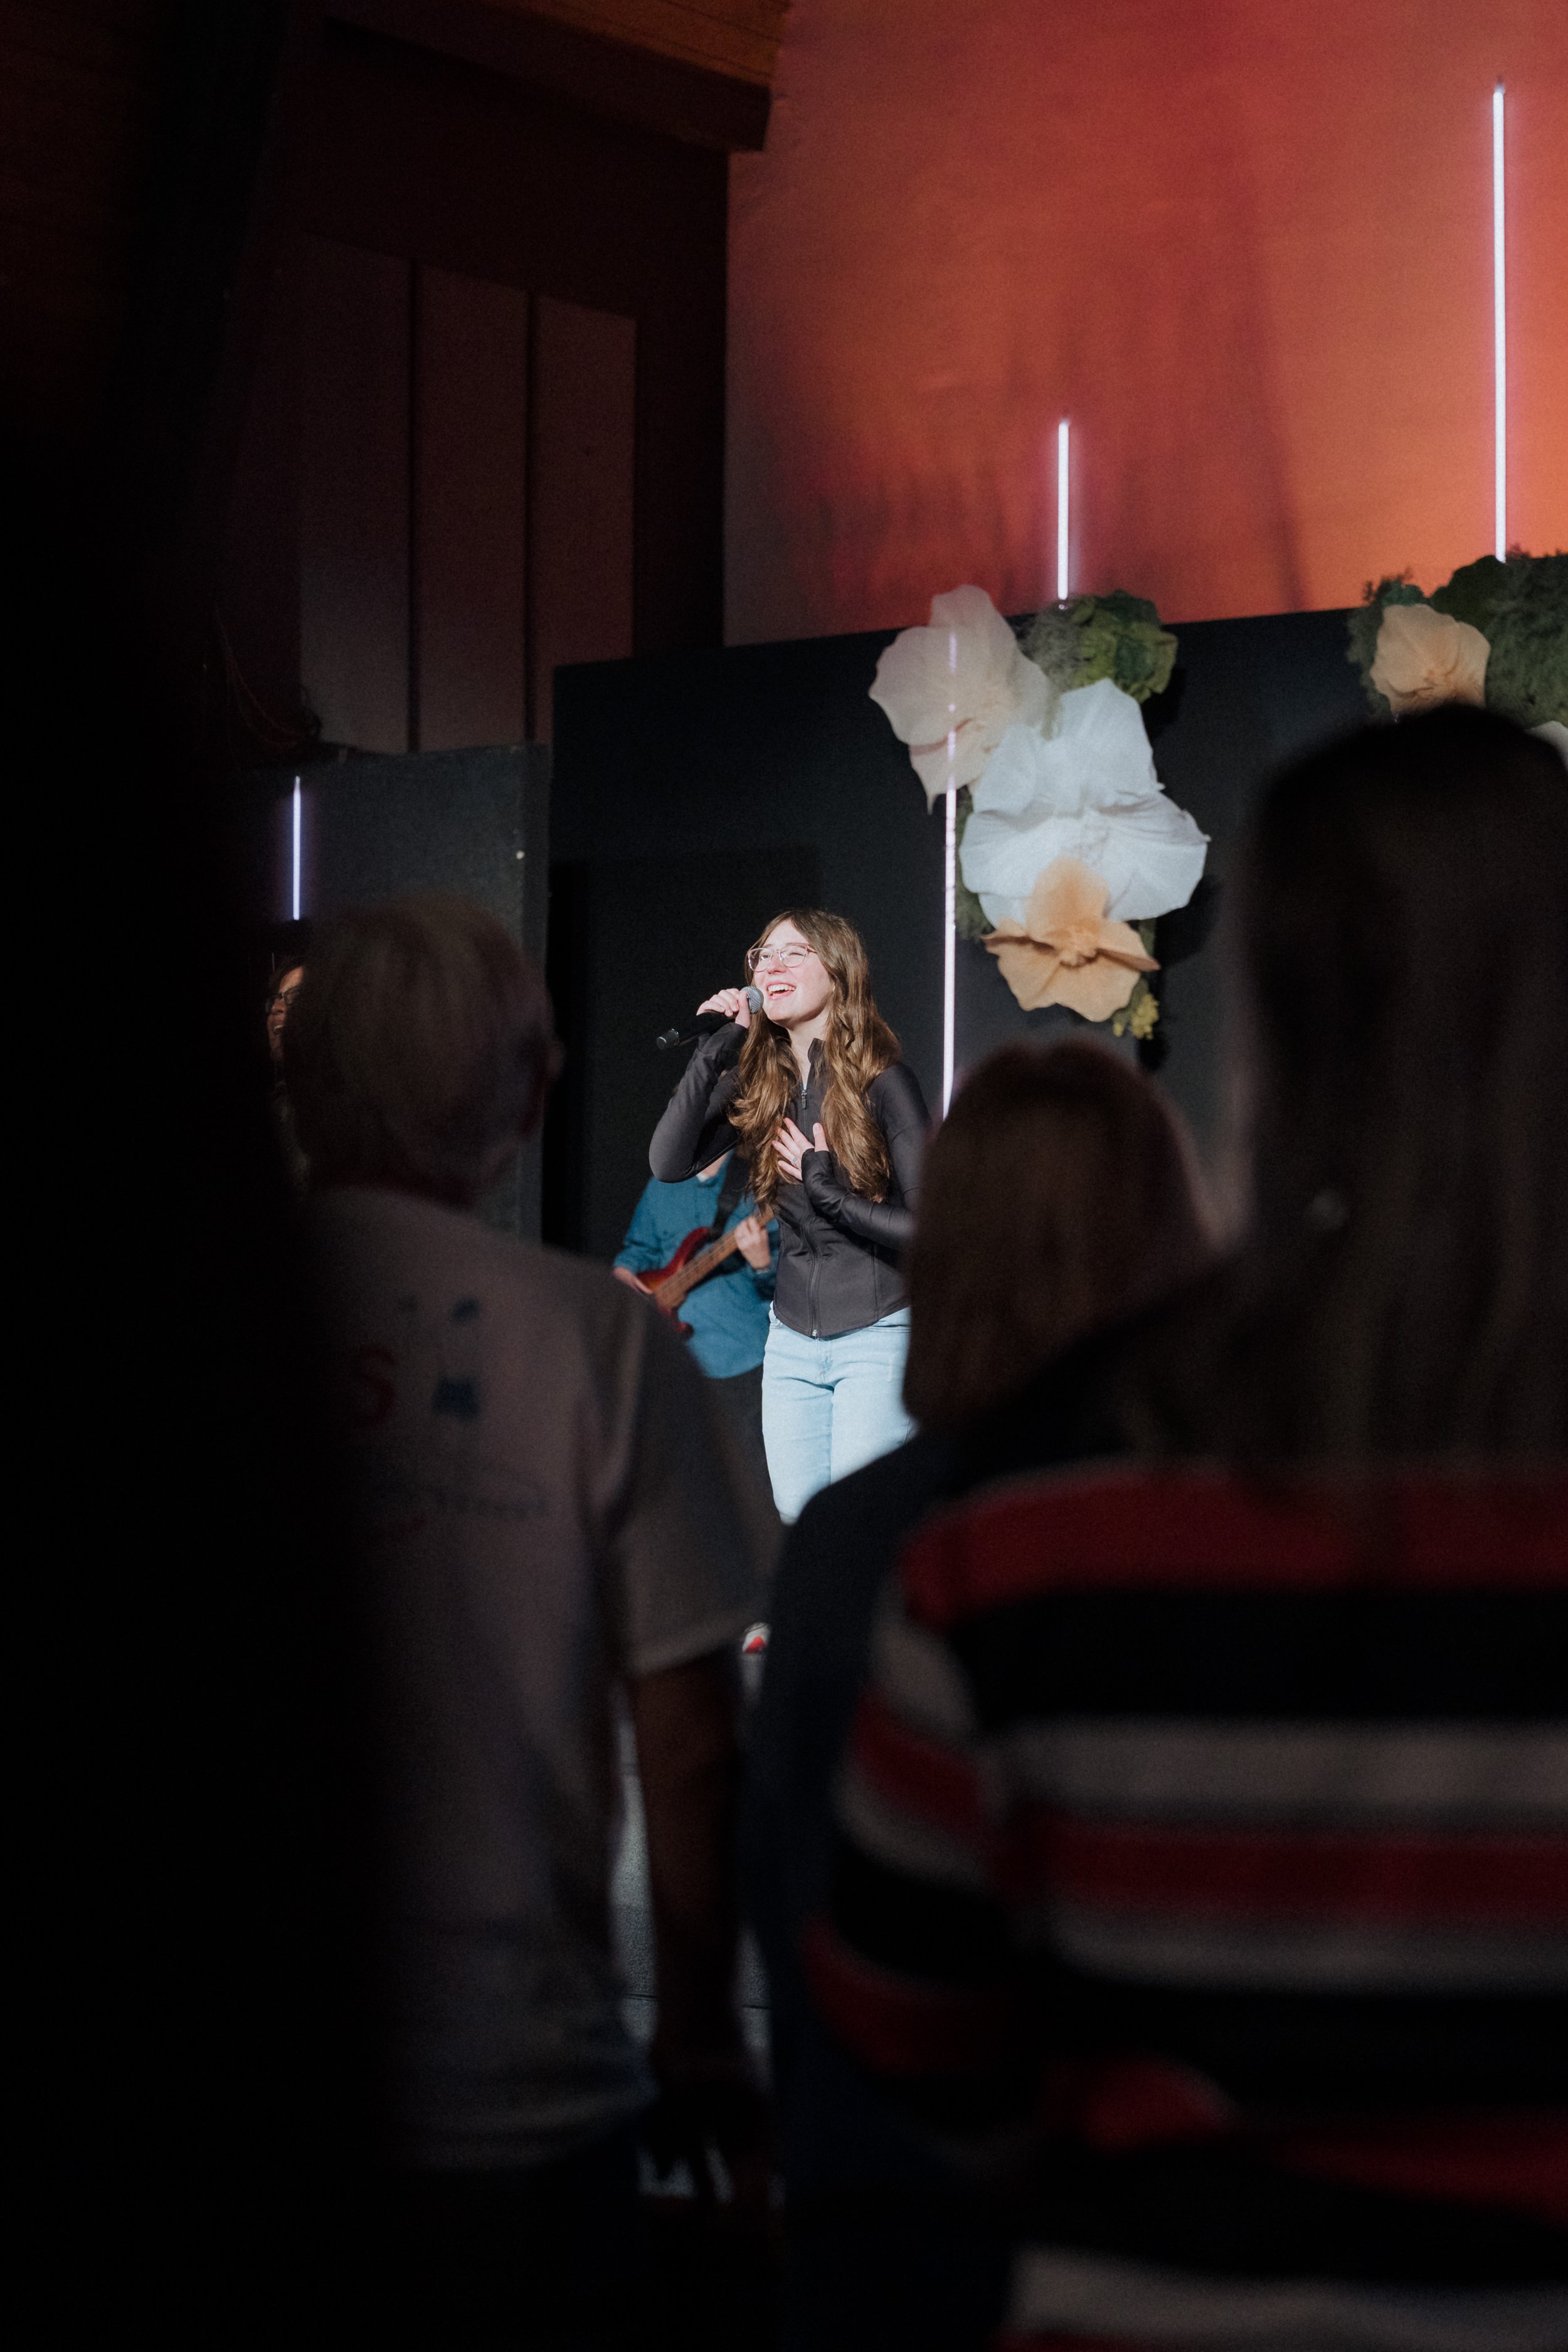
Song 1: Focus on musicians. Look for enthusiastic, energetic, joyful moments. Usually an upbeat song.
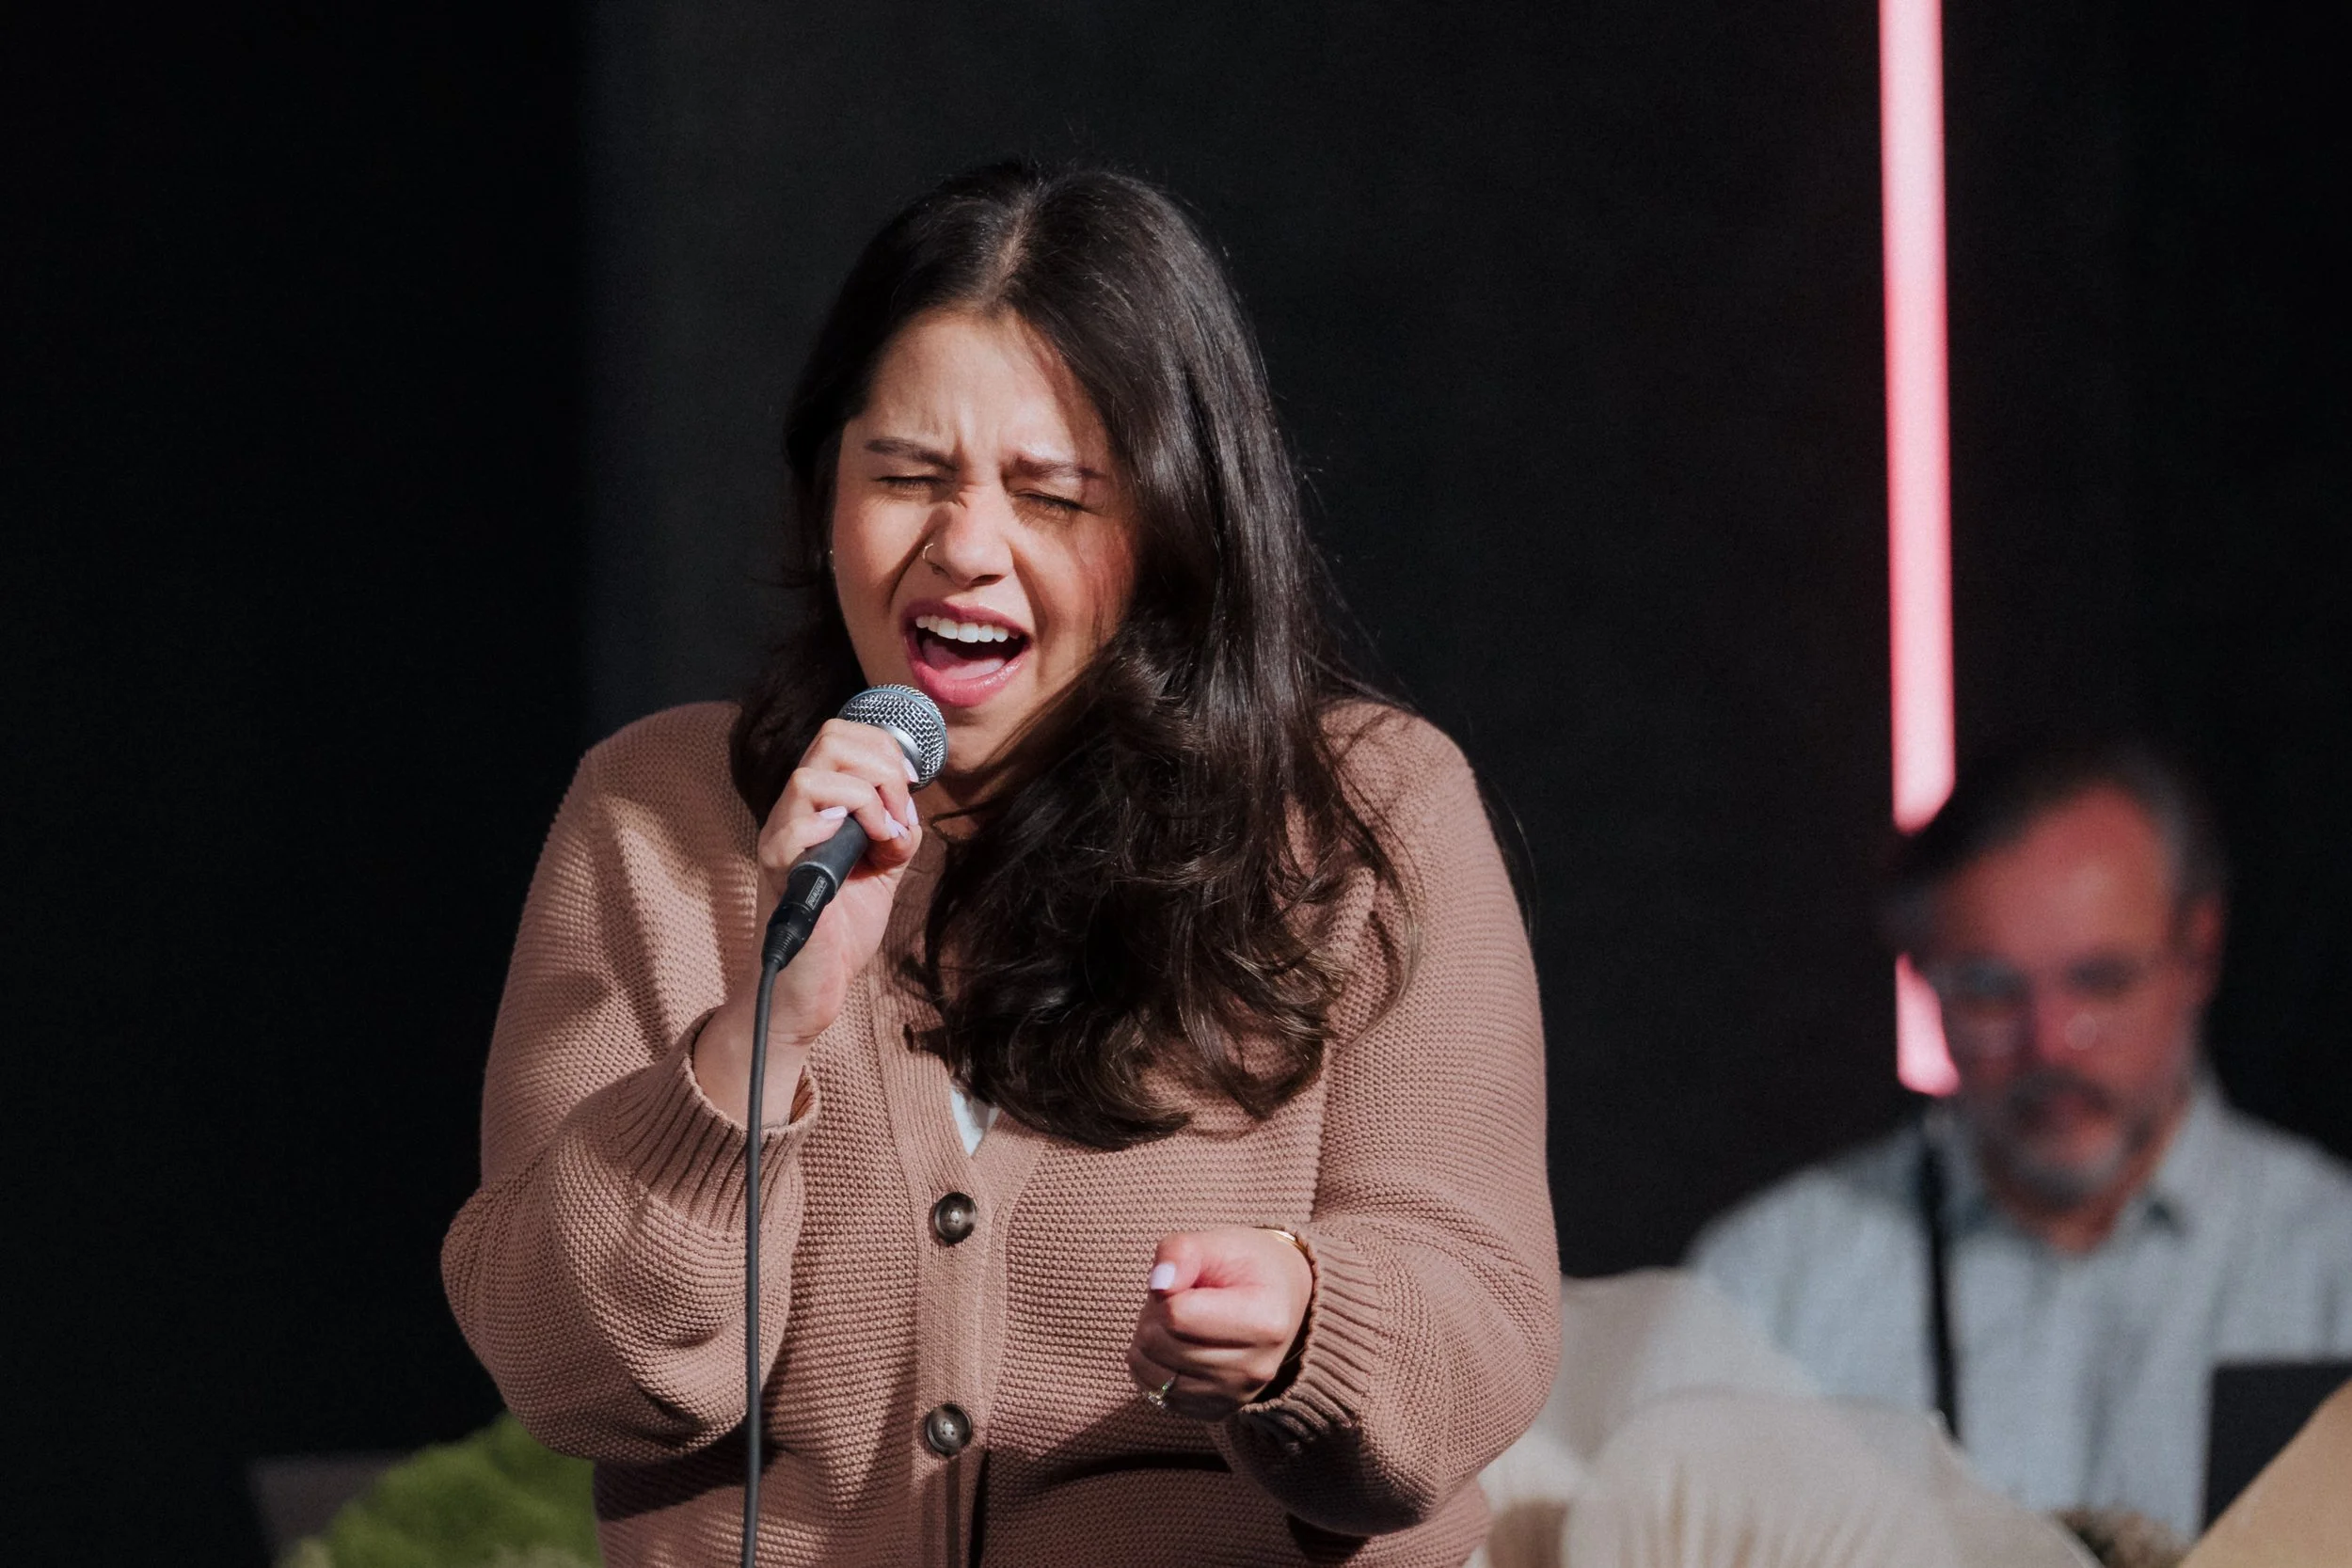
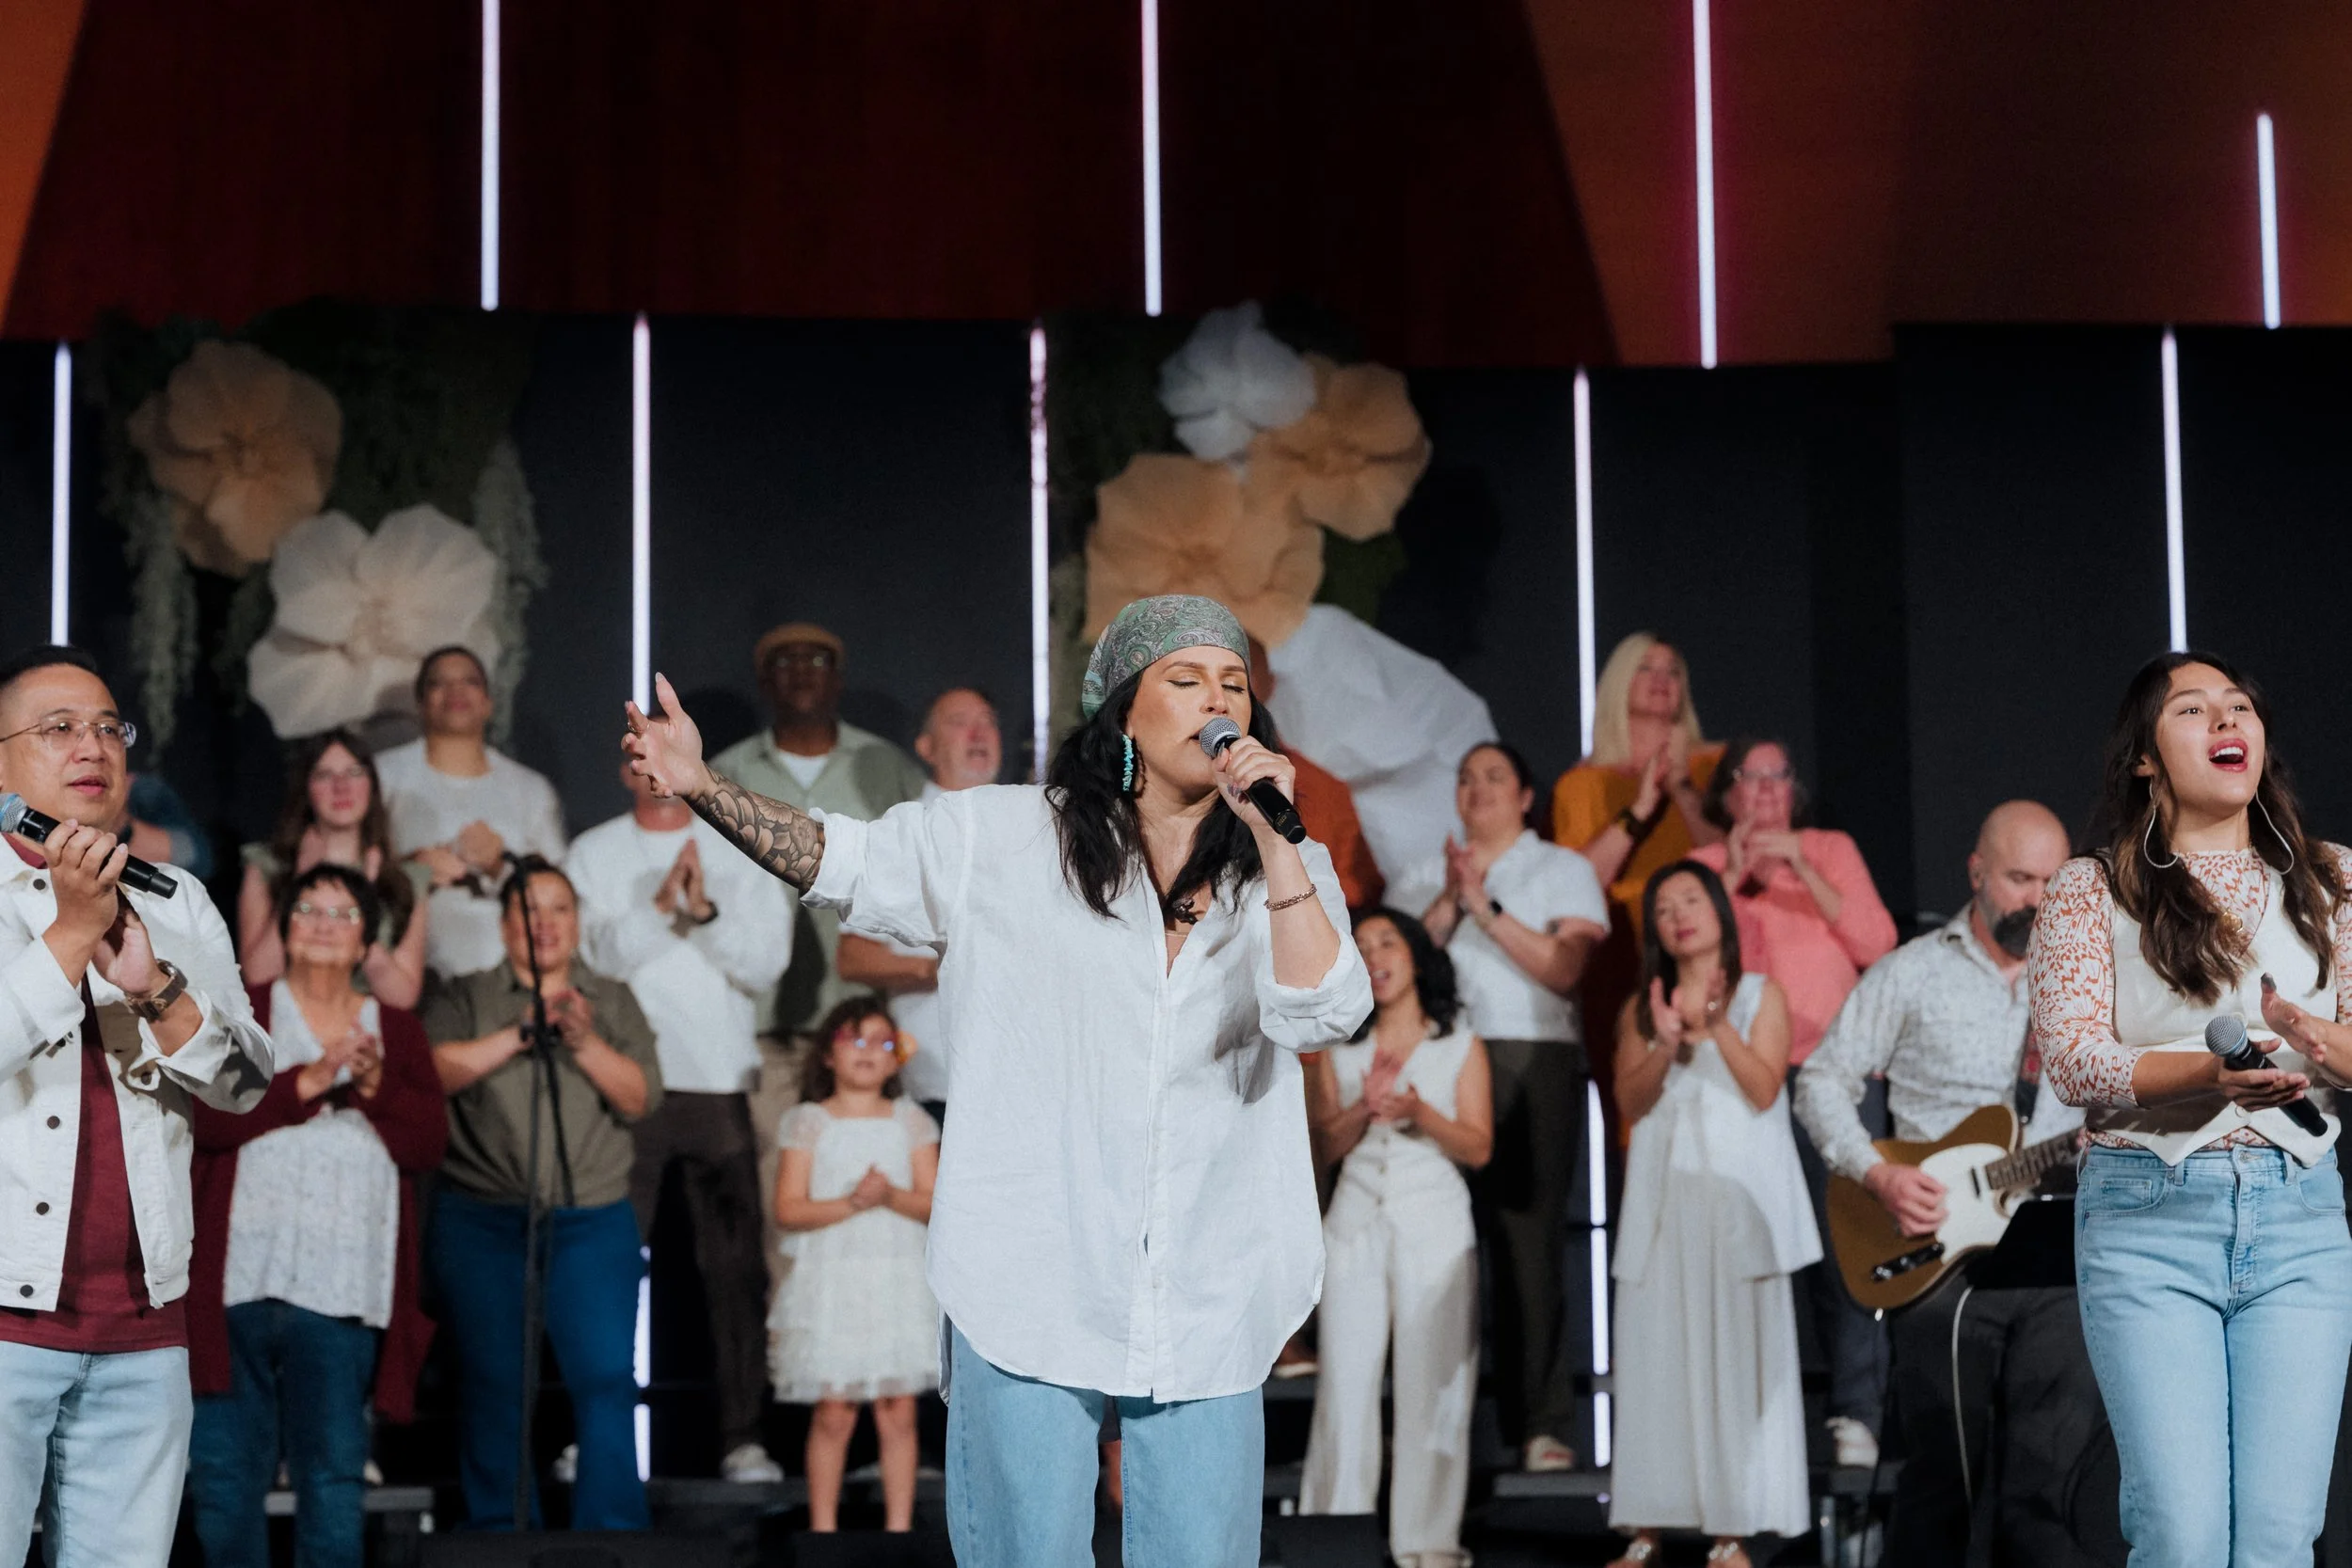
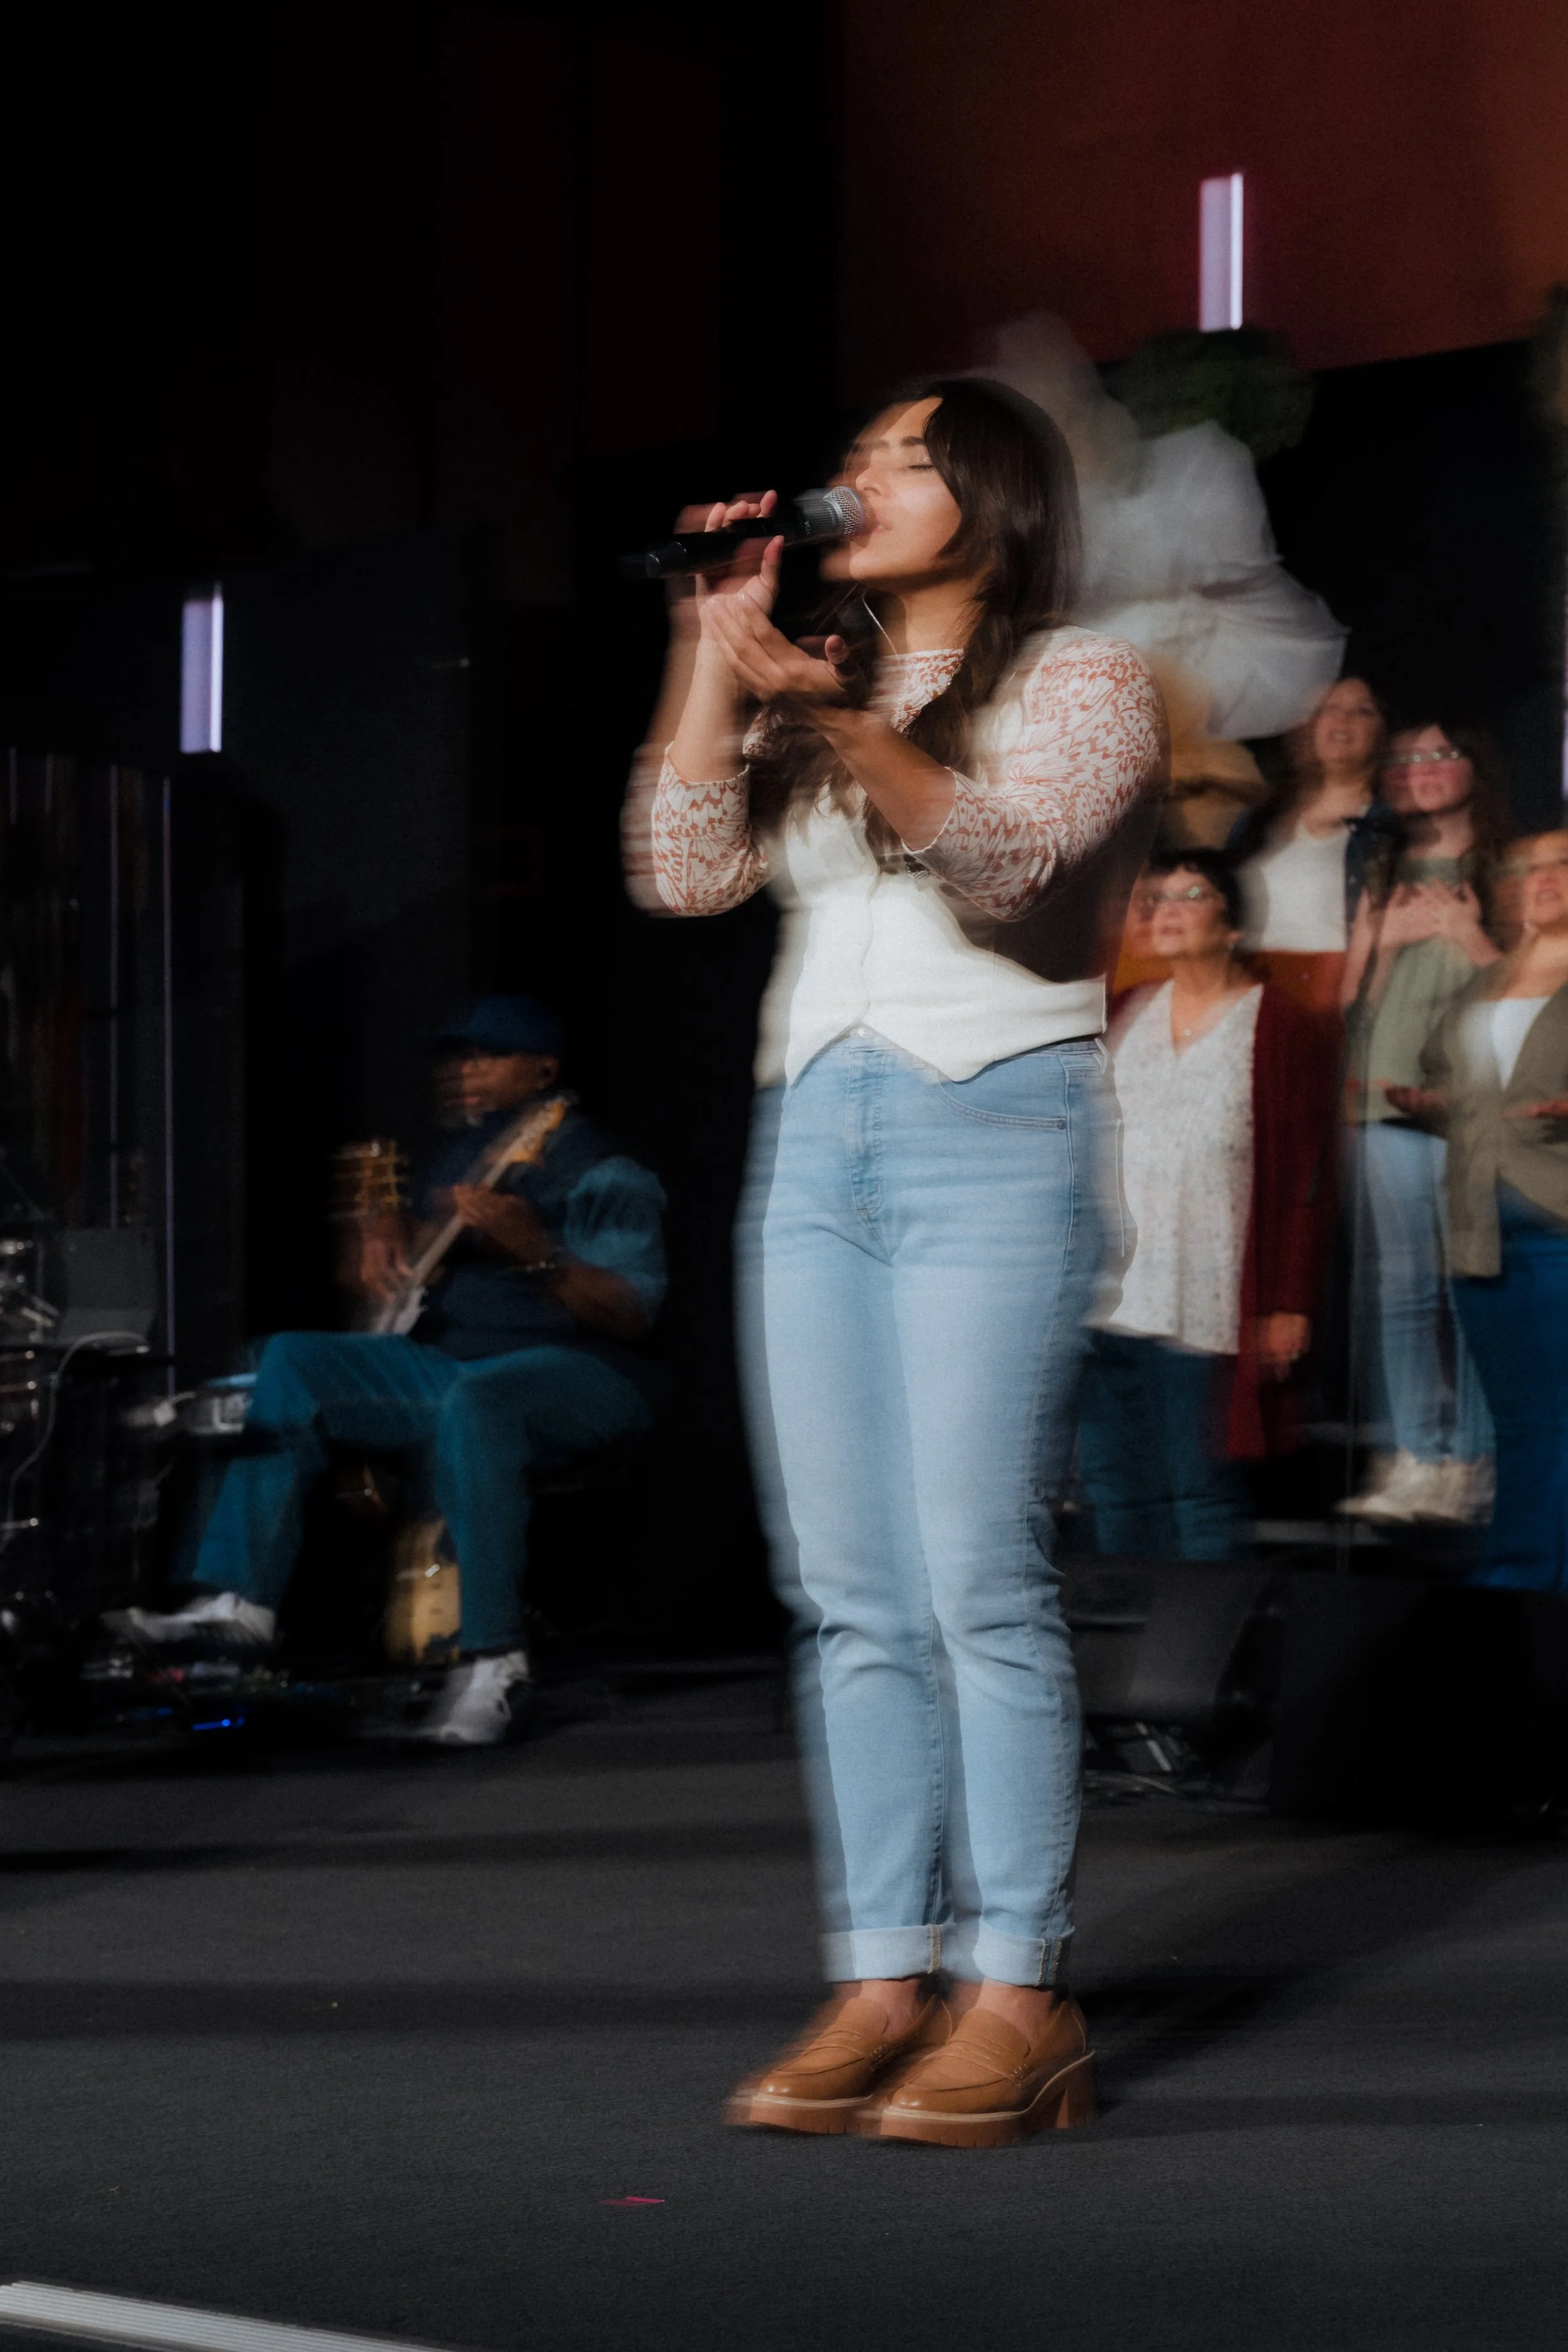
Songs 2–3: Focus on worship moments. Look for emotion, raised hands, eyes closed, people singing. Focus on singers and congregation.
Get close-ups of speakers (announcements, offering, etc.)
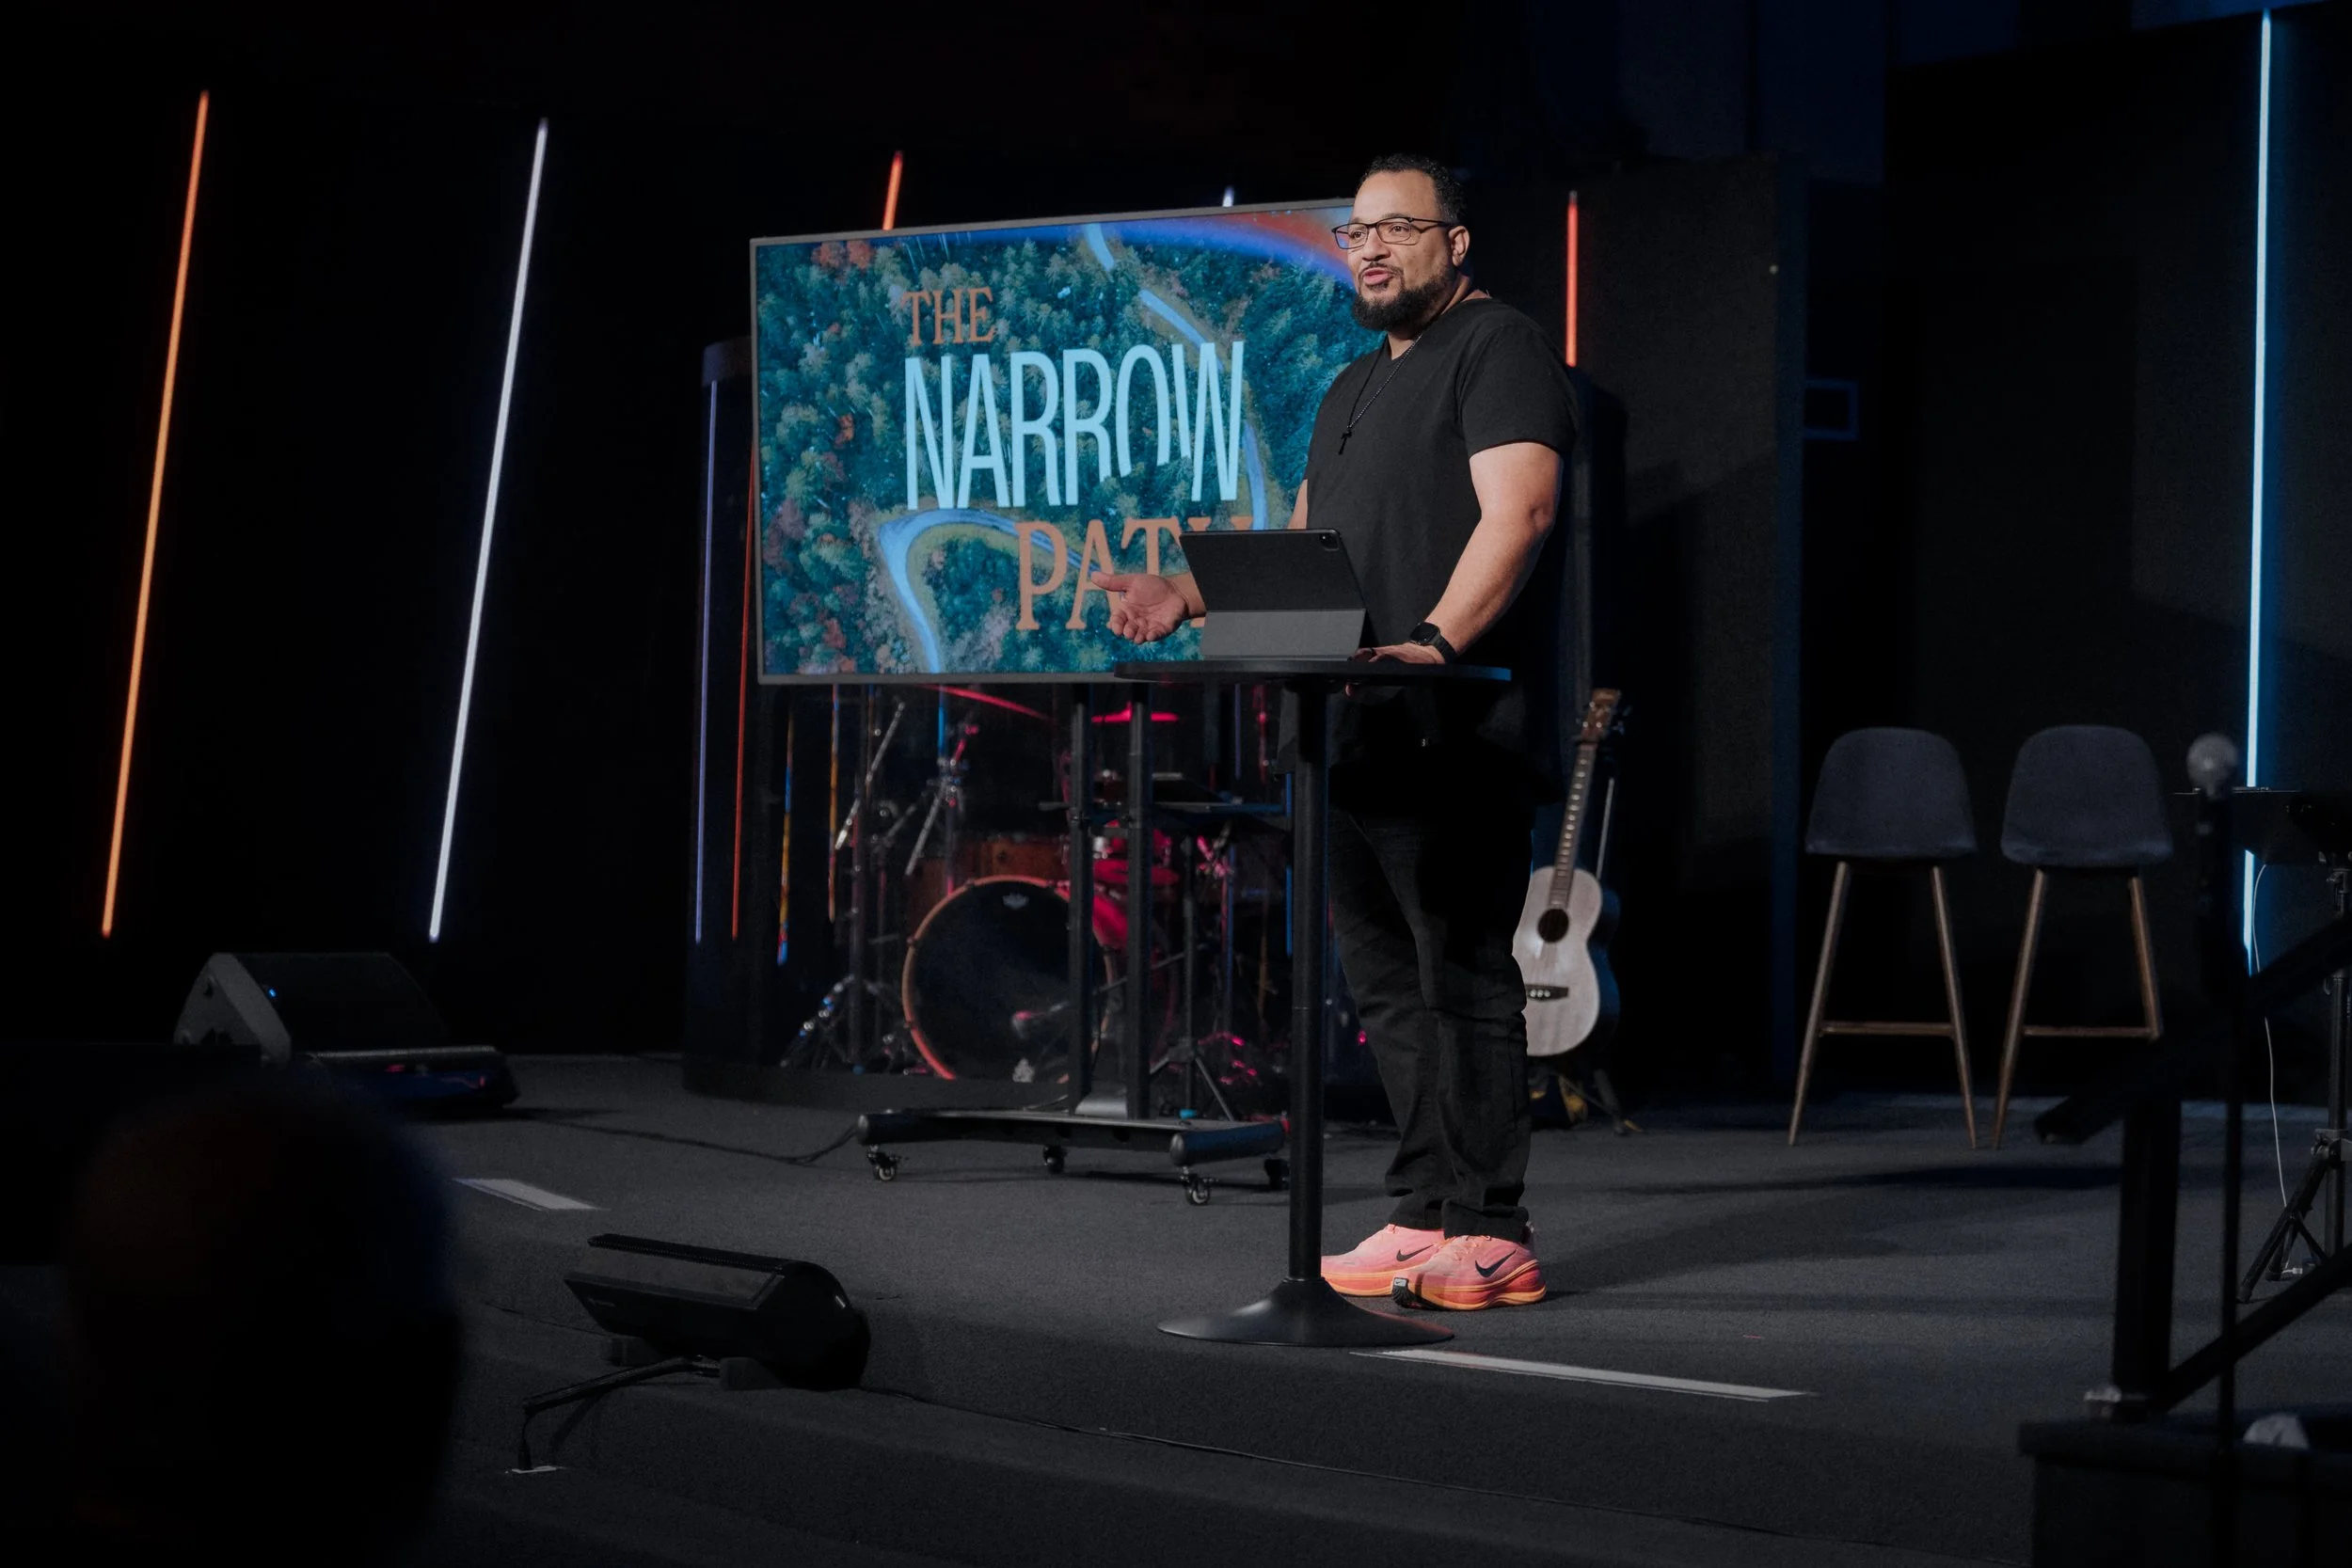
Sermon: Stay for the first 10 minutes. The opening is usually lighter, so look for laughter, smiles, and engaged faces.
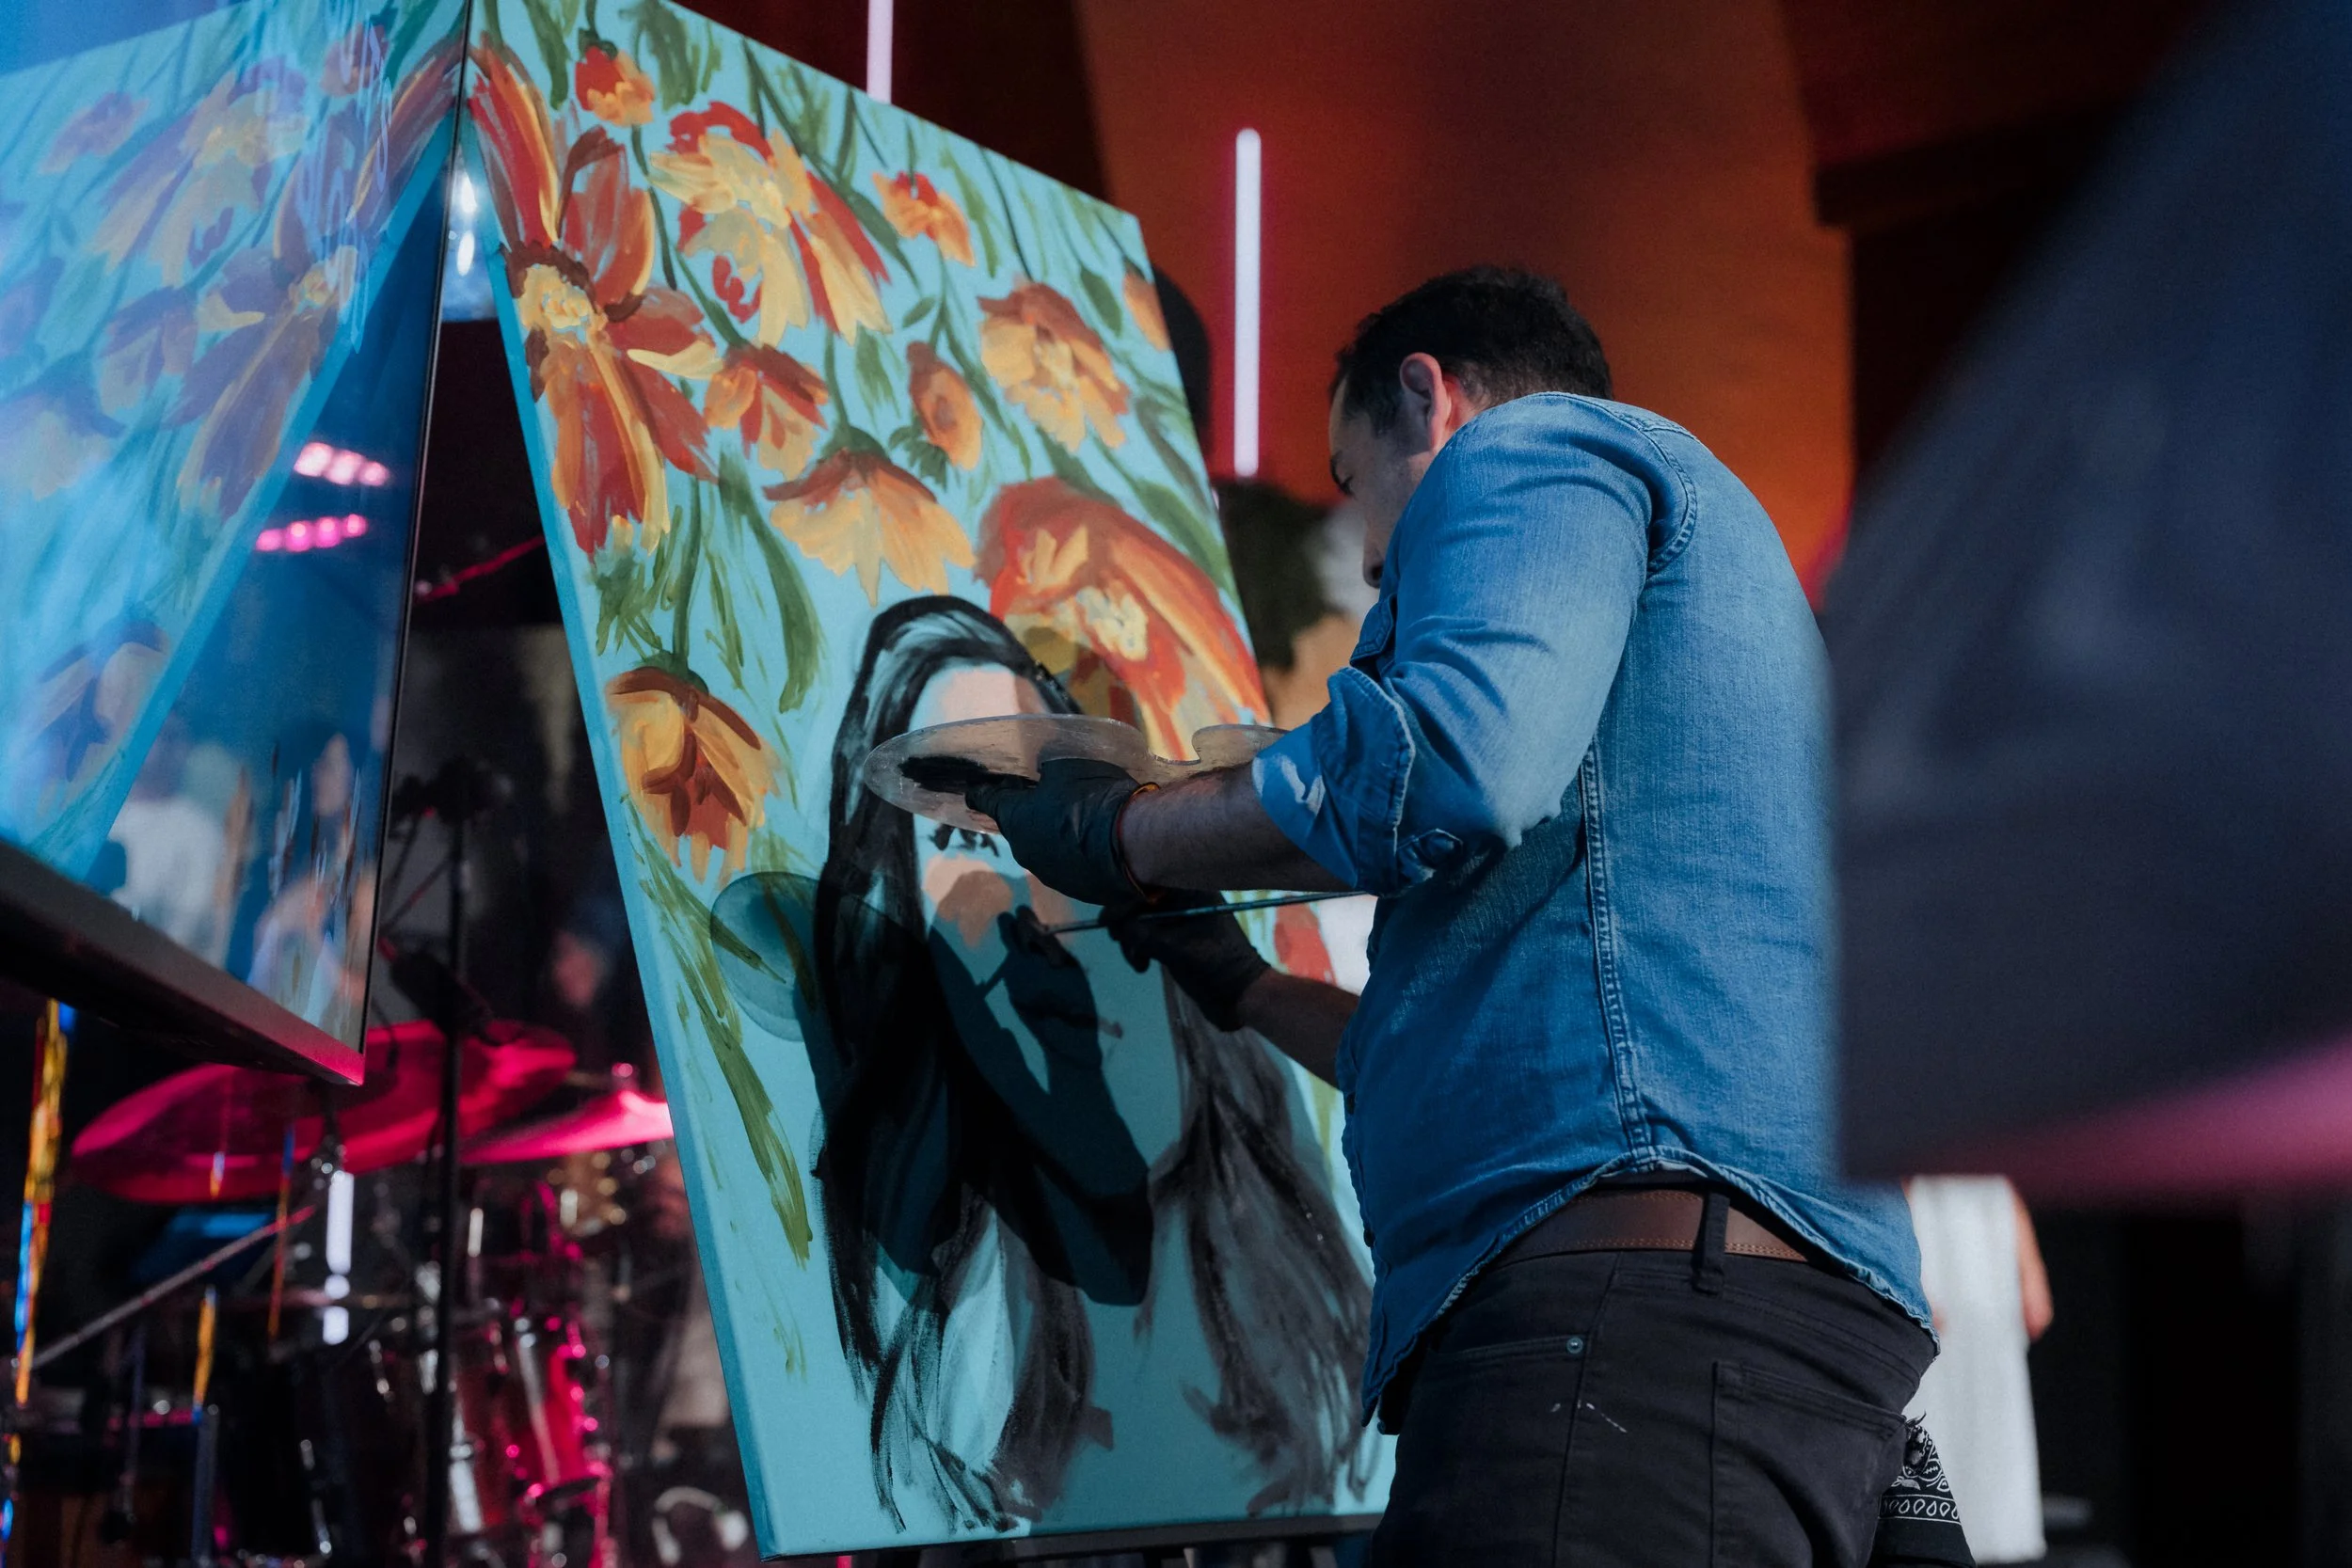
Go outside and get detail photos of whatever is set up on the patio.
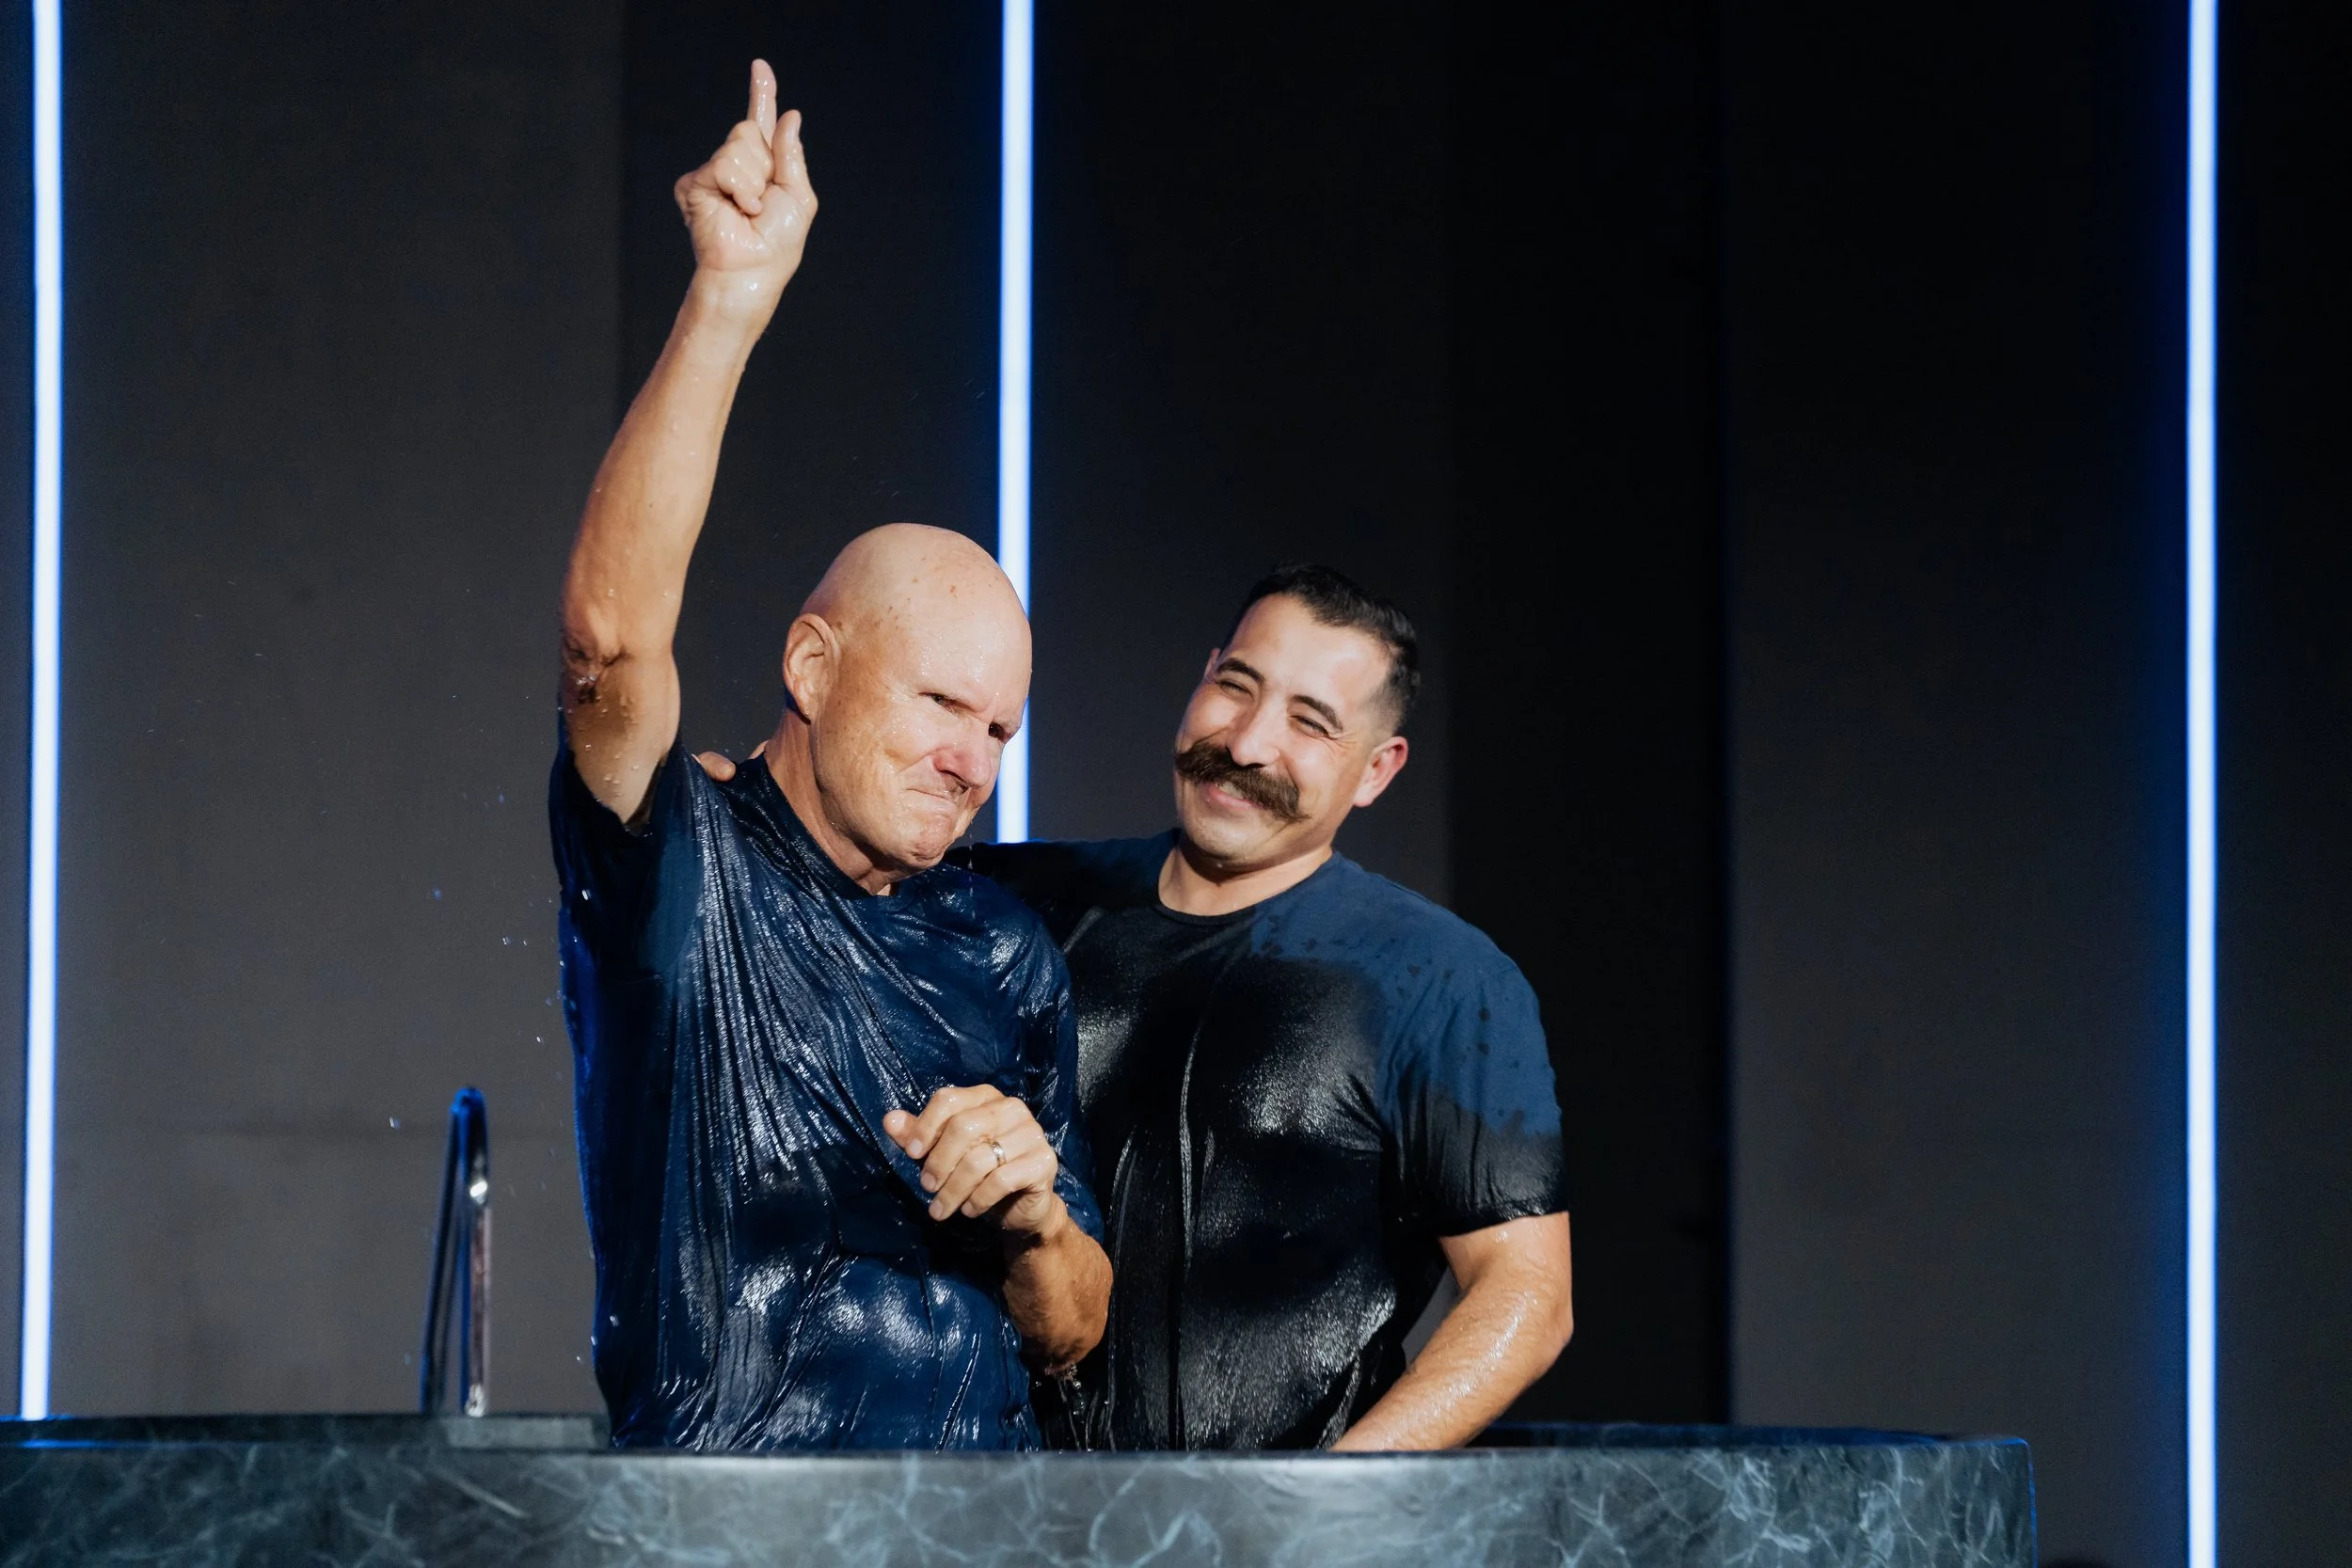
Come back for the last 5–10 minutes. This is where the speaker lands the message. Look for conviction, intensity, and emotional moments.
Closing worship: Get a creative shot or two and head outside.
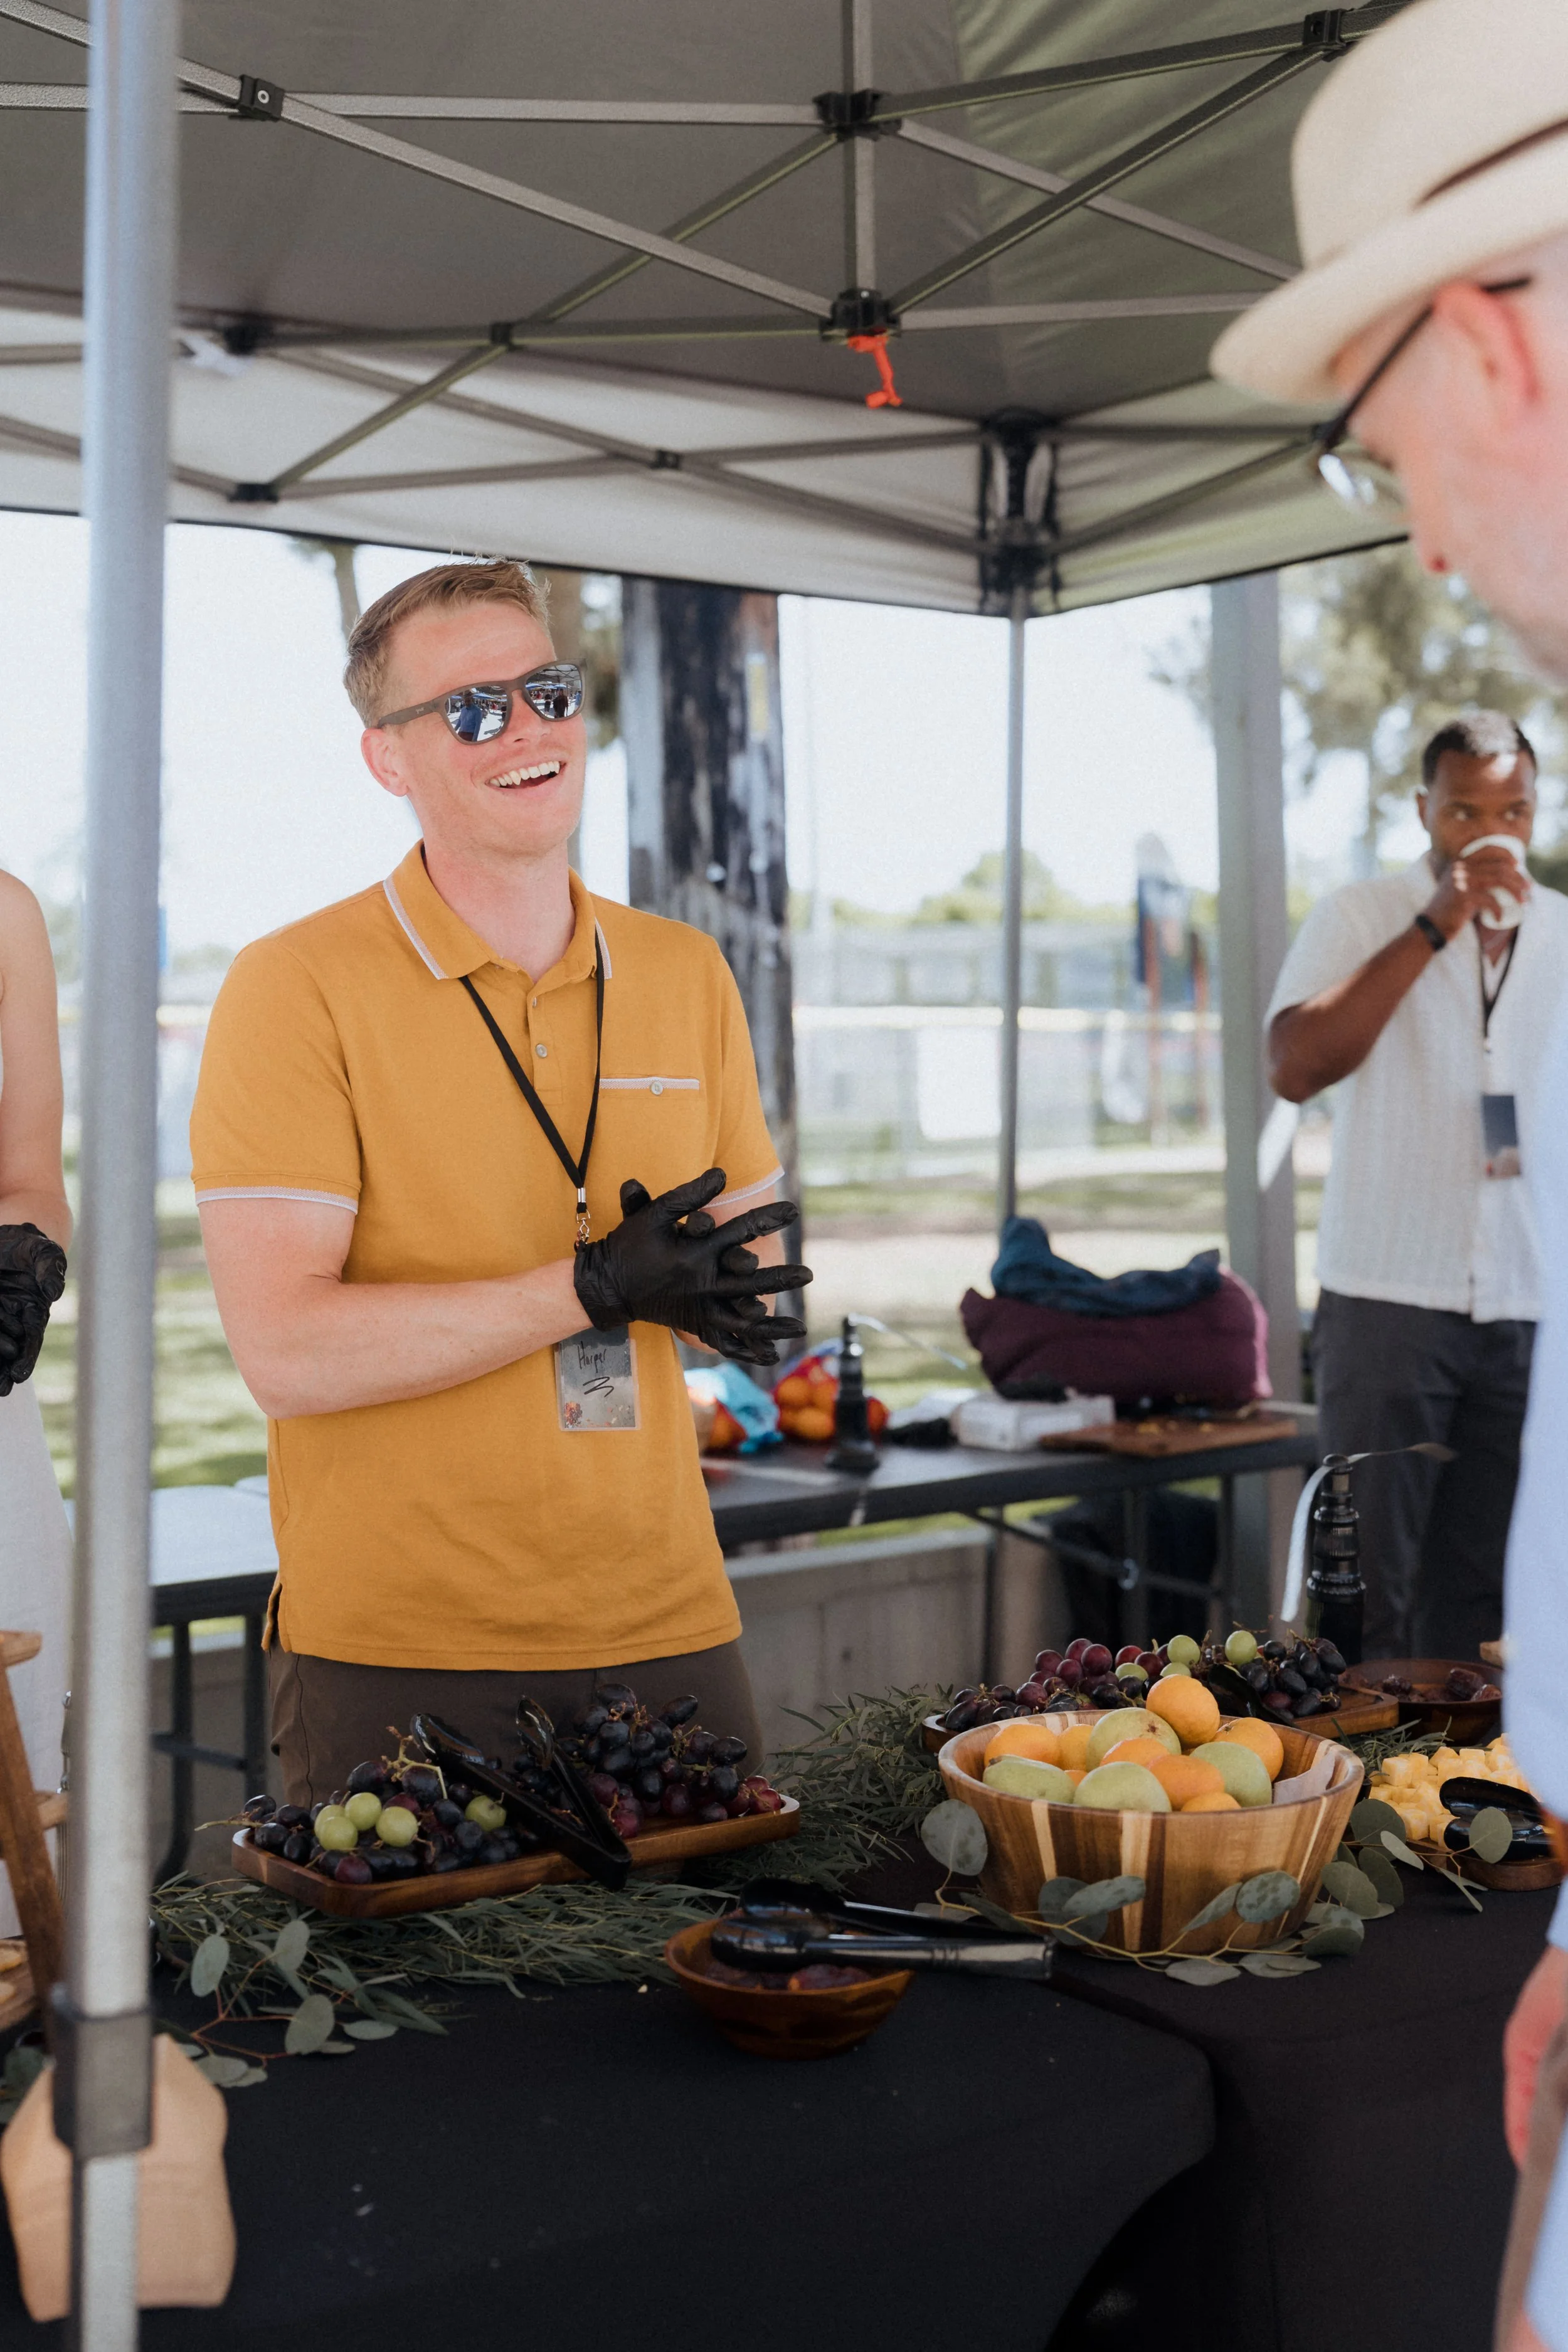
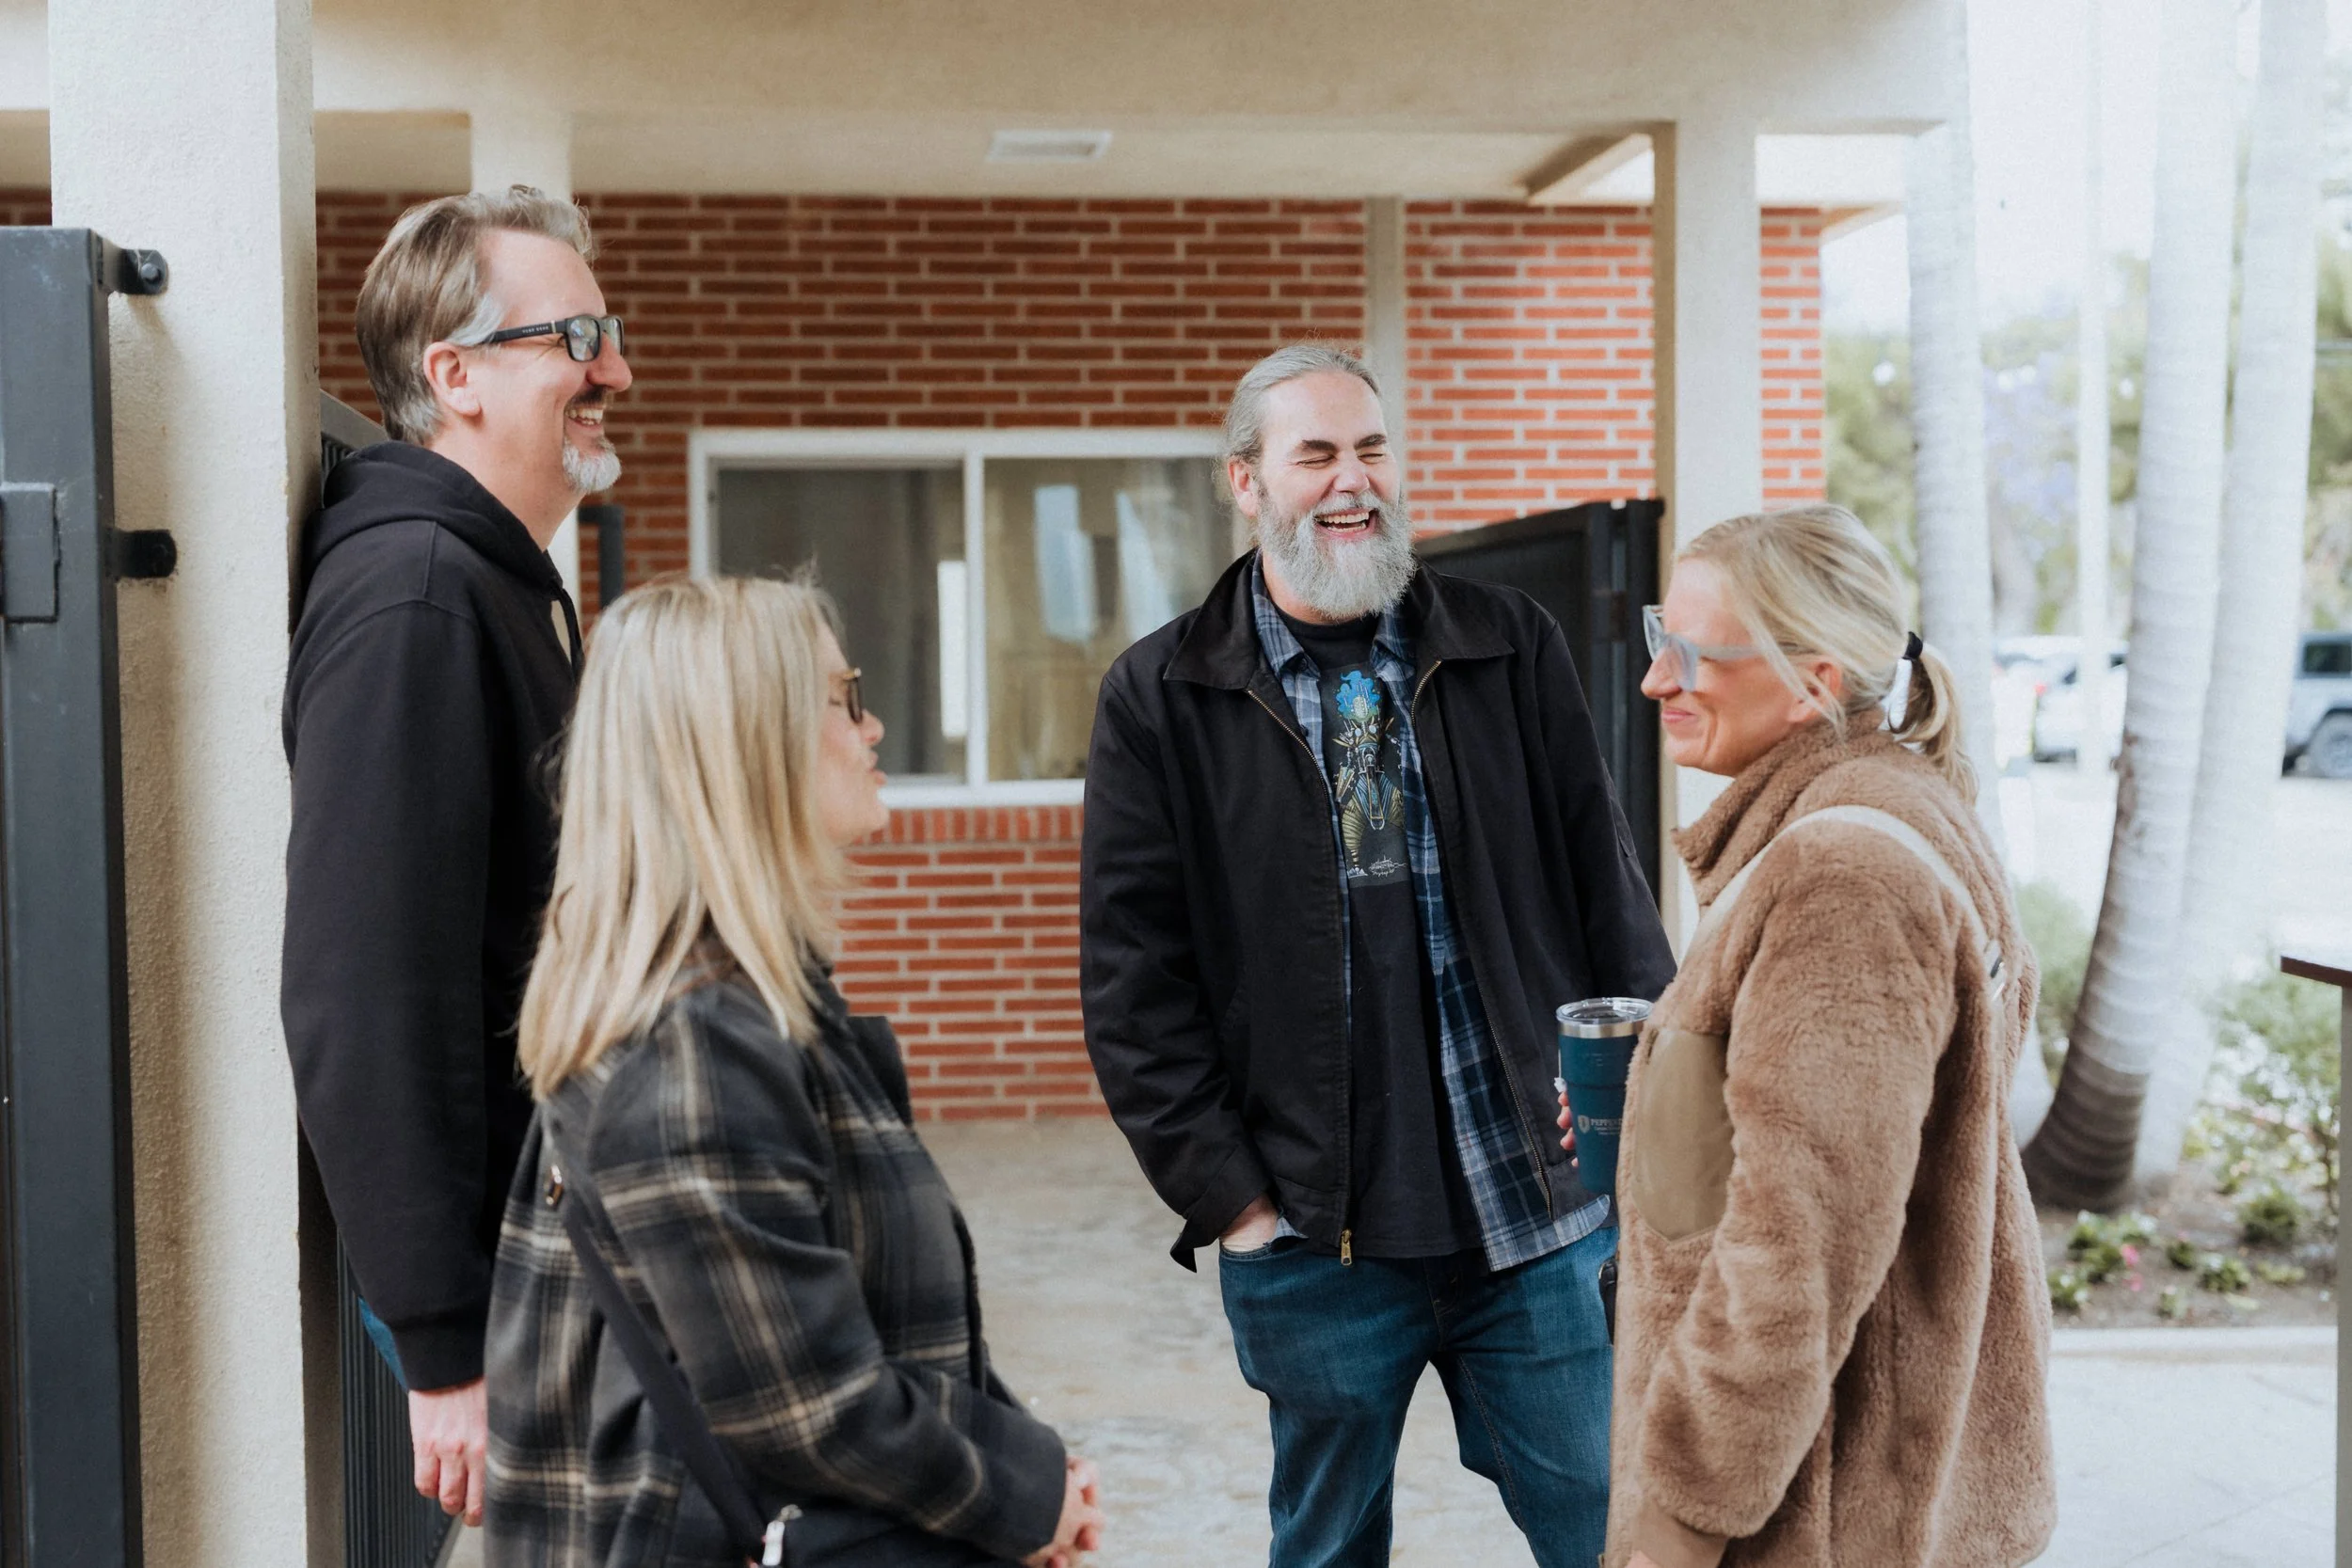
Between Services
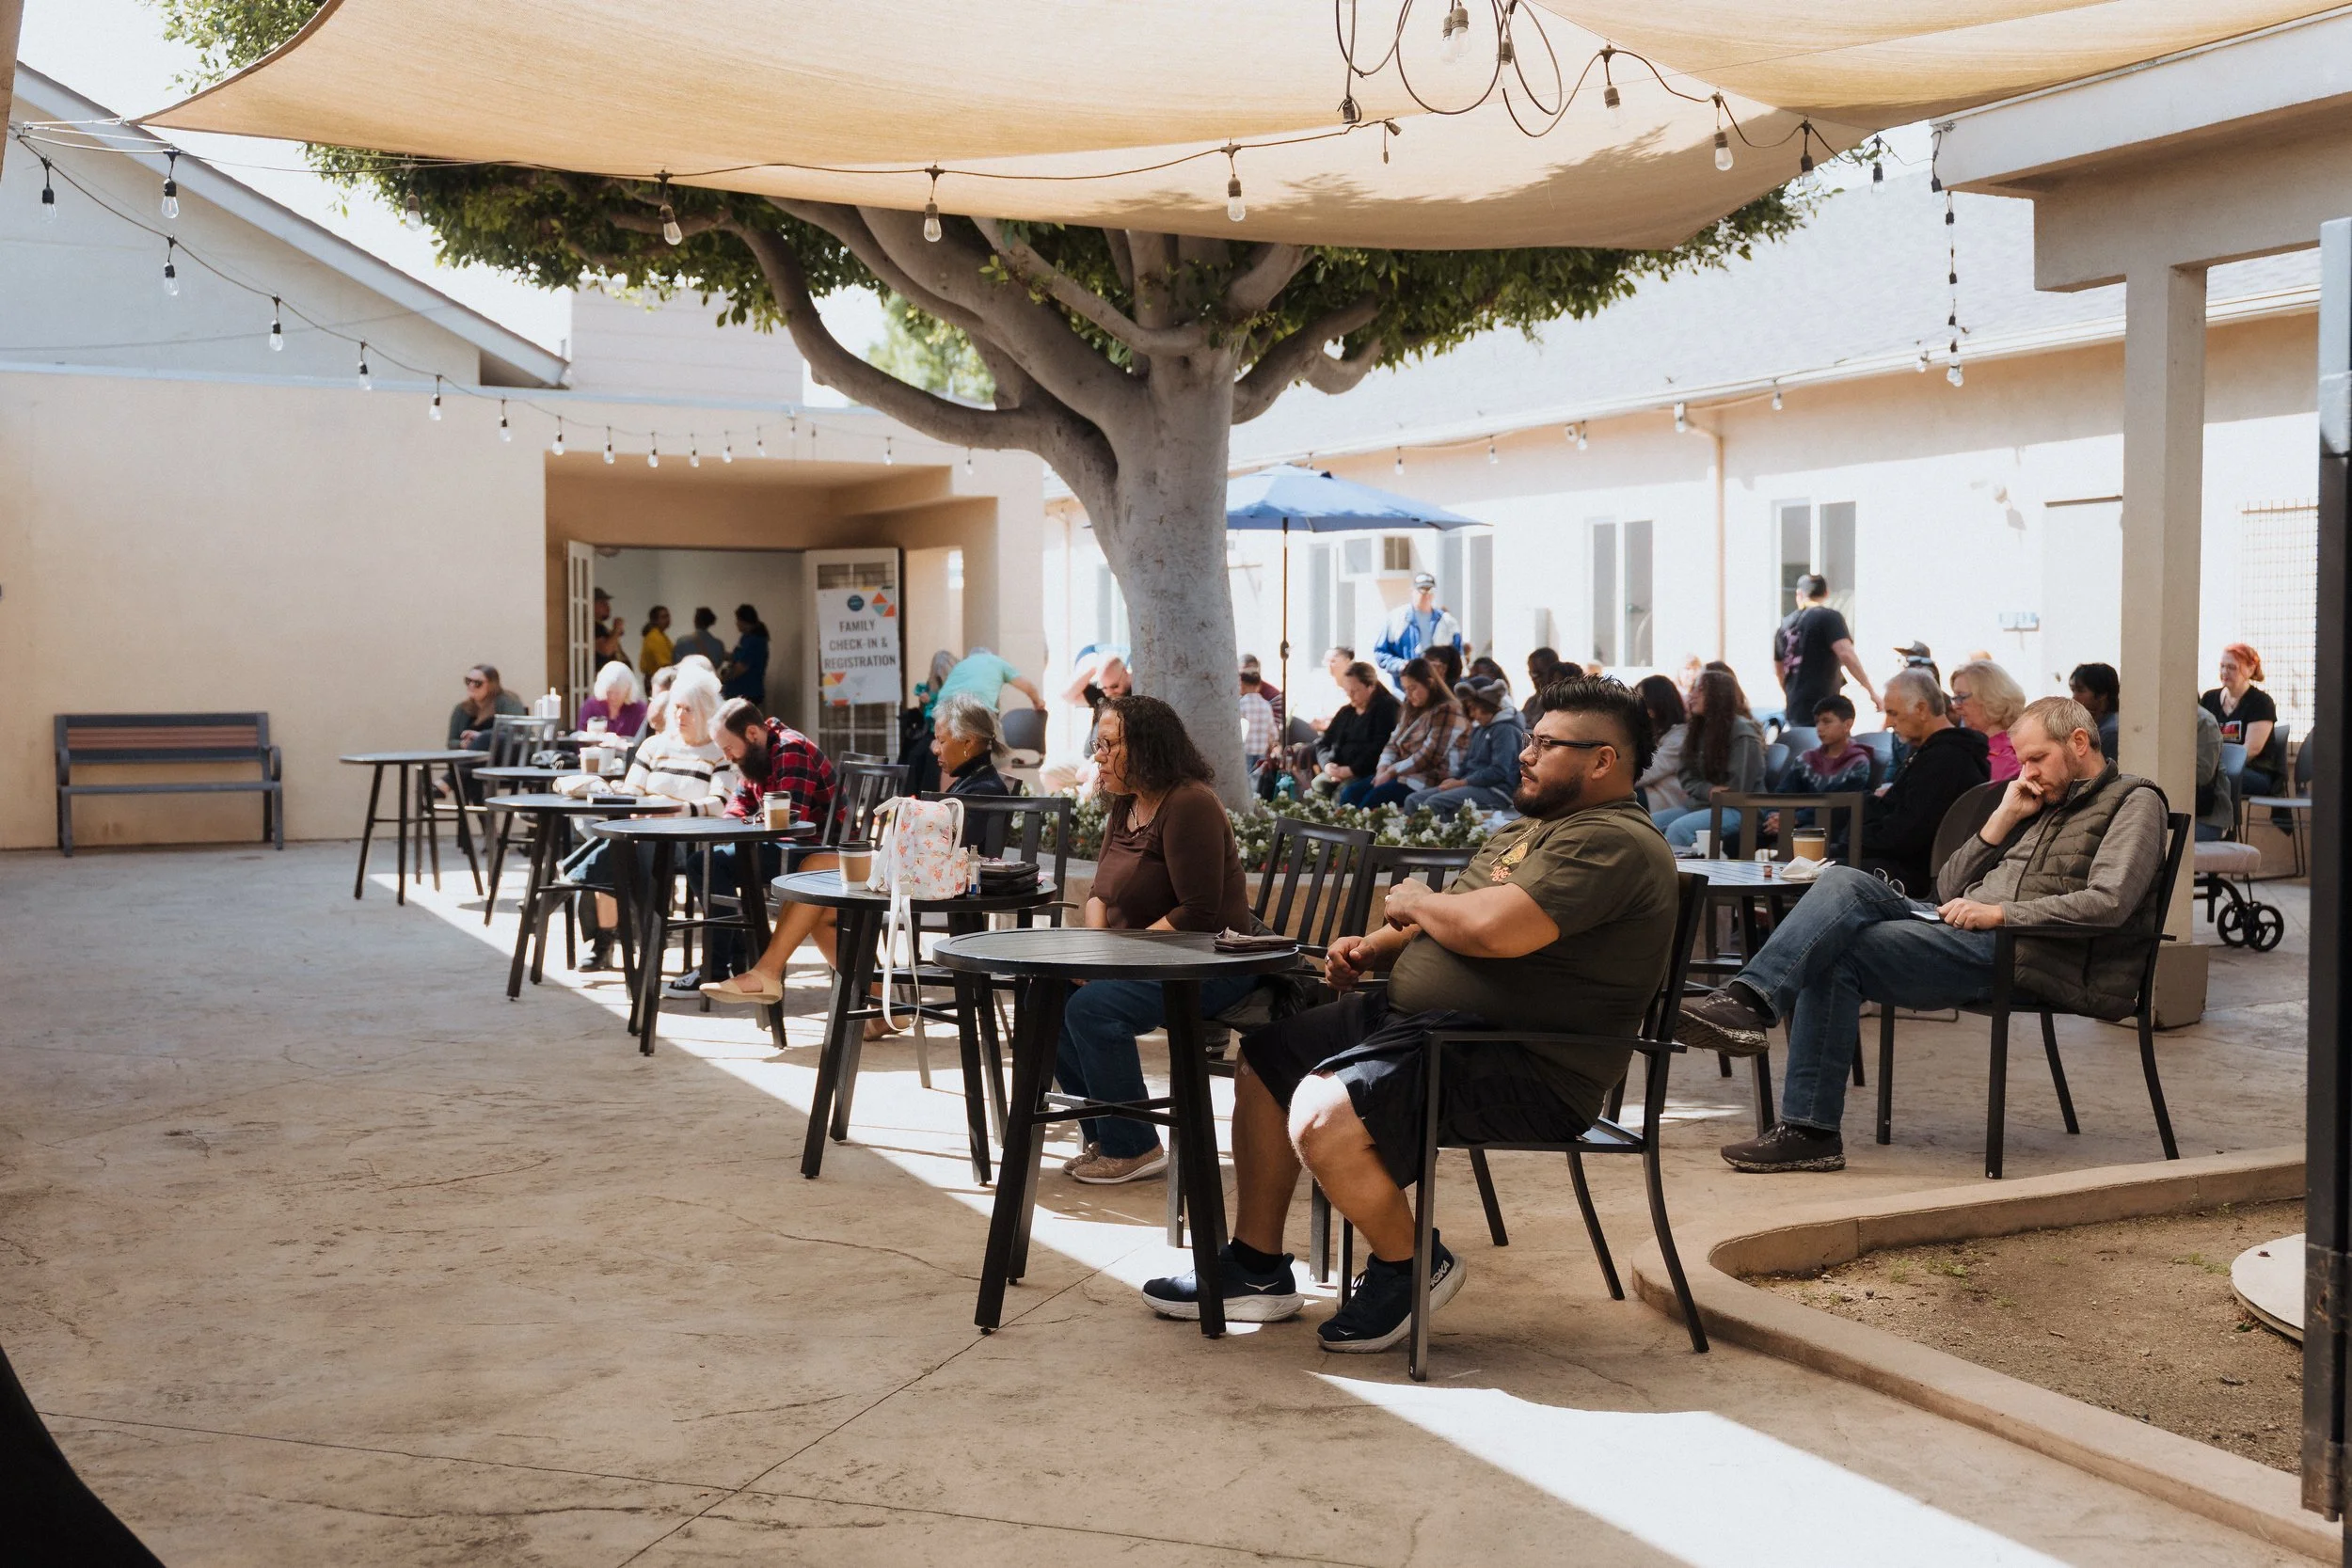
Shoot the patio: conversations, coffee, donuts, info tables, people connecting. Candids only. These moments matter just as much as the service, sometimes more. They show what Parkcrest actually feels like and what someone can expect when they walk through the doors for the first time.
Between Services
Shoot the patio: conversations, coffee, donuts, info tables, people connecting. Candids only.
10:45 AM Service
Similar to 9:00 AM through worship. If you got solid coverage in the first service, use this one to try new angles and get more creative. Also get photos of the Youth in worship since this is the service they attend.
Get whatever sermon shots or angles you missed the first time. (About 5-10 minutes tops.)
Children's ministry: Walk through the courtyard and classrooms. Get photos of smiling, happy kids and teachers.
Get anything else you haven't covered.
Wrap Up
Return camera upstairs. Pull the battery and put it on the charger. Hang your name tag on the hook.
Wrap Up
Return camera upstairs. Pull the battery and put it on the charger. Hang your name tag on the hook.
Additional Resources
For more on church photography, check out Pro Church Tools by Brady Shearer or ask me. For current style guides or specific photo needs, reach out to the Parkcrest Communications director.